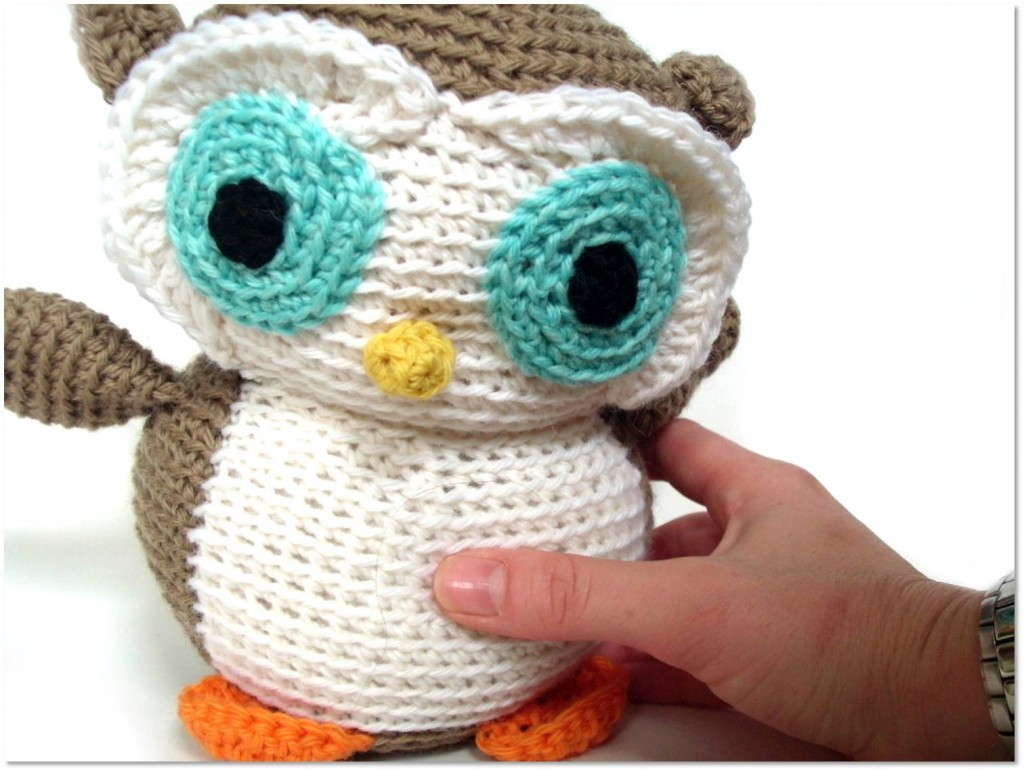
It’s inevitable. We all make mistakes. Maybe you attached a part on your amigurumi in the wrong place. Maybe you crocheted the piece in the wrong color. No problem! I’ll show you how to fix it!
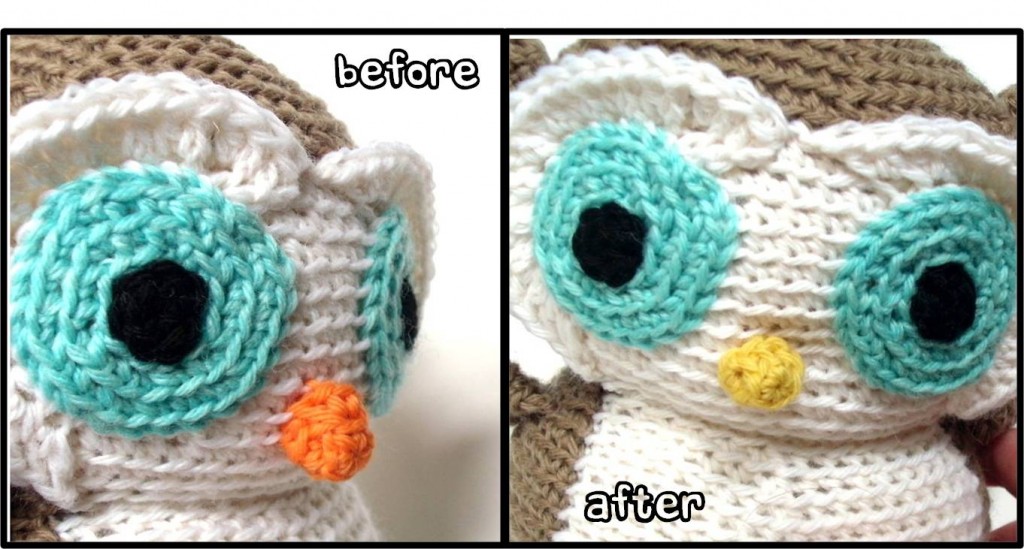
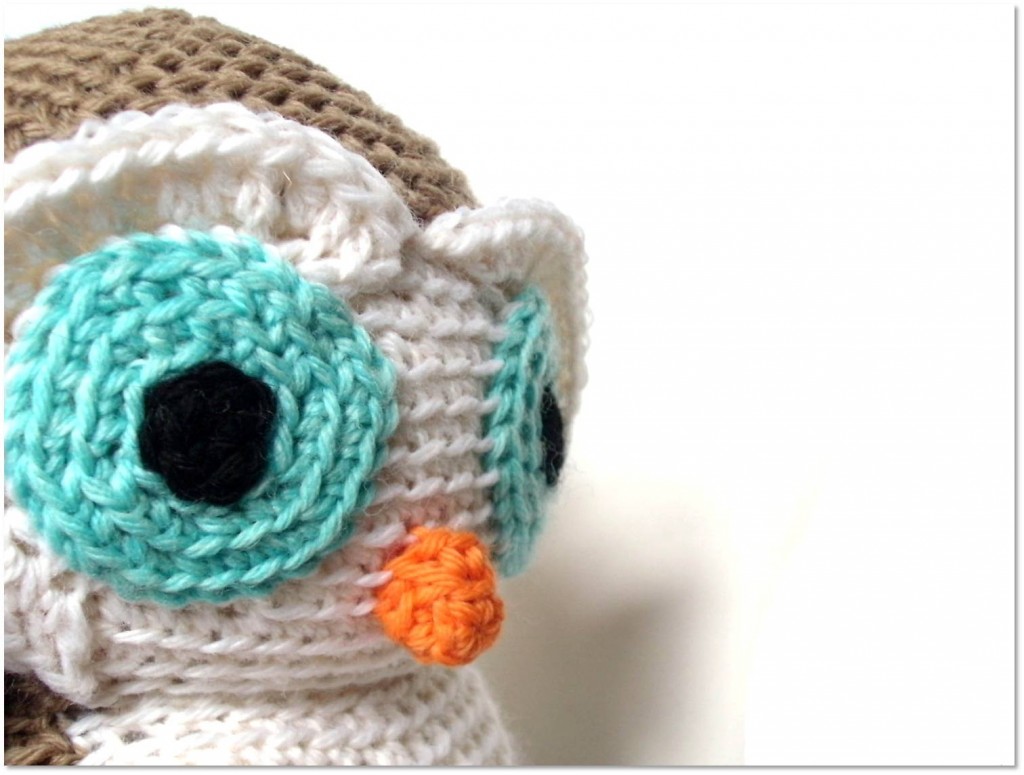
In the example I’ll be showing you today, I attached an orange beak on my owl… when the customer actually wanted a yellow beak. Ooops! But as you’ll see, it’s a problem that’s not too hard to solve.
Step 1: Remove the incorrect piece
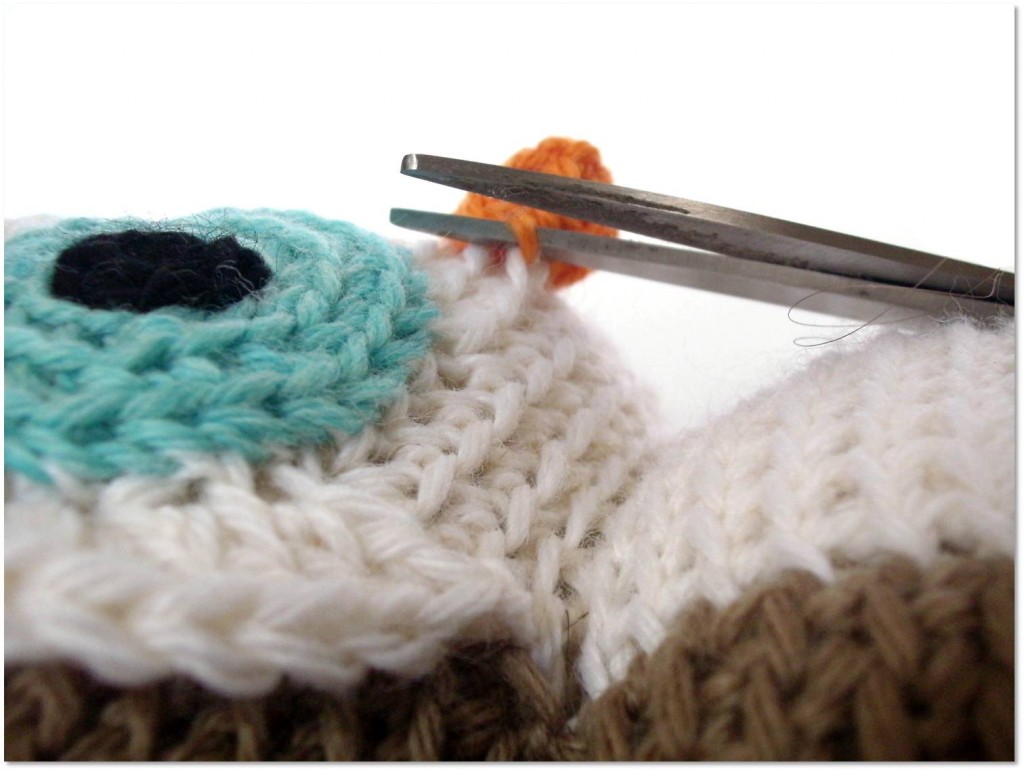
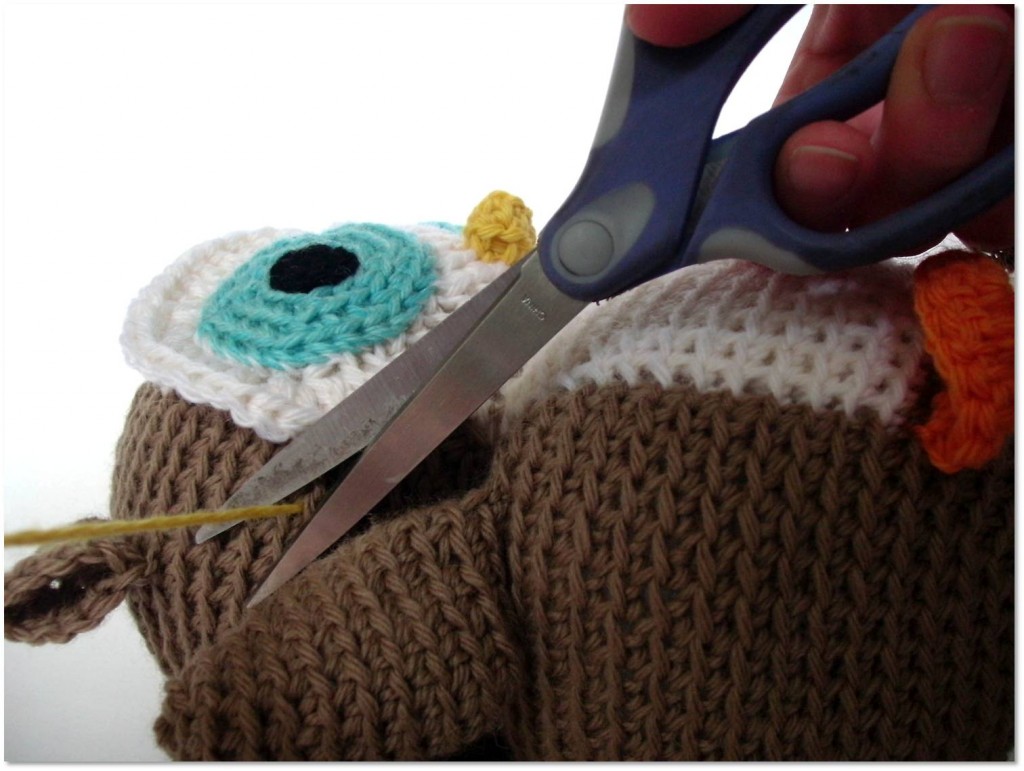
The first thing you need to do is cut off the incorrect piece:
If you’re very careful, you can cut through the attaching thread, and preserve the piece (here, a beak) for re-use. However, the most important thing is to not cut your main body (here, the head). If you cut through the stitches on the head, it will be nearly impossible to repair.
Therefore, I err on the side of caution: I would much rather cut through an important piece of my beak (and re-crochet it), than to cut a stitch on the head.
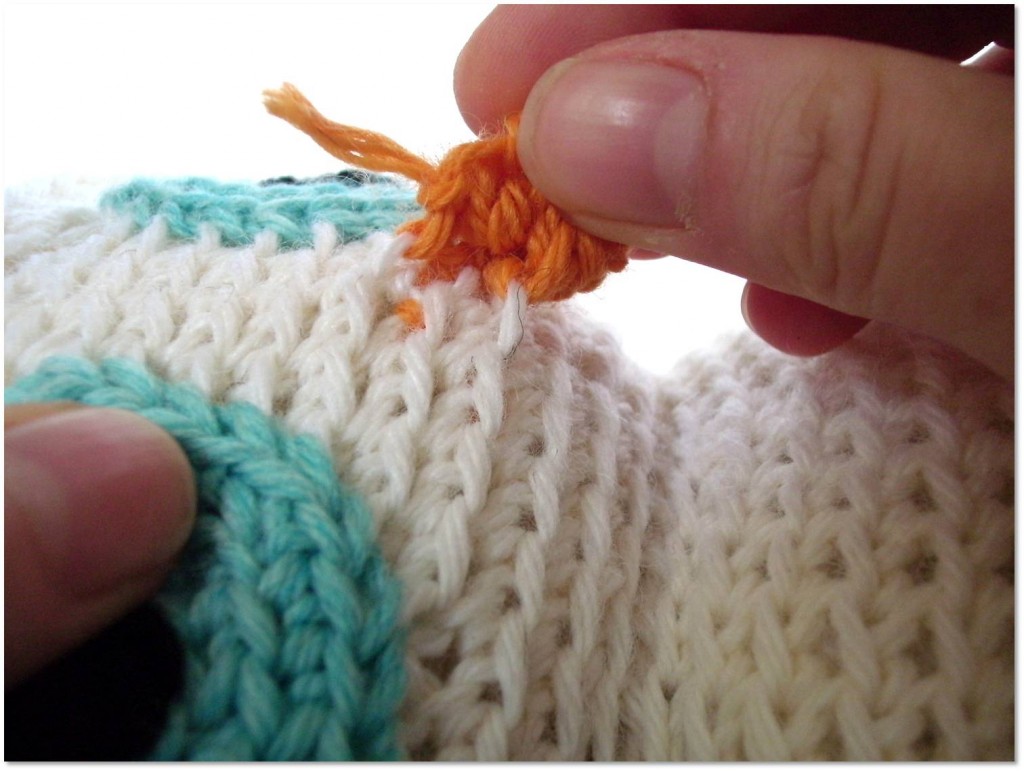
Once you’ve cut the piece, pull it off:
Ta da!
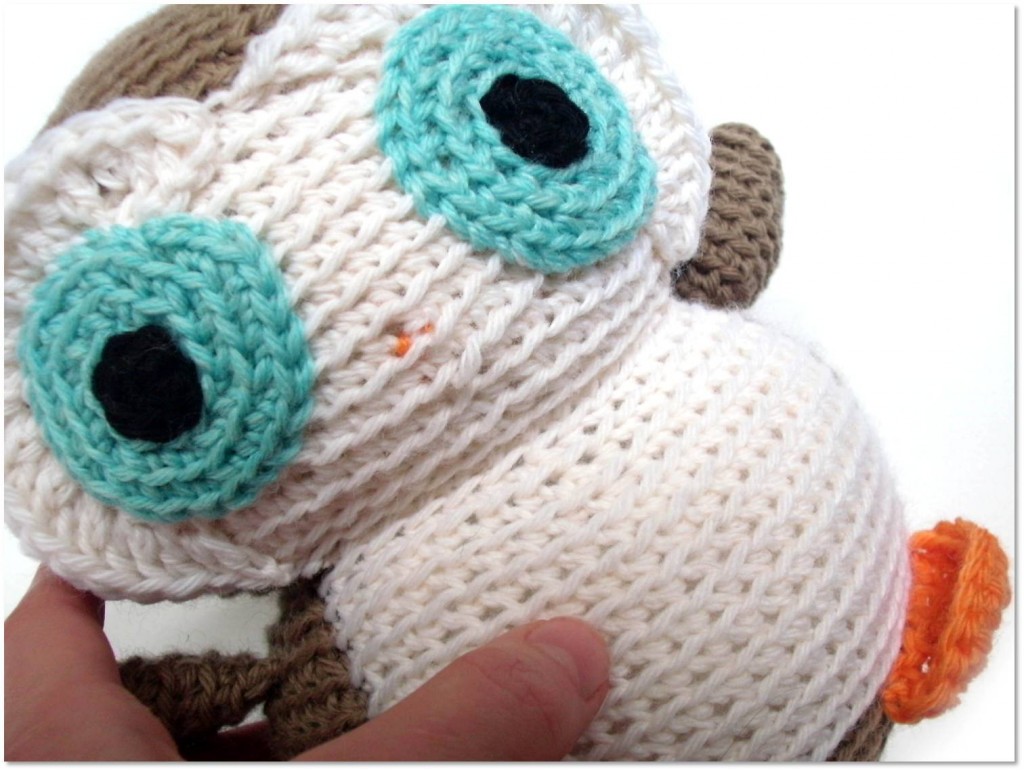
You’ll notice that a little bit of orange remains, that’s where I tied the knot to secure the beak. It’s okay that it gets left behind: it’ll be covered up by the new beak. Remember: the most important thing is to not cut through body stitches, and the risk of doing so would be too high if I tried to remove this knot.
Step 2: Attach the new piece
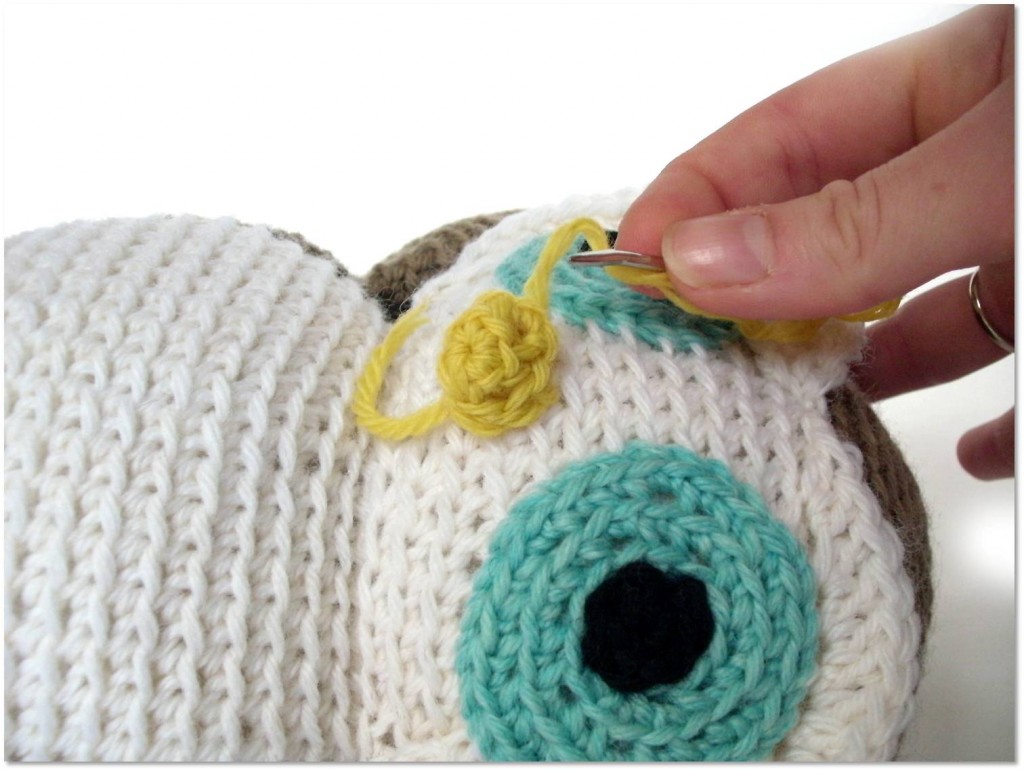
Attach your new piece where you’d like it to go:
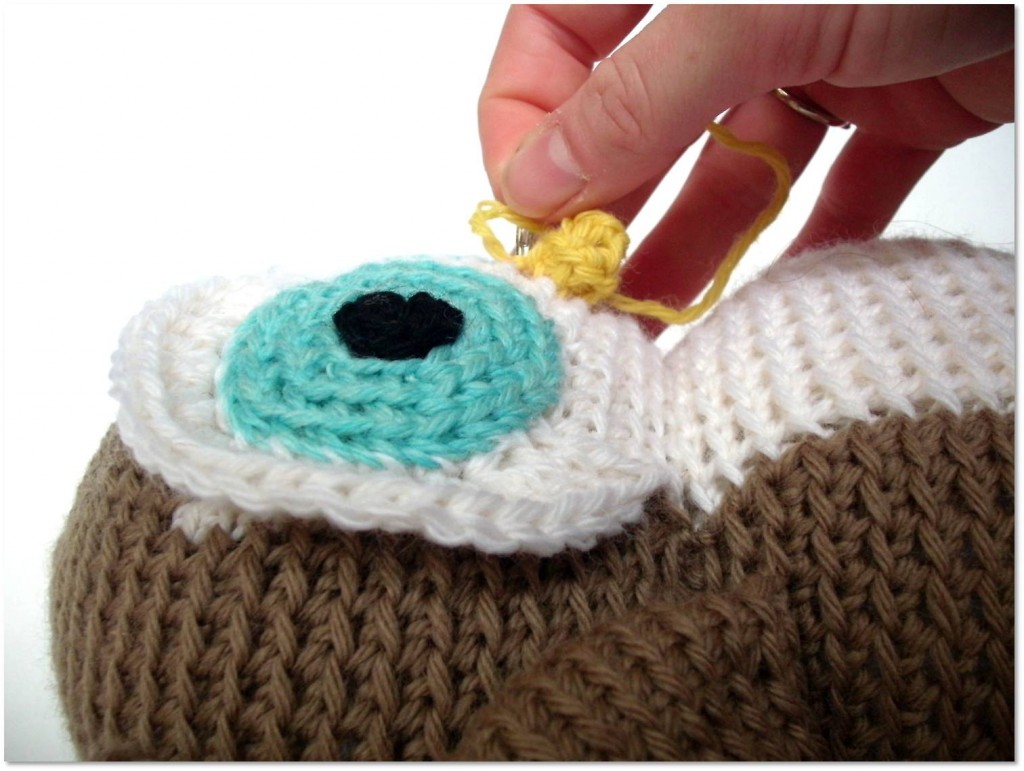
When you’re finished attaching, tie a knot. It’s not possible to attach the knot on the inside (the preferred way of making sure the knot is invisible), since the piece has been stuffed, so you’ll have to do your best to make the outside knot as invisible as possible.
Now, insert your needle through the body, and pull… this will pull the tail in and help to hide the knot a bit:
And you’re finished! No one will ever know!


