One of the trickiest parts of crocheting this dragon is positioning his snout so that it lines up with the color changes on his tummy… since there’s a temptation to attach the snout before you’ve crocheted the color changes on the body. How do you know where to put it?
I have three possible solutions… and I’ll tell them all to you, since different ones might work for different people.
Option 1: Attach the snout after crocheting the color changes on the body
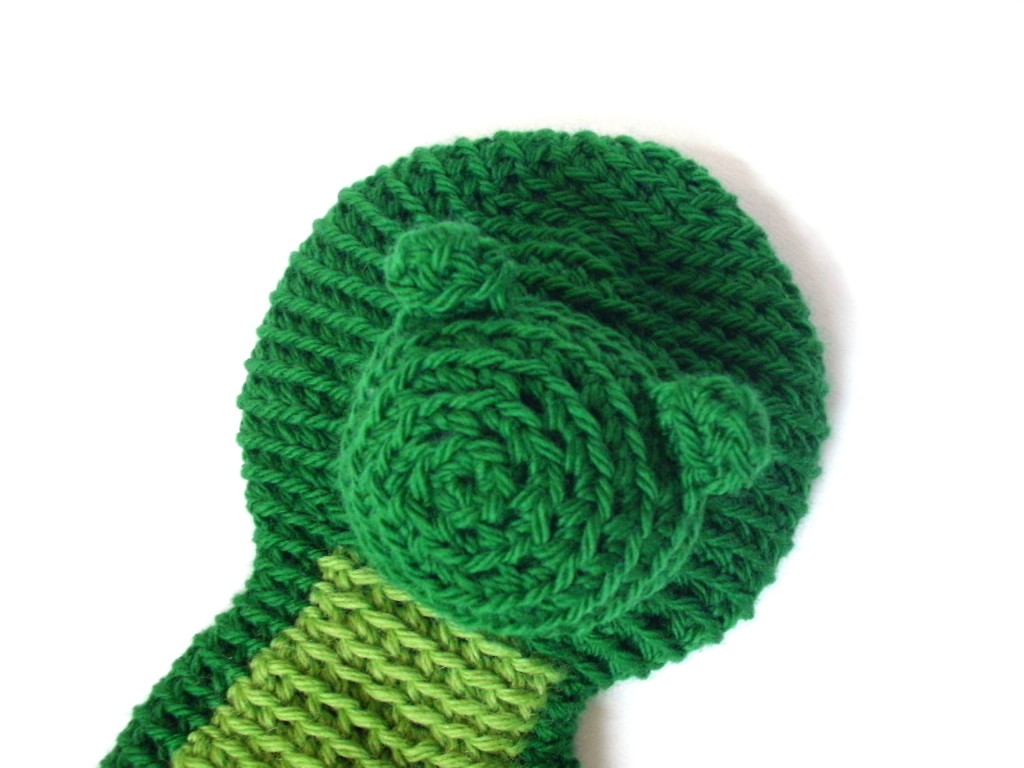
This is my favorite option. If you look closely at the progress photos in the pattern, you might be able to spot that this is what I did when crocheting the original sample:
The downside to this technique is that you’ll need to squeeze your hand into the tiny neck. However, you only need to get inside the head for tying the knot to secure the snout… since the rest of the attaching is done from the outside.
The advantage of this method is that you’ll know exactly where to position the snout, since you’ll be able to see the color changes. Also, I find the crocheting of the body easier without lots of heavy head features attached… but that might just be me!
Option 2: Visualize the color changes
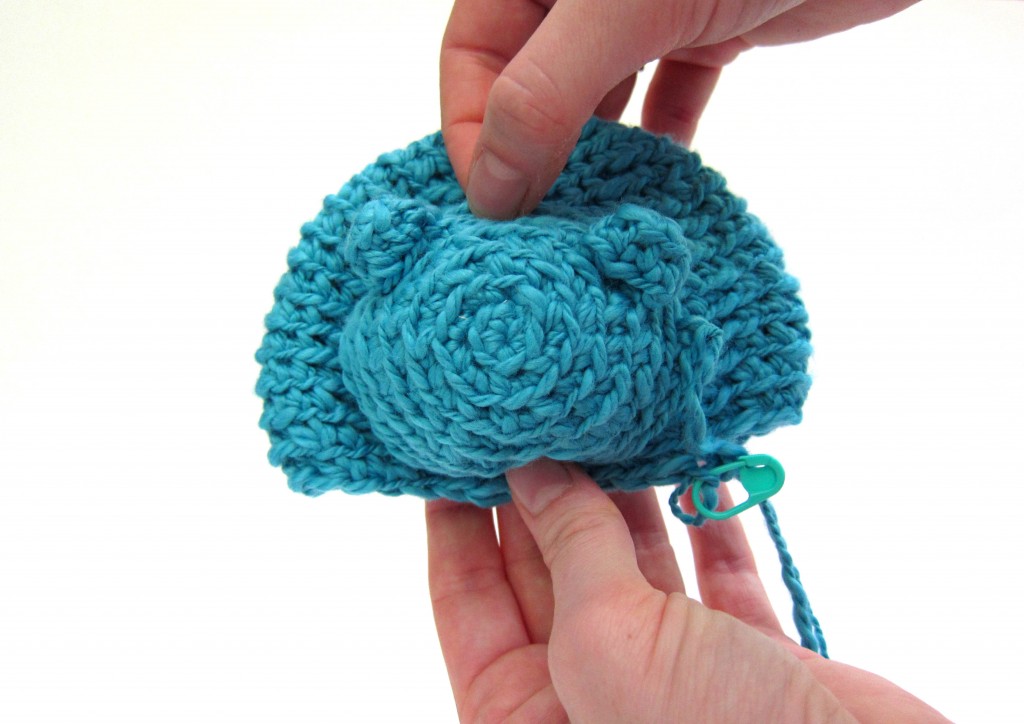
I’ll be honest: this blog post was going to be about how to use your locking stitch marker to mark the end of round and visualize where the color changes would be so that you can attach your snout properly.
I took all of the nice step-by-step photos…
And then I realized that I visualized the color changes as being on the wrong side! Gah!
So, here’s the theory: the color changes for the tummy happen on the first 1/3 of the stitches after the end of round marker. If you’re good at spatial orientation, then it’ll be a snap for you to look at the stitch marker and picture where the snout should go.
But if you’re not… well, this option is going to be frustrating. Move onto option 3 (which is what I ended up doing to fix the photo-shoot!)
Option 3: Move the end of round
For the spatially-challenged (like me), this option is by far the easiest!
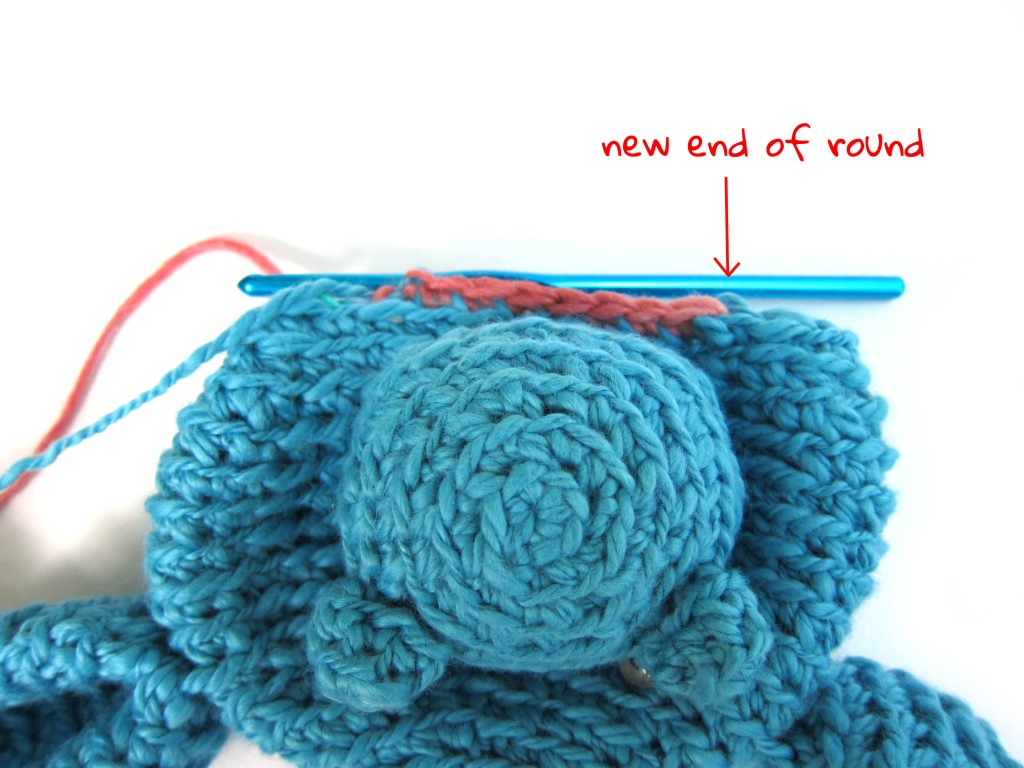
Attach all of the features to the head. Your end of round marker (the point where your round begins/ends) could be anywhere… it doesn’t matter. You’re going to move it!
Once you have the head attached, continue crocheting until you get to the round with the color changes. Instead of changing colors where you are (which may be at the back of his body), keep crocheting with the main color until you’re up to the snout.
Move your marker, and that’s you’re new start of the round! Continue following the pattern like nothing happened. In the grand scheme of things, the extra 10 or so stitches you’ve added won’t matter… and your tummy will be in the right place!
Do what works for you!
One of these options will work for you (sorry, I can’t tell you which one will be your favorite)! Hopefully, attaching the snout in the right place (after reading this post) will be no problem!


All of your solutions will help, I really like the first solution, I’ll try this with my next dragon. Thank you for sharing such wonderful help.
I should have read these hints before hand! But it’s ok because I kinda worked out that I needed to move my end of round to a new position anyway and did that. Head’s done – moving onto the body and the cc’s now!