


Welcome to ‘Technique Tuesday’! Every Tuesday, my blog post will feature a new tip/technique that will help you with your crocheting! Be sure to join me ever week!
I’ve been on a stripe-kick recently… I just can’t get enough of them! Stripes are a great way to use up leftover yarn: you can mix together half-used skeins into a beautiful finished project- if you pick a good color combination and pick a pleasant striping pattern! In this post, I’m going to share a few tips I’ve learned for making beautiful-looking stripes. I’m going to share tips for striping with 2 colors, striping with 3 colors, and striping with a whole bunch of colors.
The key to a good stripe is a little bit of randomness. We want to develop patterns that are a bit beyond “2 rows green and 2 rows of yellow, repeat”.
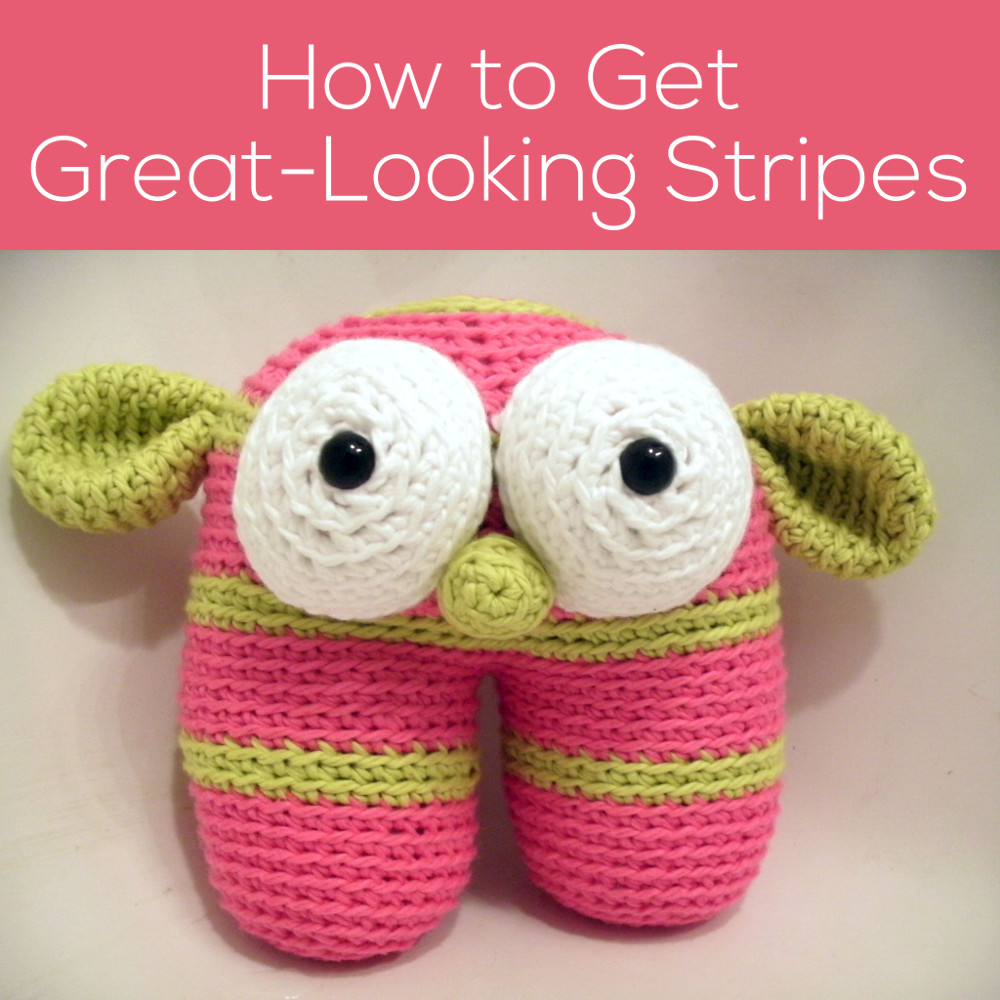
An easy way to insert a little bit of randomness into your stripe pattern is to make one band of color thicker than the second band. This is a simple, 2-color stripe that still has a bit of pizazz! Check out monster’s stripe pattern, below:

This monster is crocheted with a 5 round-thick stripe of pink, and a 2 round-thick stripe of yellow. This is a very simple pattern to follow, but is still a little unexpected!
Okay, now let’s move to using stripes with 3 colors effectively. As before, we want to keep a little bit of randomness going… so let’s look at an example where 3 colors were used really well:

This striping pattern uses brown, light pink, and dark pink. There are two things to note: one, all three colors go together well. Even though the brown is a contrasting color, it matches well with the pink. Two, the stripes are not of even thickness. Thick stripes occur with thinner stripes. Try writing out a pattern that uses these principles. For example: 4 rounds brown (medium stripe), 2 rounds light pink (thin stripe), 2 rounds dark pink, 6 rounds light pink (thick stripe), and repeat. It’s not a very long pattern, but will give a look of variety.
Now, what if you have a lot of yarns in your stash, and want to use up a whole bunch of colors in a striping pattern? The key to doing this effectively is to select three color families. Put each color family in a pile, and stripe according to the 3 color scheme- treating each family as a color. This is the technique I used with my striped pup:

I gathered all of my spare yarn that fit into one of the following color families: cream/white, light-medium green and light to medium pink. Then, I striped: 6 rounds of family one, 4 rounds of family 2, 1 round of family 1, and 3 rounds of family 3. This resulted in the pattern that looks so great on the pup!
I’ve loved this technique so much, that I’m doing a second pup, with three different color families: pinks, burgundy and orange-y/pink. The result (I’ve only finished the pup’s head, so far) is below:

Because all of the colors complement each other, it’s going to turn out fine!
So, next time you’re feeling adventurous, try some stripes… see what great combinations you can come up with!