I’ve crocheted all of my cow pieces, and attached his features… the only thing left to do is stuff his head & body and attach them!
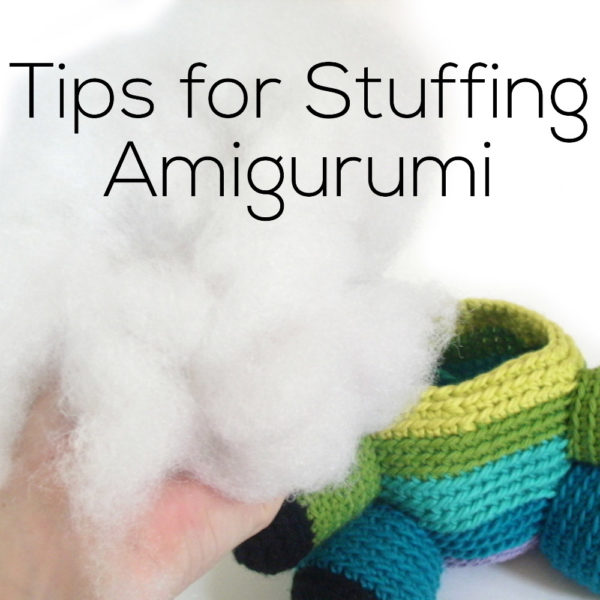
Stuffing the head and body can be a little tricky, since they’re large pieces. You want to be sure to add plenty of stuffing (to compensate for compression over time), but be careful to not overstuff (which will force the stuffing to show through your stitches).
To stuff your cow’s head/body, take a big fluff of stuffing, and put it in.
Putting in a big fluff of stuffing is better than poking in lots of little pieces of fluff… because little pieces will make your cow look lumpy. You don’t want that! If you add too much, you can just pull the extra out:
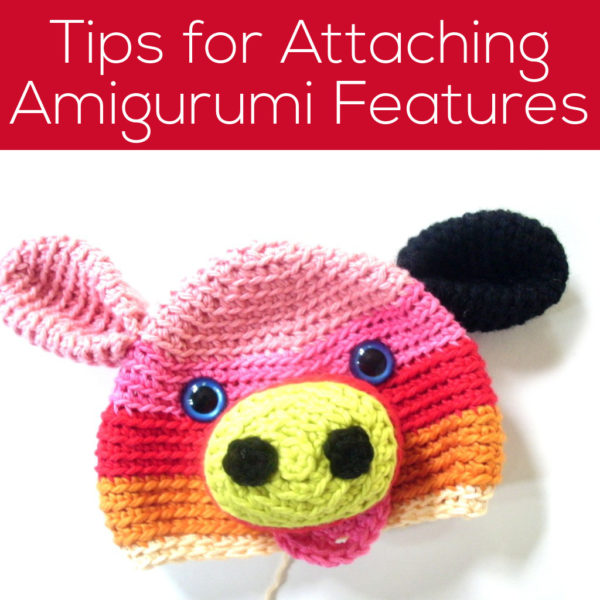
Attaching facial features can be one of the trickiest parts of making stuffed animals… but it’s also what brings your cutie to life! With just a few tricks, you’ll be positioning and attaching features with ease… and love your finished result!
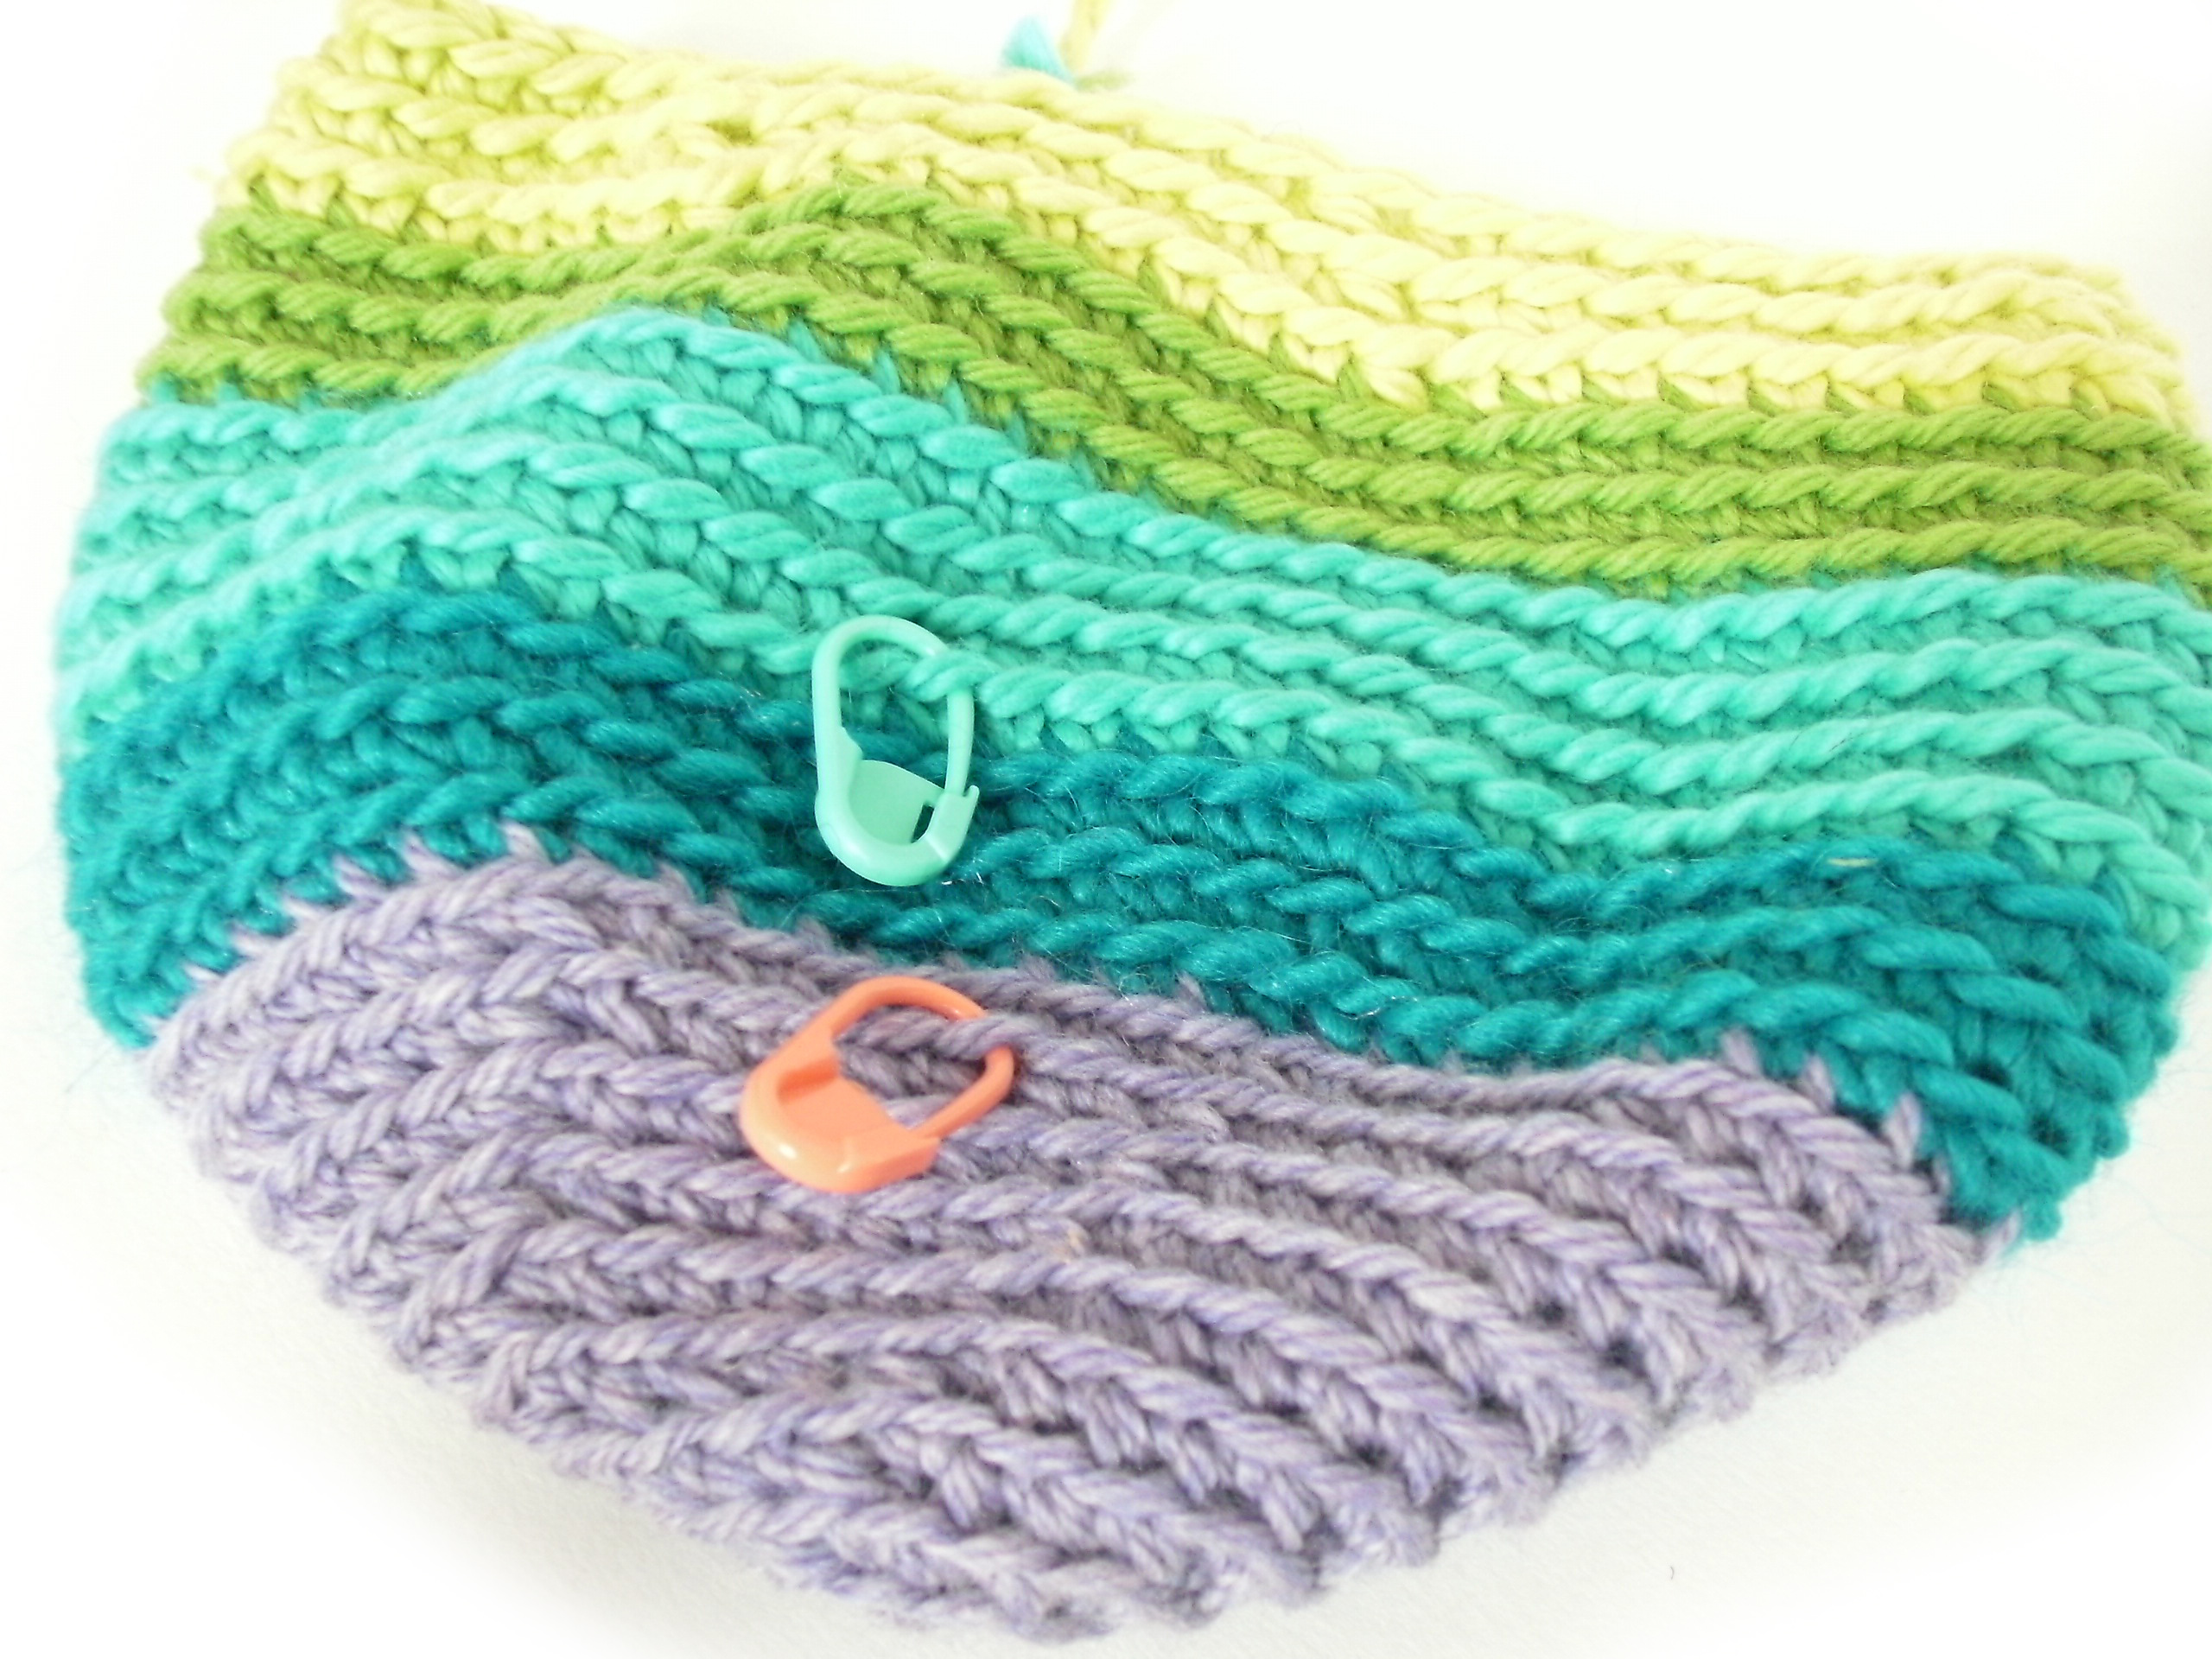
At this point, I’m about to attach the snout. The pattern says to attach it to rounds 13-18 of the head, so I’ve marked these rounds with my locking stitch markers:
This makes it super-easy to see where my snout should go!
Once the snout is in place, it’s time to attach the mouth. Want to hear another great use for locking stitch markers? I use them to hold a piece in place… so I can see exactly what it will look like when attached! This saves me from attaching them, not liking how it looks, then re-doing it!
Keep using markers to position/attach the ears… and your cutie is on its way!
Other helpful tips
Use the running stitch for attaching the nostrils onto the snout… it’ll make them lie nice and flat!
Attaching a folded ear can be tricky… read this post to see it in action.
Looking for an even easier way to handle the folded ear? Whipstitch the flattened ear closed first… then you’re only dealing with 2 edges, not 4!
Stick your eyes in first… and check out how they look before you put the washers on. This lets you check out how the eyes will look before you affix them permanently!
When positioning spots, use those stitch markers! I like to put on a couple to hold my spot in place while attaching
How’s your cutie coming along?
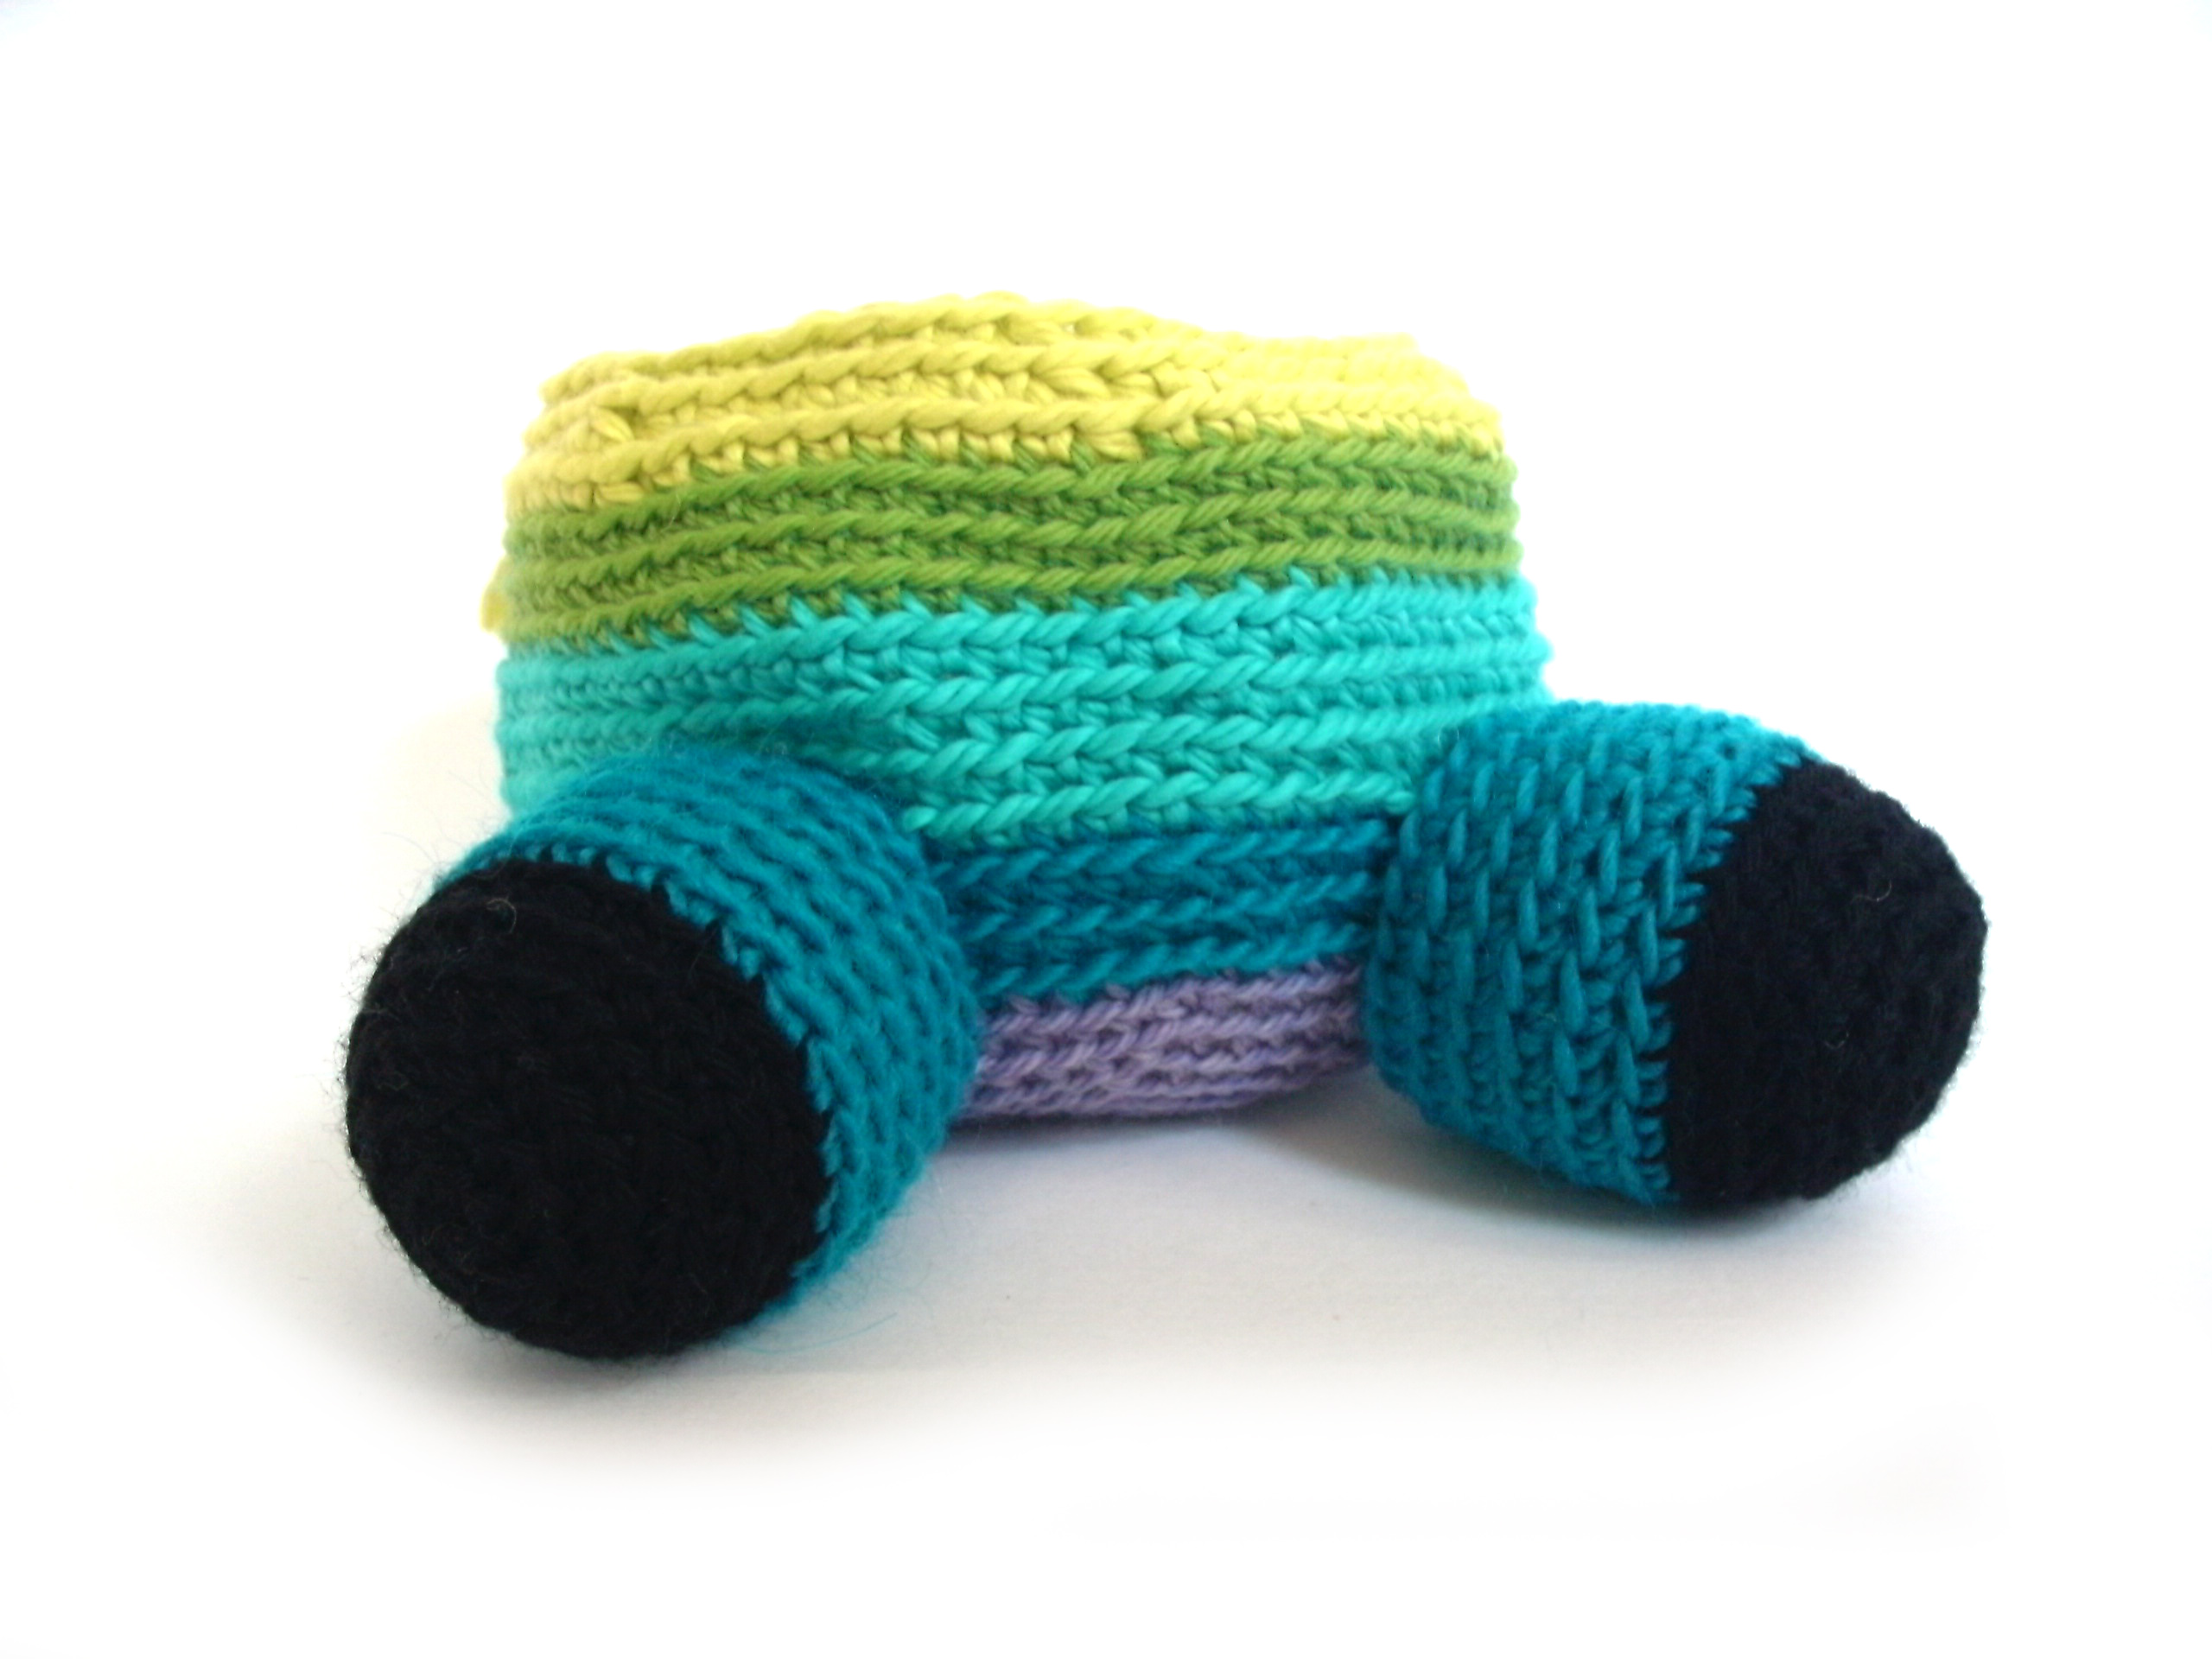
We’re in the final week of the crochet-a-long! Here’s how mine looks:
So colorful!
Here are handy links to all the posts about attaching parts. . .
Hey, everyone! Yesterday was moving day for me… and everything went smoothly! Yay!
It took a tad longer than usual to get our internet installed this morning (our new apartment seems to have some electrical trouble… eep!), so that’s why this post is a bit late! Thank you so much to everyone who wished me luck on our move… it worked!
Working on the cow’s tail
So, how about some helpful tips for crocheting the tail for Jackie the Cow (this month’s crochet-a-long)?
The instructions will tell you to cut 4 pieces of yarn a few inches long… but here’s a little secret: the actual length isn’t that important! You’re making the fluffy bit that will be at the end of the tail, so the length in the pattern is just a suggestion. Feel free to make yours as long as you’d like!
I like to use my hand as a guide… that way there’s no measuring required:
After I’ve wrapped a length of yarn around my hand a few times, I just cut straight next to my index finger, and I magically have equal yarn lengths!
Now, are you ready for my second trick? It’s actually more of an alternative way… but helpful to know!
The pattern includes instructions for how to crochet your tail directly onto the body of the cow. That’s a great way to do it… but if you’re like me, you like to crochet your pieces on the go (or maybe your cow body is still packed in a box somewhere). In that case, it’s easier to crochet your tail separately and attach it later. Here’s how!
Take a double strand of yarn, and make a slipknot, leaving about 3″ of tails:
Now, crochet the specified number of chains. When you’re done, insert your fluff into the loop:
Tie the ends (to secure your fluff), and you have a fabulous tail that can be attached at your leisure!
Most people tell me that they’ve got a handle on the crocheting part… but when it comes to assembling amigurumi pieces, they dread it! That makes me sniffle… making amigurumi should be 100% fun!
So, in this post, I’ll show you how to attach limbs easily and evenly… taking all the stress out of sewing. The trick to easy attaching is planning out your placement ahead of time. It’s a piece of cake after that!
Plan where to attach your limbs
I’m making Jackie the Cow and I’m about to attach the legs and arms.
The instructions say, “Attach legs to rounds 9-14.”
Of course, this is just a suggestion! You can attach limbs wherever you’d like… but I’ve told you where I attach mine so there’s no guesswork on your part!
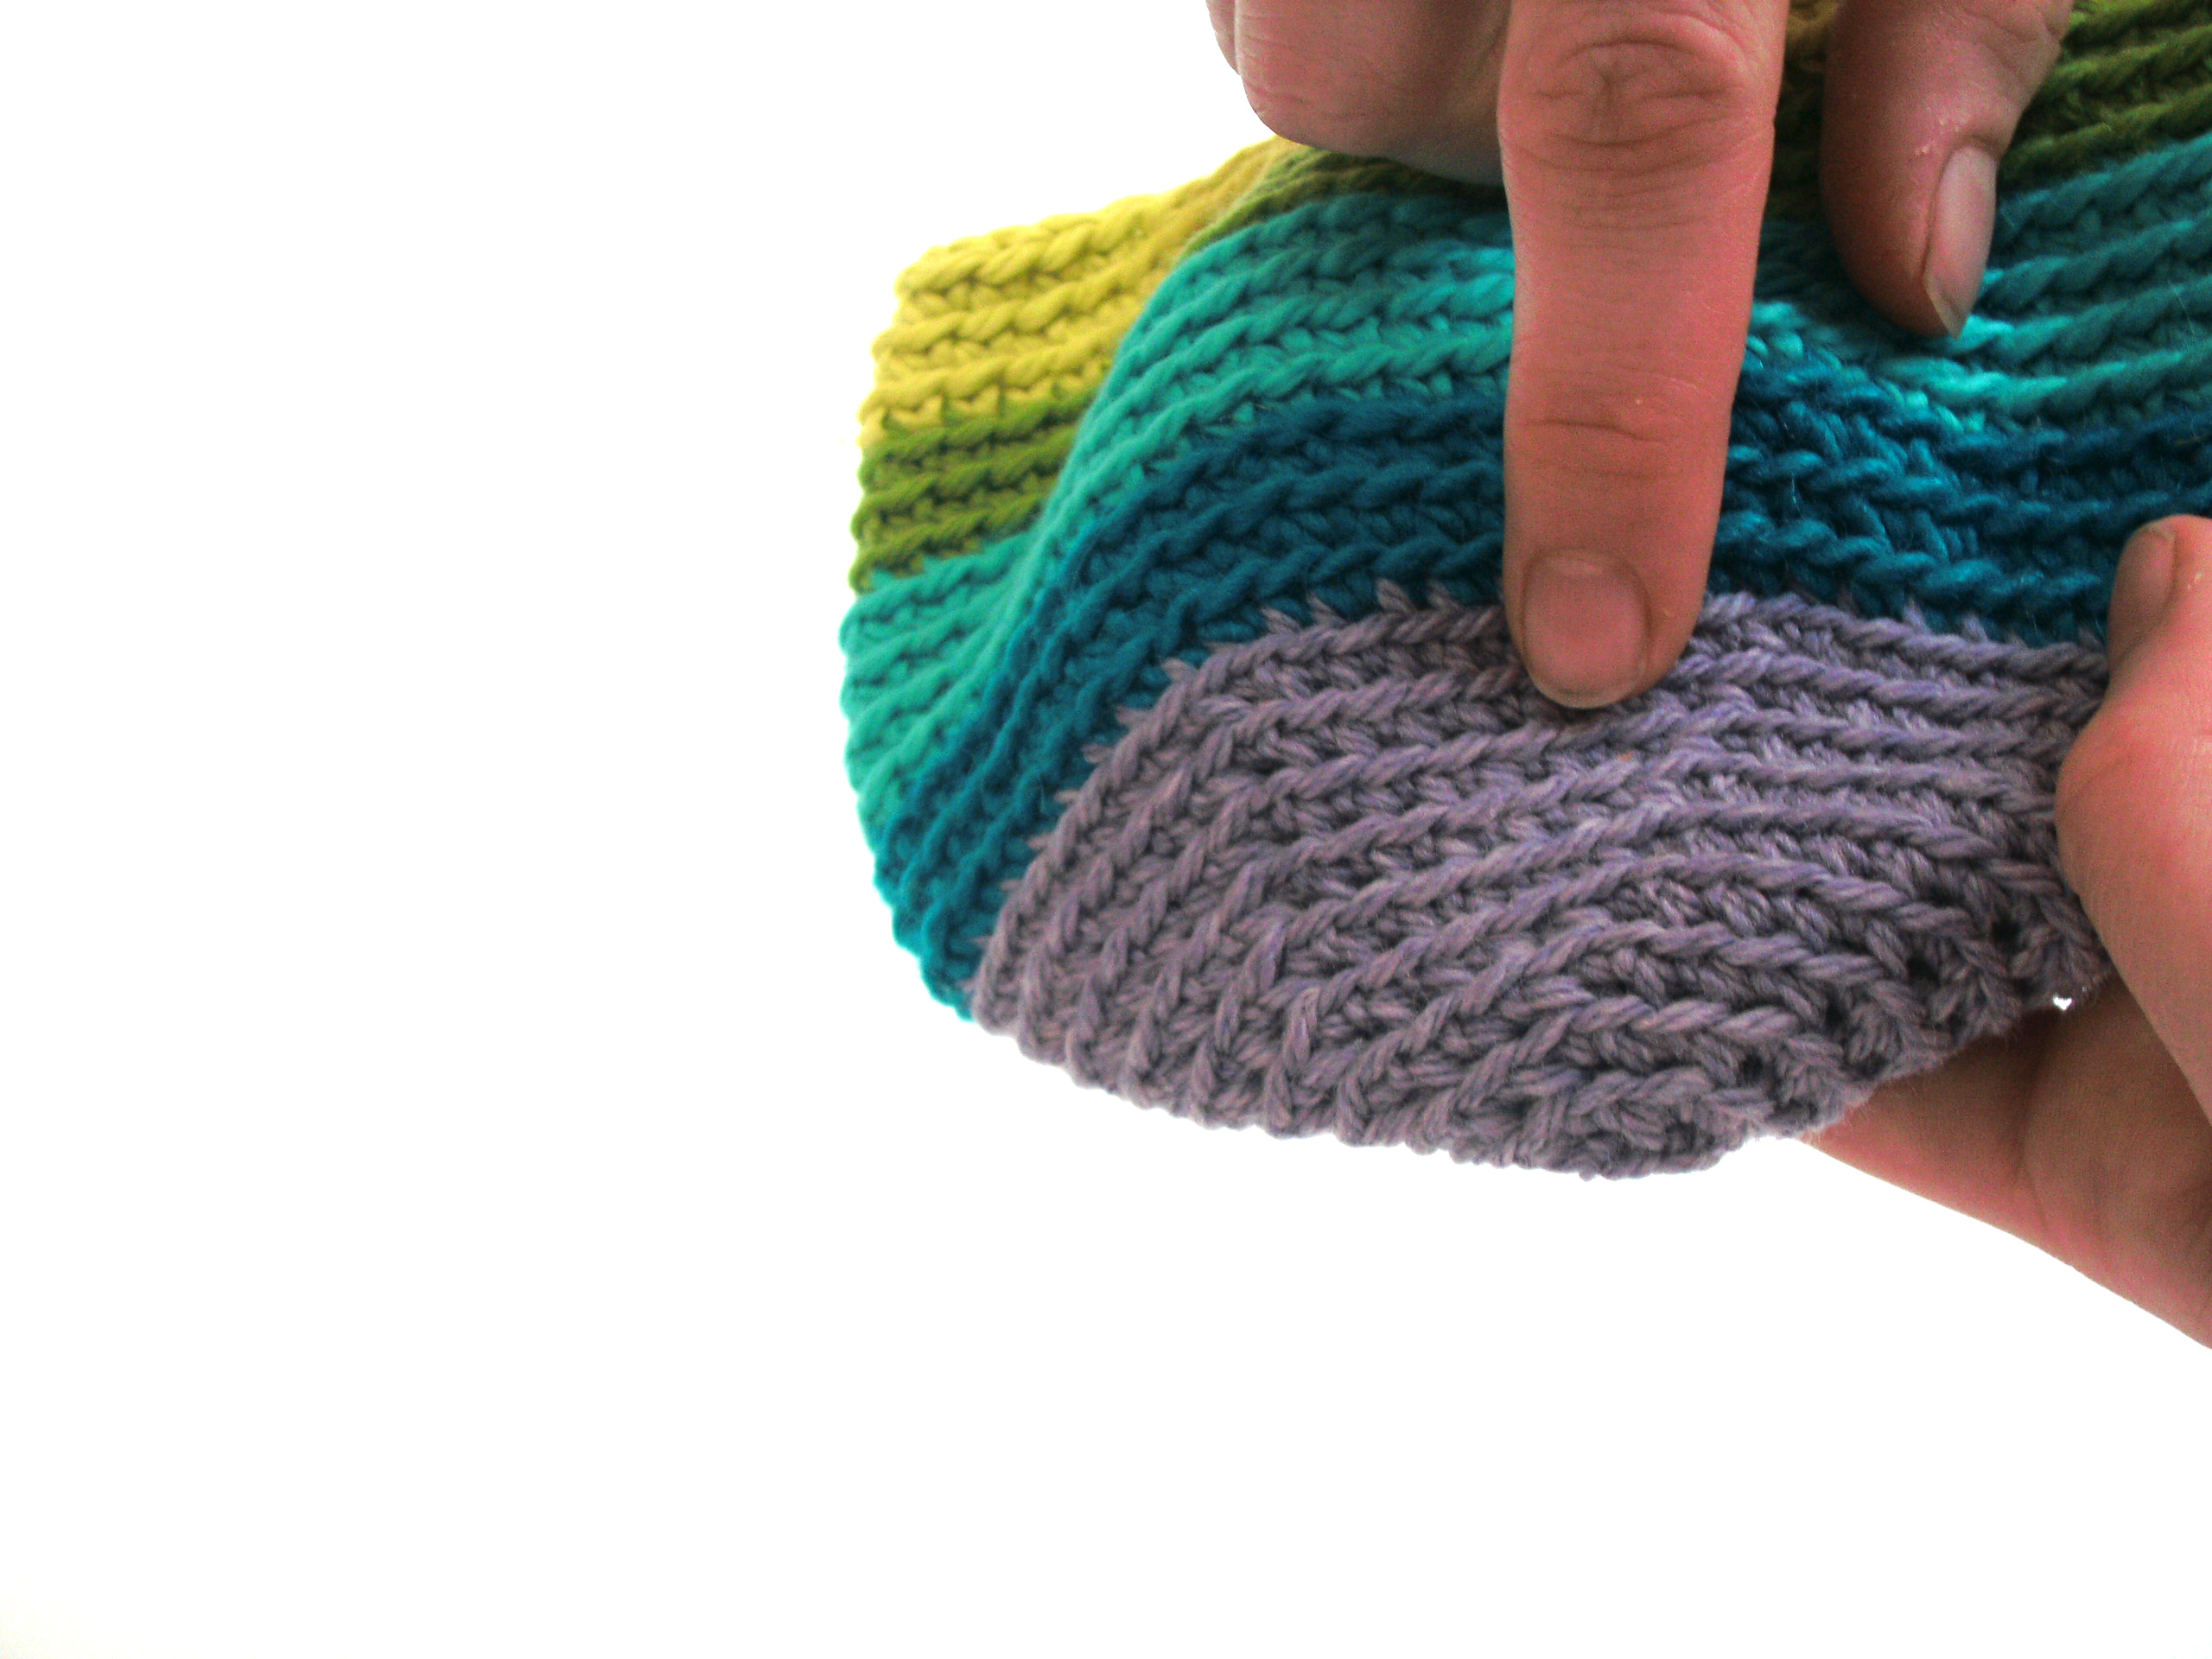
What you want to do is find out where round 9 is, and place a locking stitch marker there. Start counting (see the ridges?) from the center:
Count until you’re at round 9, and place a marker. Place another at round 14. Now you know where your leg should be located on the body!
If you find that your pieces tend to move around a lot when attaching, you might want to go one step further and use locking stitch markers to hold your piece in place. The more you prepare your pieces, the easier sewing will be!
Stuff your limbs
Grab some Polyfill and stuff your limbs:
I like to stuff both legs at once, so I can be sure they are the same size:
Sewing!
It’s not as hard as you think… I promise! We’re going to use a simple whipstitch to attach the limbs… the important thing is to let your guides (the rows and stitch markers) do all the fancy work!
Thread the needle
To begin: thread a tapestry needle with the long tail of a leg. As the first step, I like to hide the knot… so I run my needle through the first stitch on the leg:
This hides the knot beautifully! See?
Whipstitch!
The leg that we’re attaching has 24 stitches. So, if we attach along 6 stitches to round 9, 6 stitches going up to round 14, 6 stitches on round 14, and then 6 stitches going back down to round 9… the leg will be attached evenly! So, begin by threading the needle through one stitch on the body and one stitch on the leg:
That’s it! You did a whipstitch! Check out this little video if you want to see it in action:
Continue to do 6 stitches on round 9… and then continue stitching (sorta turning 90 degrees) to get to round 14. See? You’re using the stitches on the body to guide you! Easy!
As long as you keep attaching one stitch of the body to one stitch of the leg, you’ll stay on track!
Continue all the way around, and tie a knot on the inside of your work.
Ta da!
Repeat for second leg
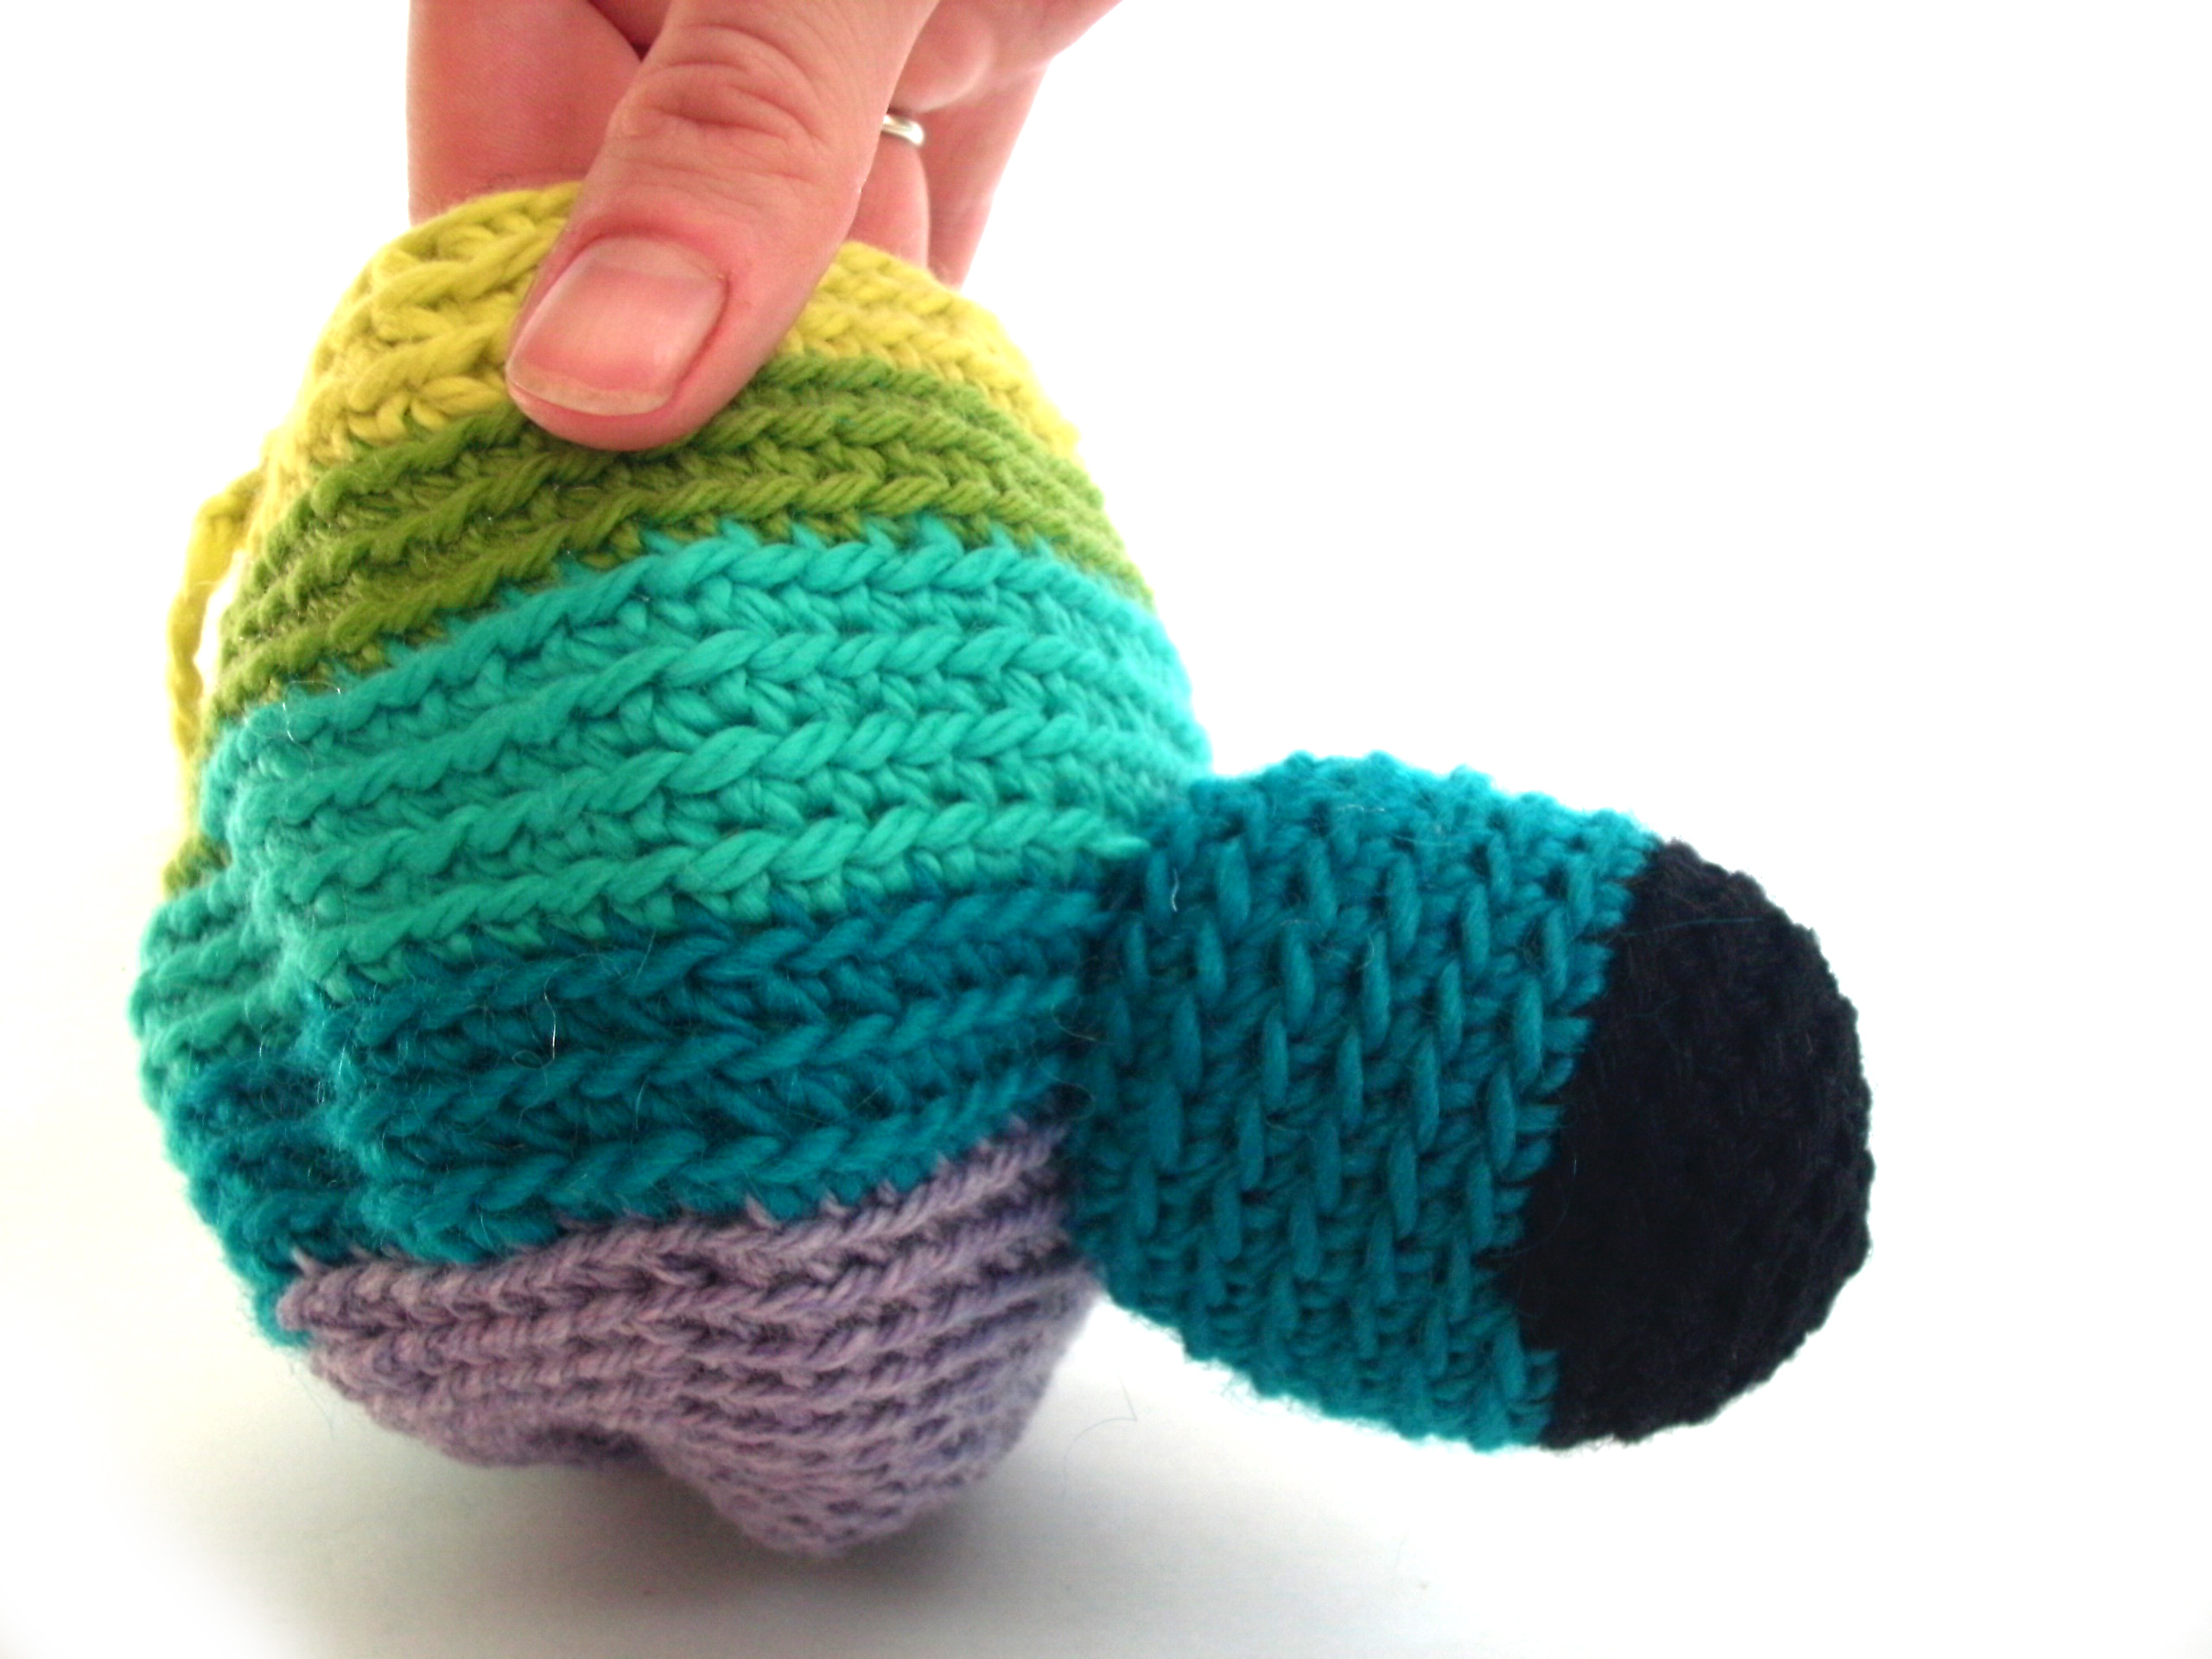
Now, at this point, you may want to get picky. See how there’s a jog in the leg where the colors changed?
If that jog bothers you… no problem! Just decide where to place your second leg so that the jog ends up at the back of the cow! See… I’m going to put my second leg over here (on the other side of the jog), leaving the color change nearly invisible:
Now attach the second leg… same as the first! Don’t forget to place your helpful markers if you need them!
Repeat for arms!
You’ve got it down, now! Attach the arms using the same method!
You did it!
That wasn’t so bad, was it?
Other Ways to Attach Limbs
There are a few other ways to attach limbs to crocheted softies – each gives a different look.
Does your pattern tell you to attach the piece with single crochet as you stitch? That’s my favorite way to attach limbs. The pattern will say sc-attach and you can find a video tutorial for that method here. This method works great for flopp[y limbs that are attached along a single row of the design.
Here are handy links to all the posts about attaching parts. . .
I’m lovin’ the Cow Crochet-a-long… I’m already seeing some fabulous finished cows! Don’t forget that, to have a chance to win the awesome prize, you’ll need to post a photo of your cow either on our facebook page.
How to connect spots
For those of us who aren’t finished… the tips are still coming! Click here to check out all the previous posts. To this point, we’ve finished the crocheting, and we’re getting ready to start sewing pieces together.
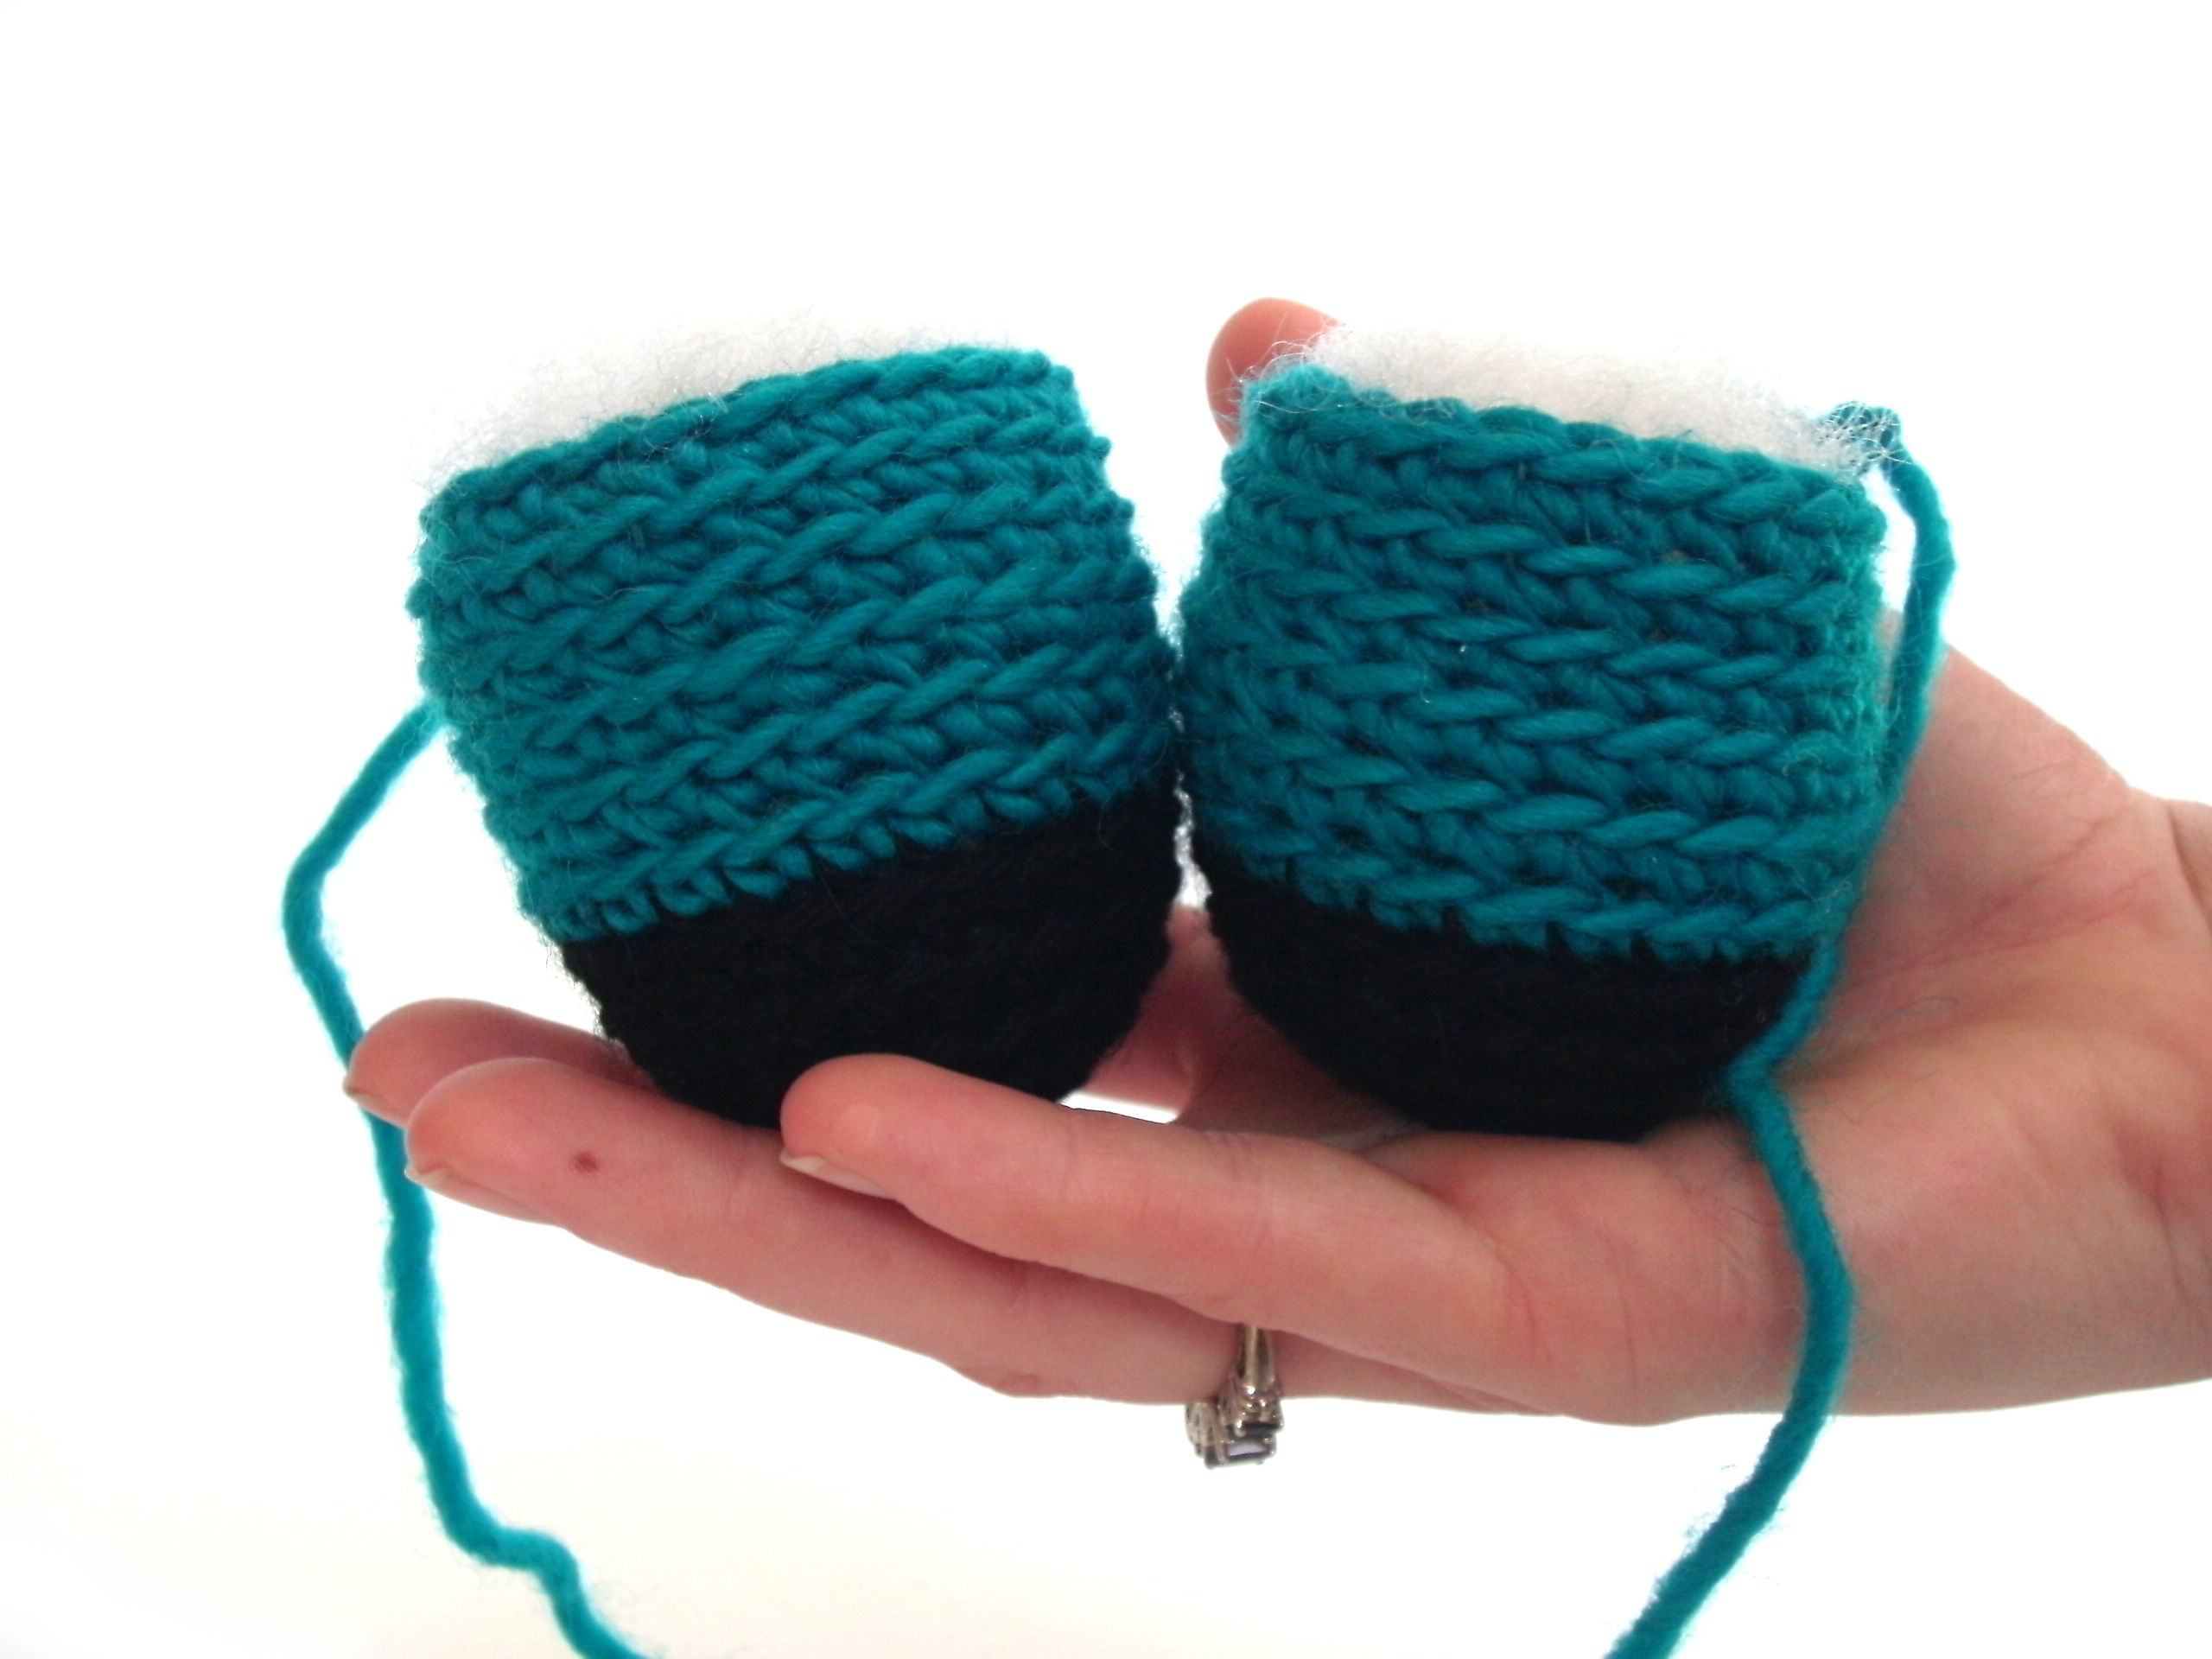
Today, I’m going to show you how to make the spots… which are made by assembling 2 crocheted pieces. Here’s what they look like:
Let me label them (since they’re called part 1 and part 2 in the pattern) to help you out a little:
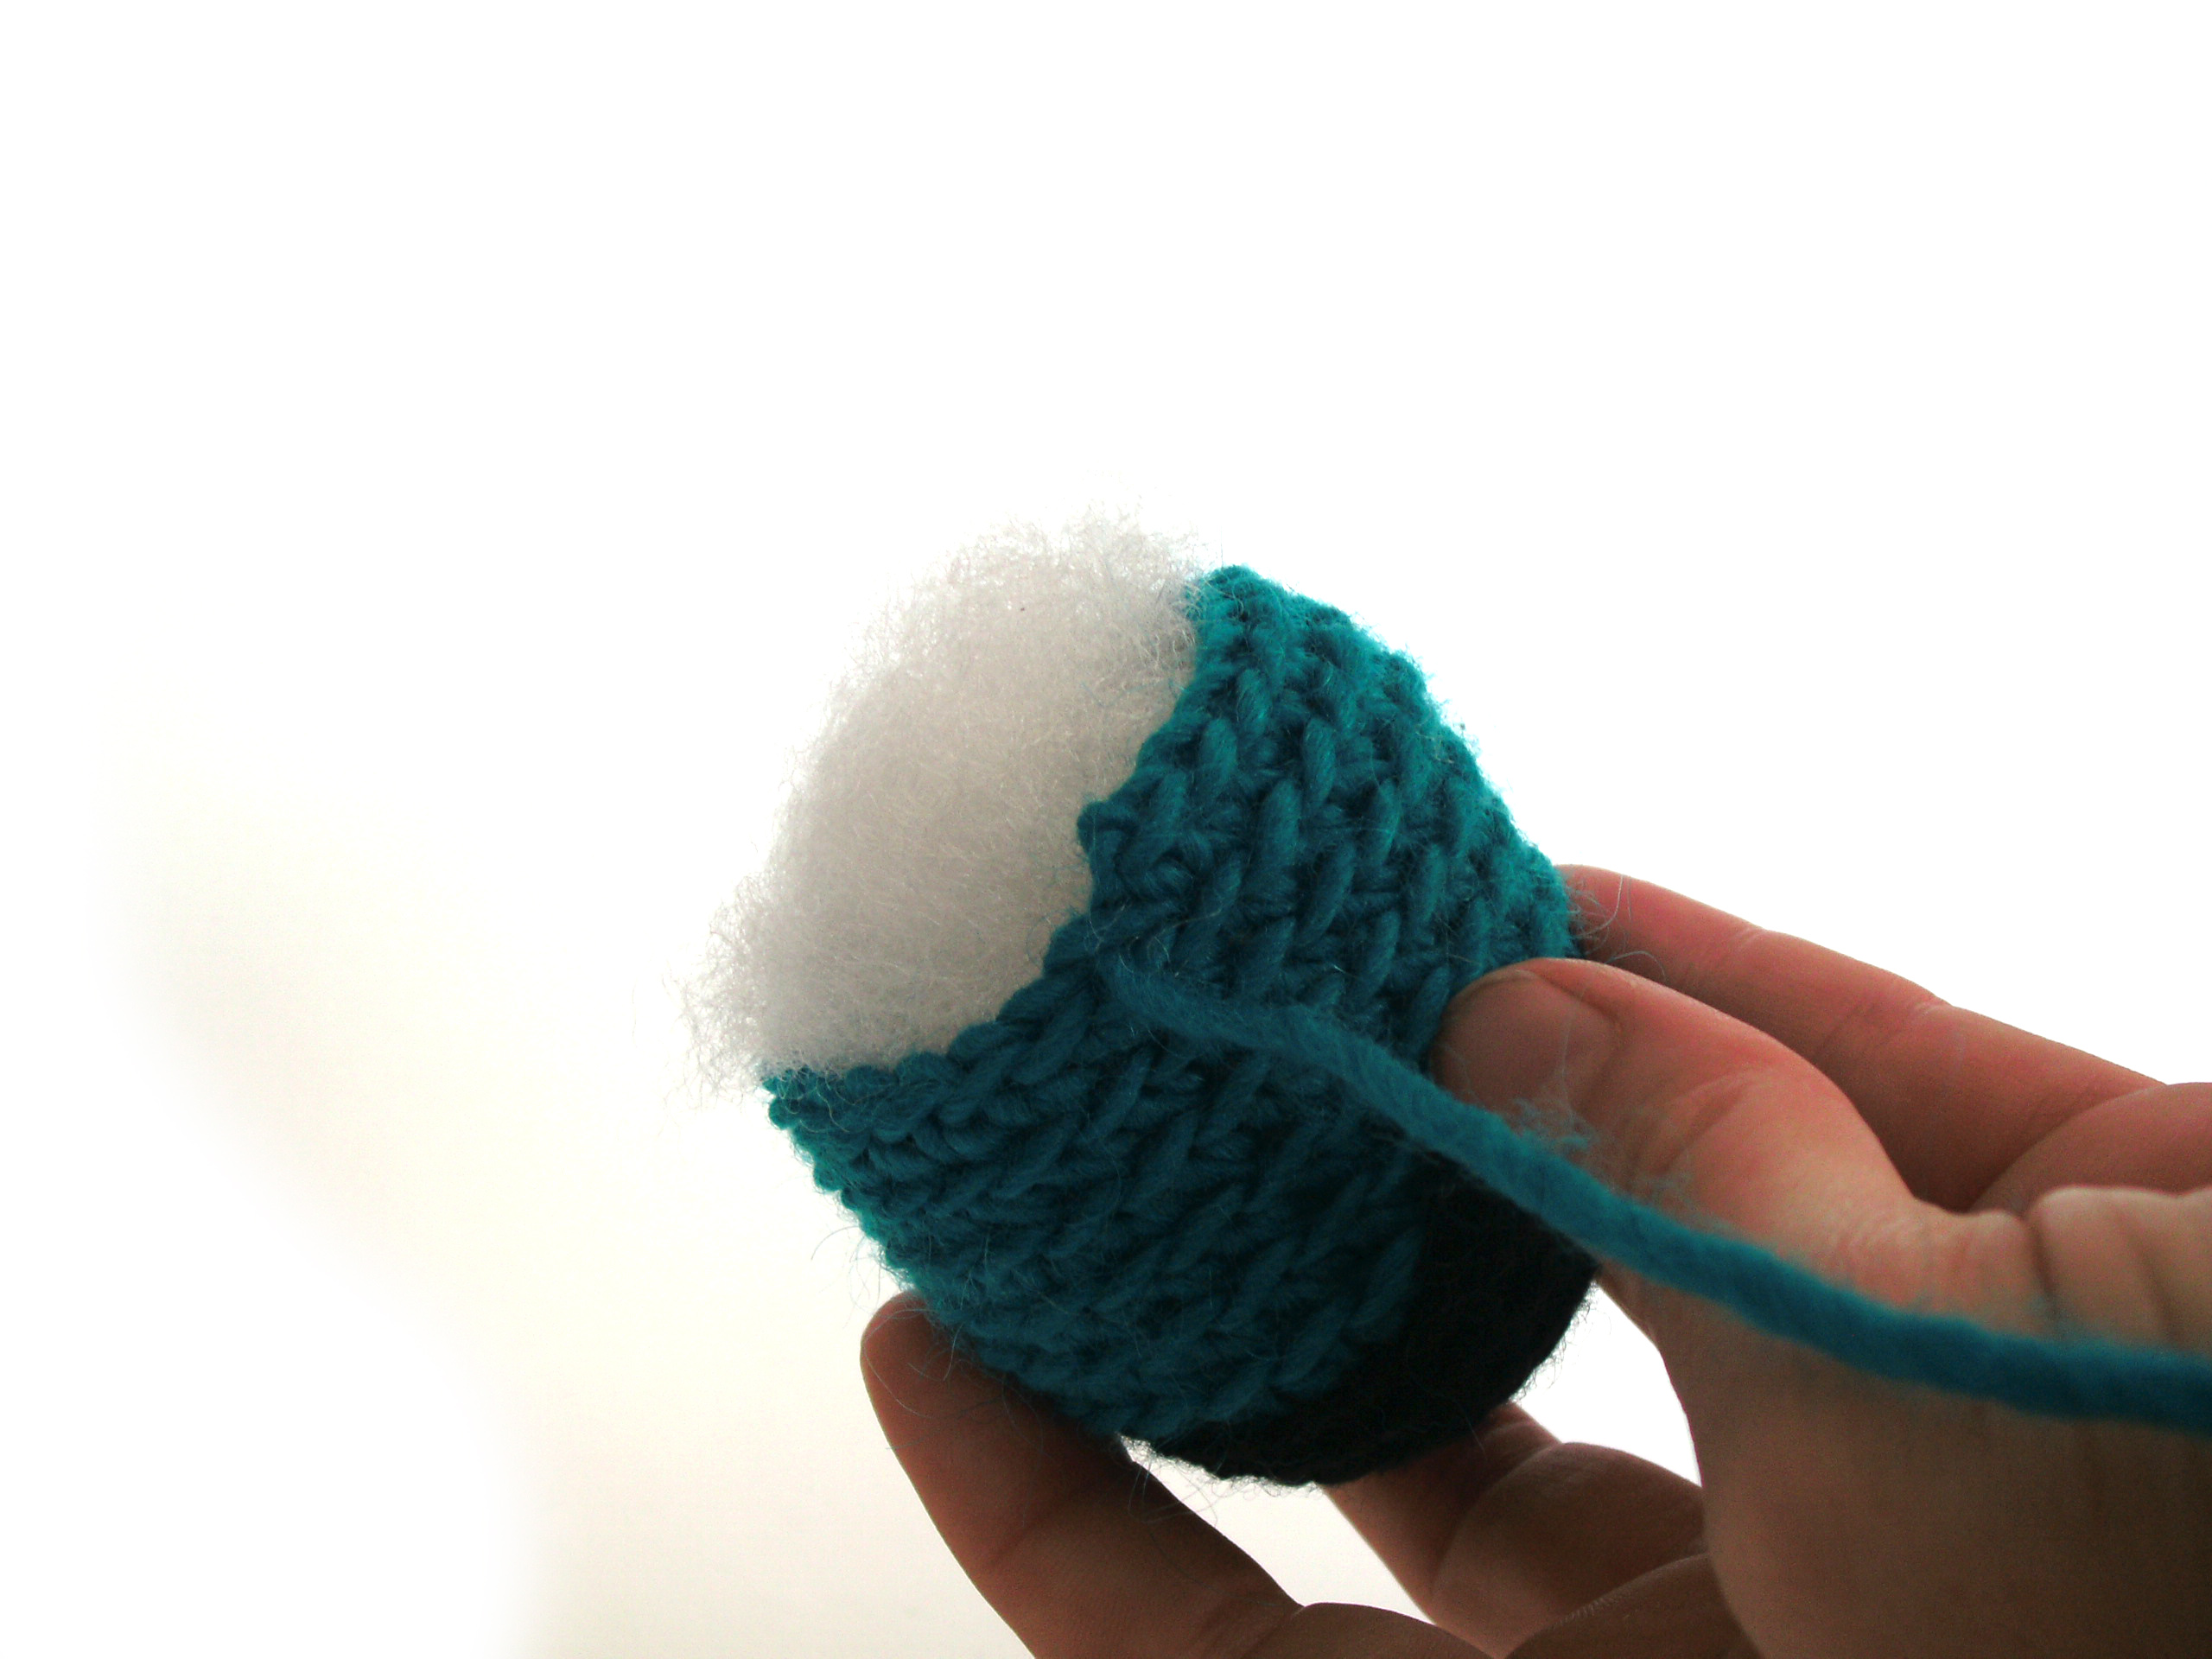
So, the instructions tell you to attach the flat side of part 2 to part one. Do you see the flat side? I’ve indicated where it is in the picture above with a red line.
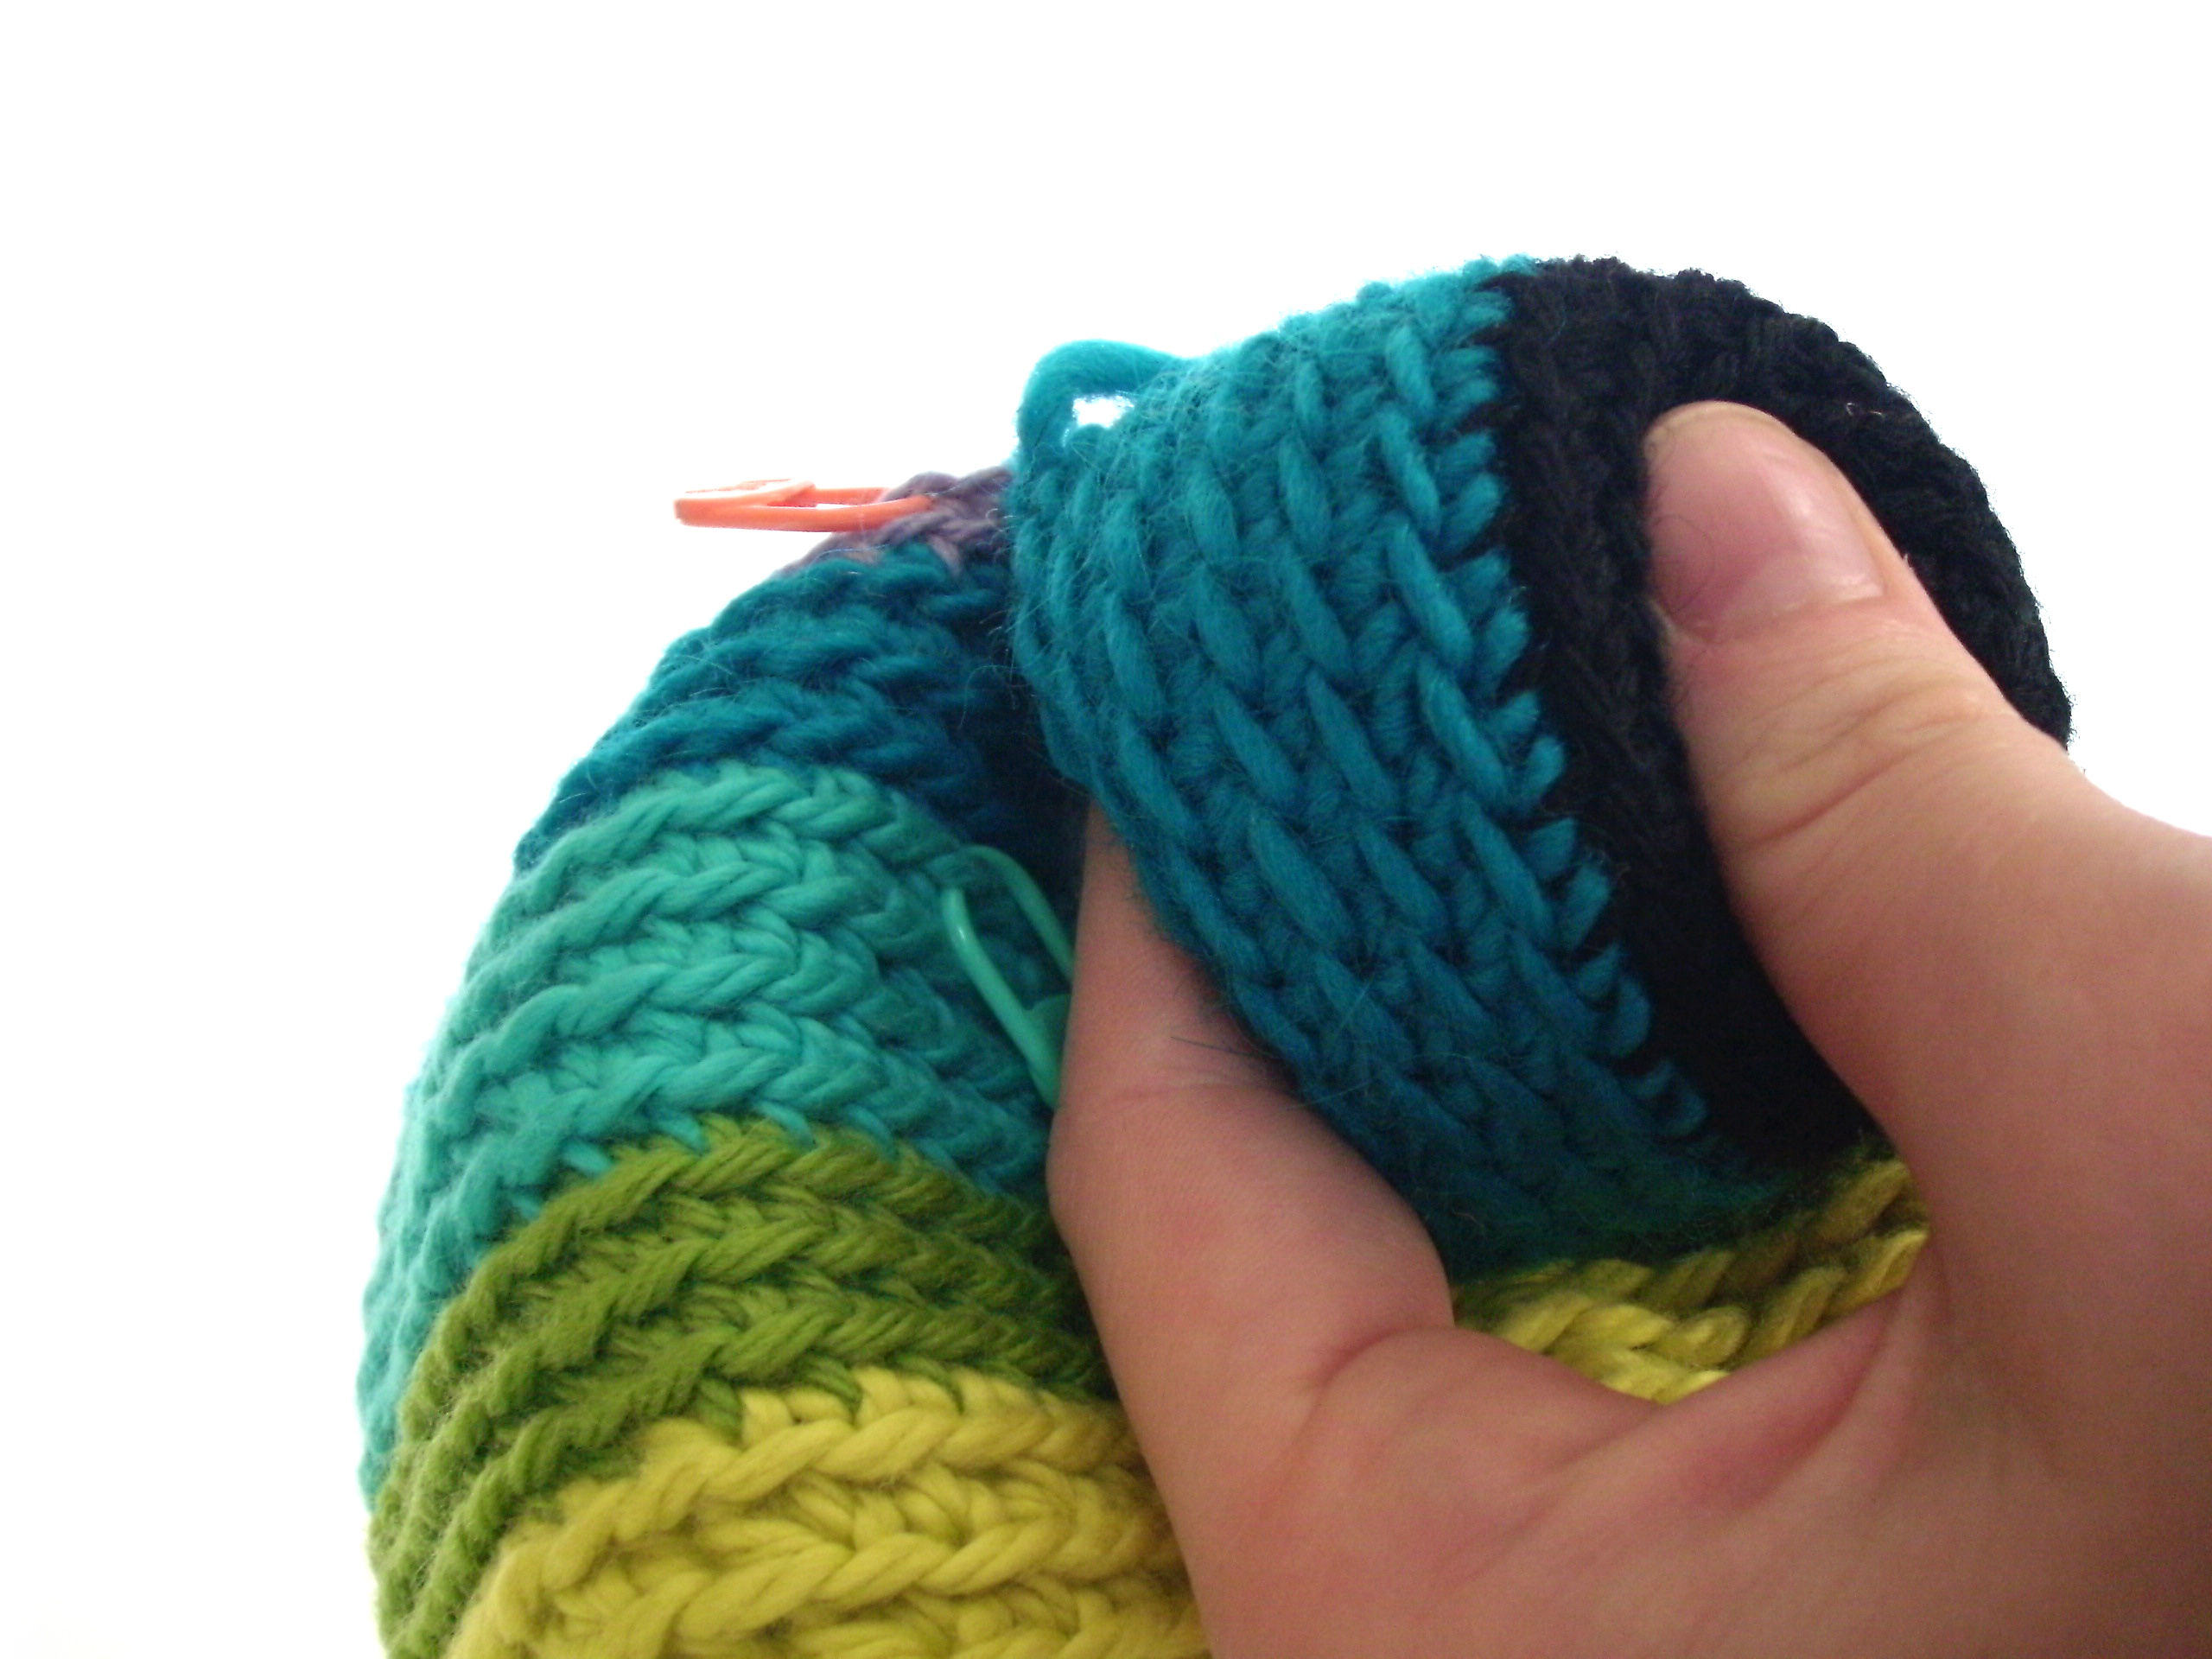
So, let’s start! First, thread a tapestry needle with the long tail of part 2:
Now, use a whipstitch to attach the flat side of part 2 to part 1. Anywhere along part 1 will do!
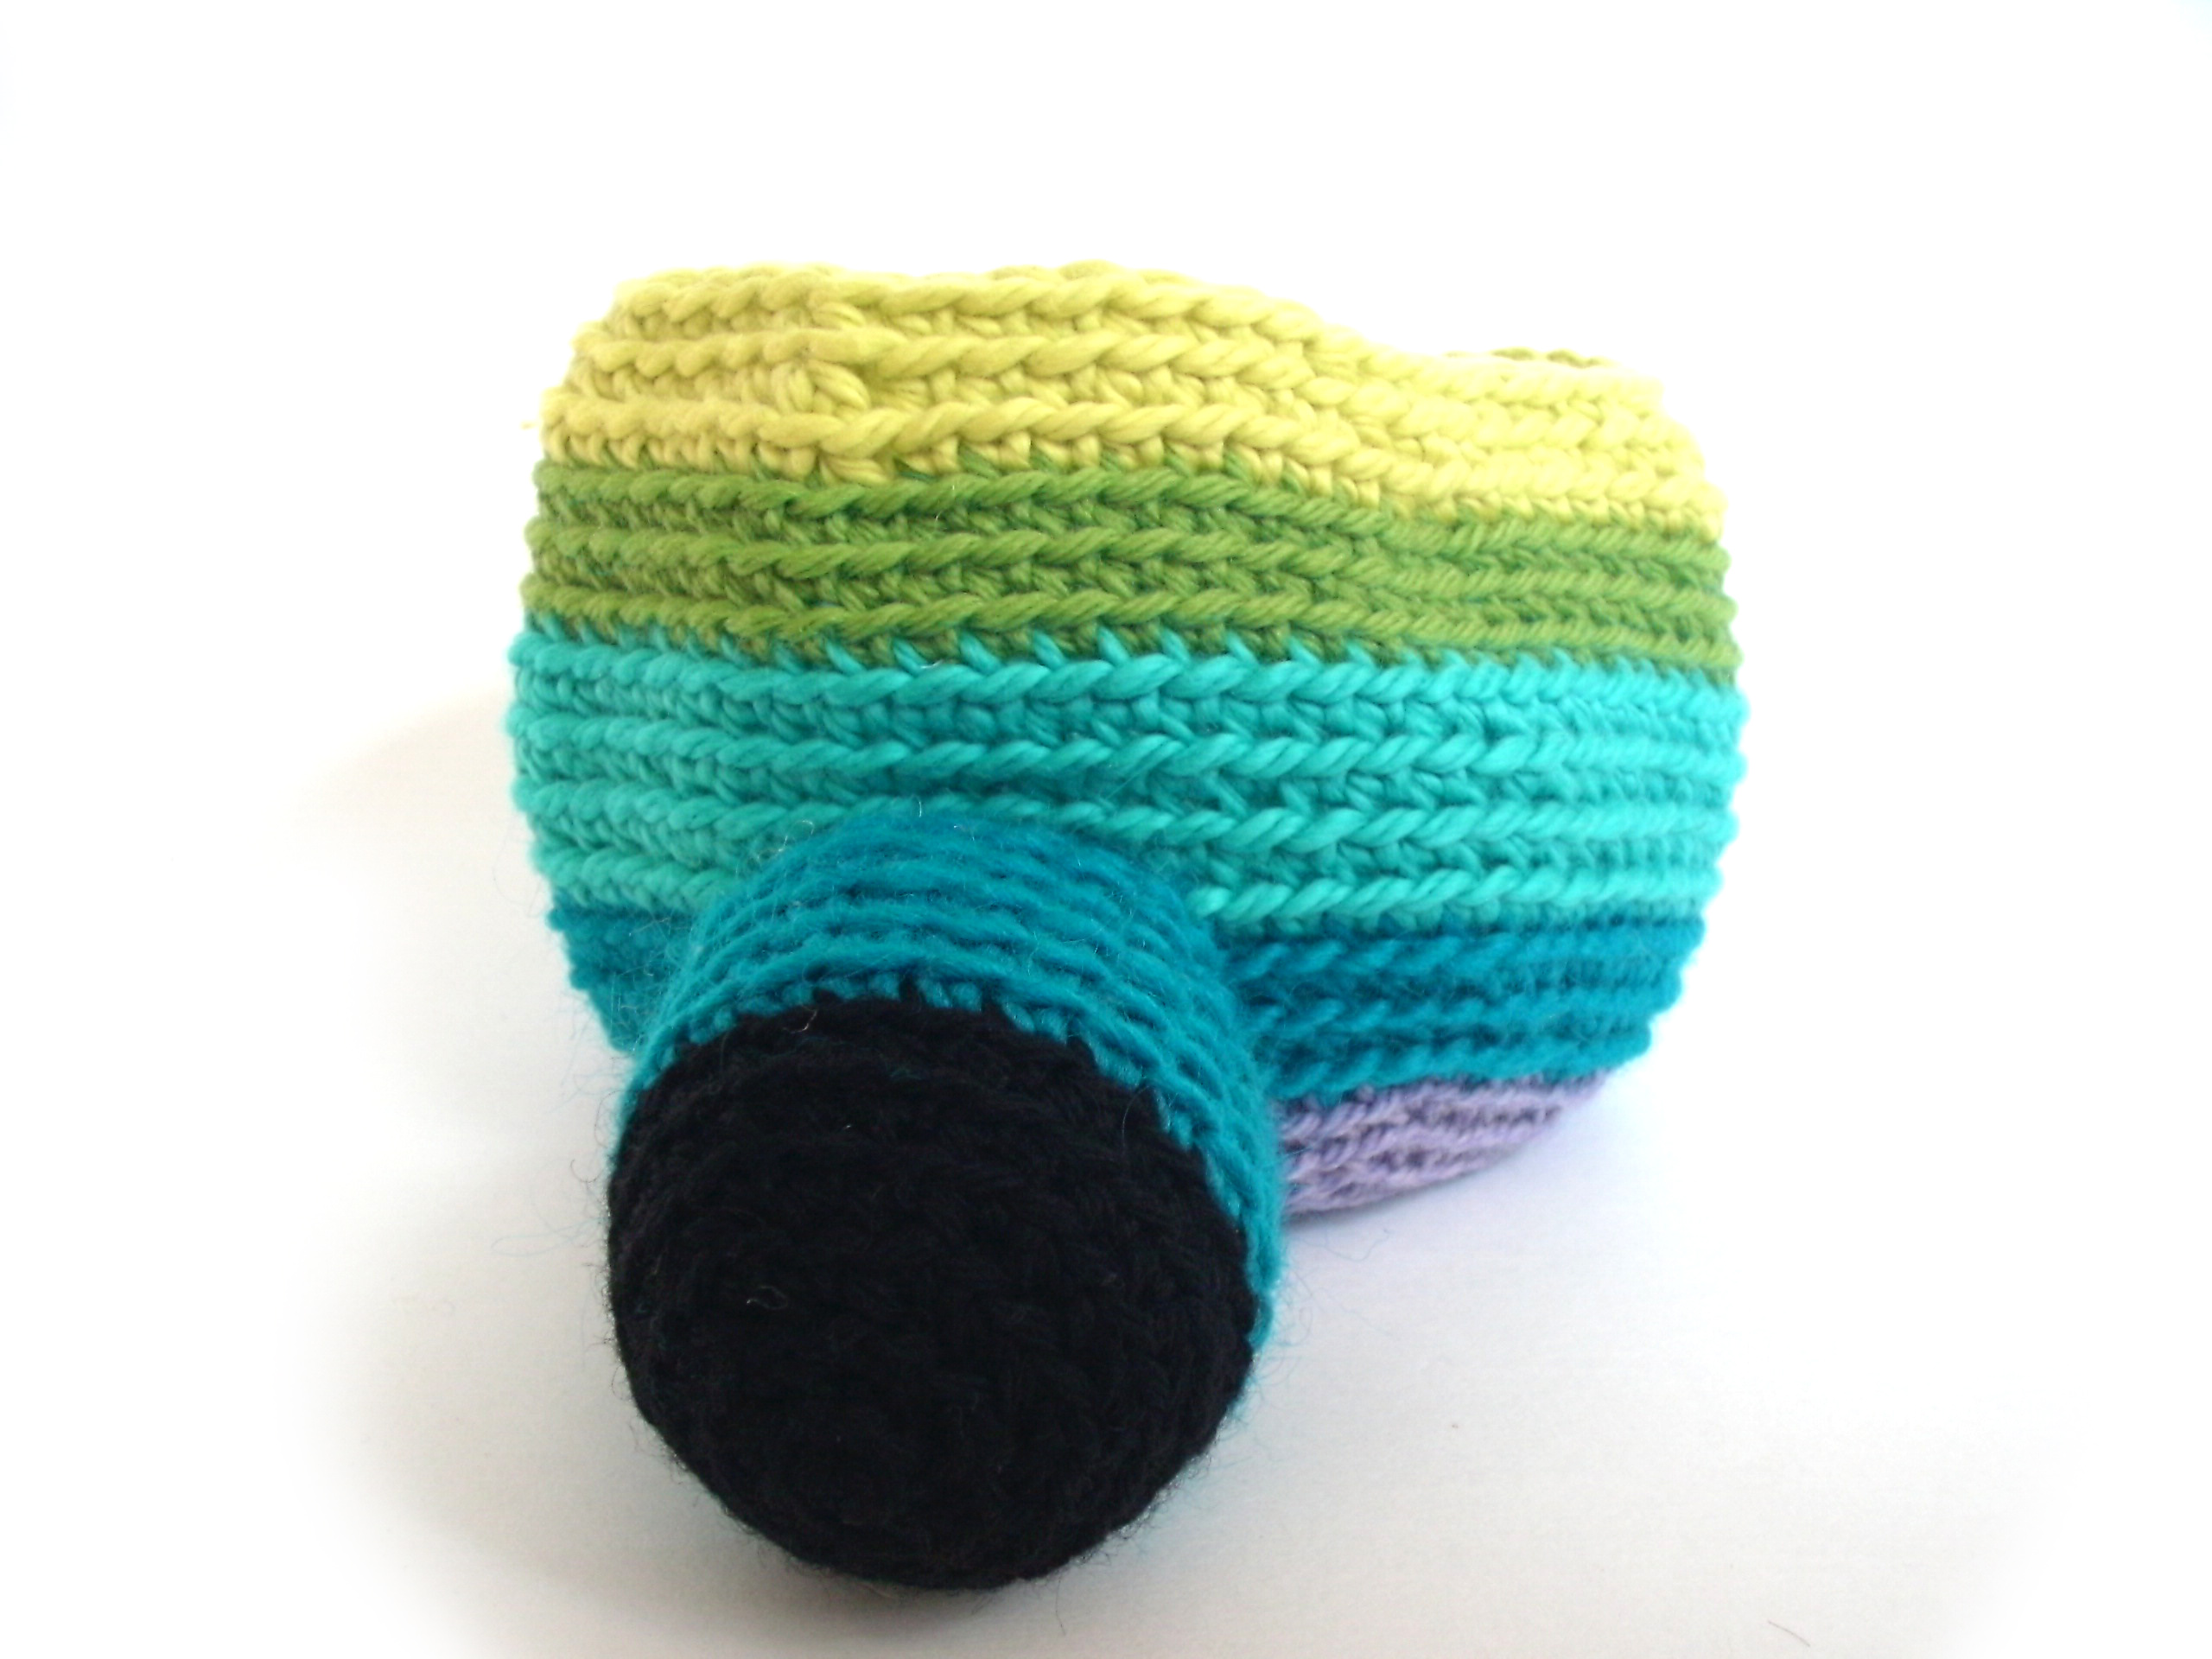
When you’ve gotten to the end of the flat bit of part 2… you’re almost done! Your piece will look like this:
Yay! Doesn’t it look like a cow spot? Now, just tie a knot, and you’re done!
If all those ends are bothering you (’cause there are a lot!), feel free to trim them… but be sure to leave the long tail that’s on part 1. You’ll be using that tail to connect the spot to the body.
Hooray! On Thursday, I’ll shop you how to attach the cow’s limbs easily and evenly!
Have you finished crocheting your pieces for the Cow Crochet-a-long? I’ve reviewed the basics for crocheting most of the pieces… but the mouth (and part 2 of the cow spot) are made by double crocheting semi-circles, which is a little different!
Video help is here!
What does ‘4th ch from hook’ mean? How do you turn? Those are just a couple of new terms that pop up when crocheting the cow’s mouth.
In case you’ve gotten stuck, I made a little video to help you out. . .
Show off your progress!
Now you should have all the skills you need to finish crocheting your pieces!
Here’s what mine look like:
Next week, I’ll be giving you tips on assembling this cutie cow’s pieces!
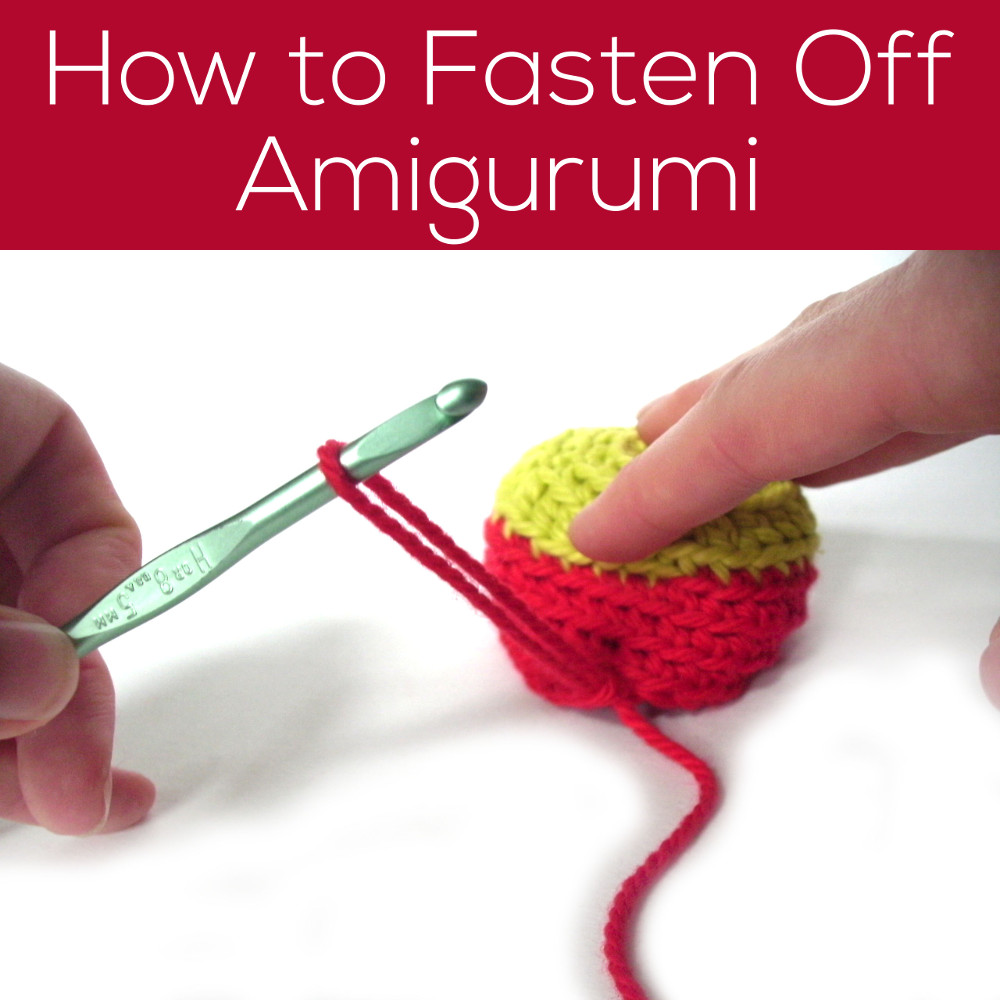
In amigurumi patterns, you’ll often see the instructions ‘Fasten off’ or ‘Fasten off with a long tail’. What does that mean? No worries, I’m here to tell you!
Fasten off.
Whenever you’re making a piece, and you’ve finished all the crocheting… you’ve got to end it! Even though the instruction ‘fasten off’ may sound a little obscure, it’s super-easy (and you’ve probably already been doing it)!
I’ve got a video here, followed by some step-by-step photos for if you just need a quick reference.
Here’s the video
And here’s the photo tutorial
Here’s my snout from my cow (because I’m doing the CAL!), and I’ve finished crocheting:
Remove your hook, making the last loop a little larger:
Now, pull the working yarn through the loop (you can either cut the yarn- see the next part of this blog post first- or pass the entire skein through the loop. Up to you!).
Check out that beautiful knot:
How much tail should you leave?
Excellent question! When you’re cutting your yarn when you’re fastening off), you always want to leave a few inches or so. That way, you’ll have enough to weave in (or hide) the tail on your finished piece.
When making amigurumi, you often want to leave a ‘long tail’… enough so that you can use the tail to attach the piece to another piece later on. I usually say about 12″, but a more accurate measurement is about twice as long as the last round of your piece.
Here’s the step-by-step:
Keep in mind, you can cut your working yarn while tying off the knot (see above) or after the knot has been fastened. Simply snip your yarn (leaving the length I described):
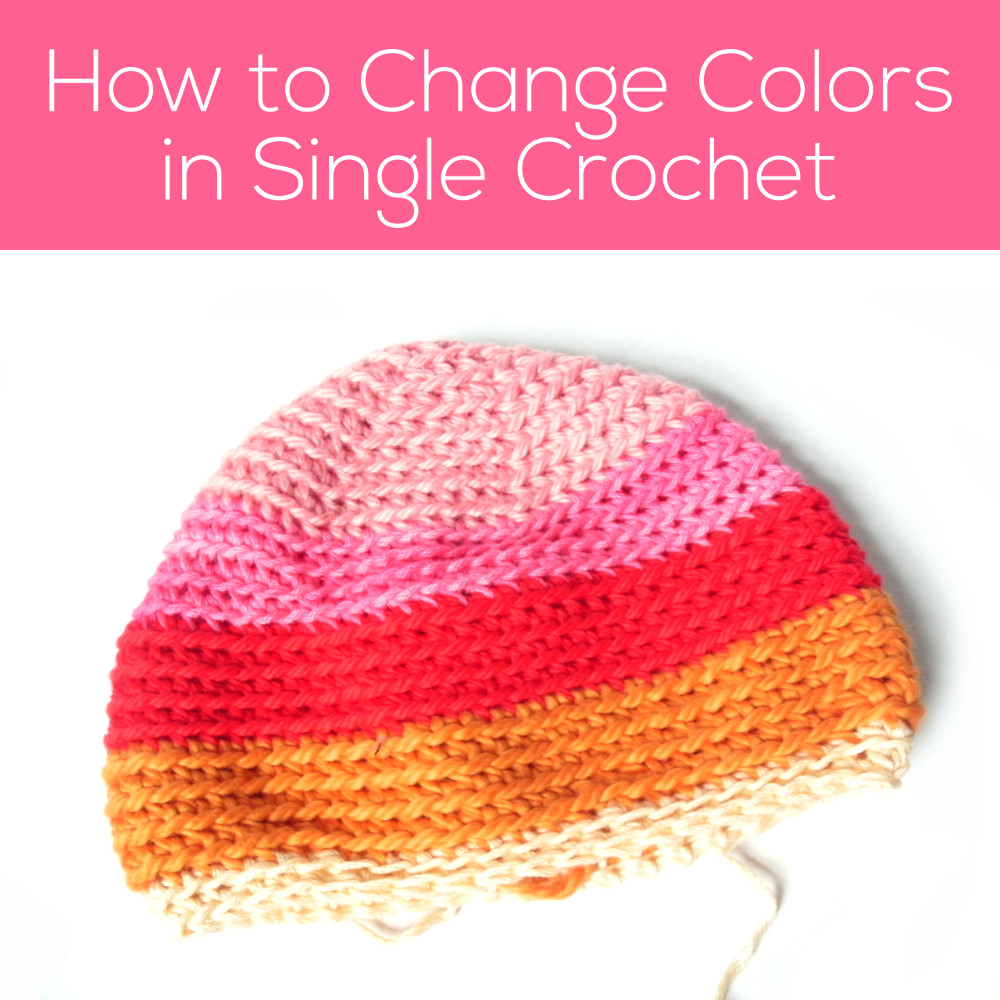
You already know that I’m making a rainbow cow… basically, changing to a new color every few rows to get rainbow-y stripes.
Do you want to know how to change colors?
Of course you do!
So, I made this little video of me doing the first color change: (click on the square icon in the lower right corner of the video to view it in full screen)
Not so hard, is it?
And if you keep changing colors every few rounds, you’ll end up with a super-fun, stripey head!
Want to get a little fancier? There’s a way to change colors and minimize the look of the little “step” that results. Watch that video here.
Here are handy links to all the posts about changing yarn color in crochet. . .