How to Crochet the Bottom Side of a Foundation Chain

How to Crochet the Bottom Side of a Foundation Chain - a video tutorial

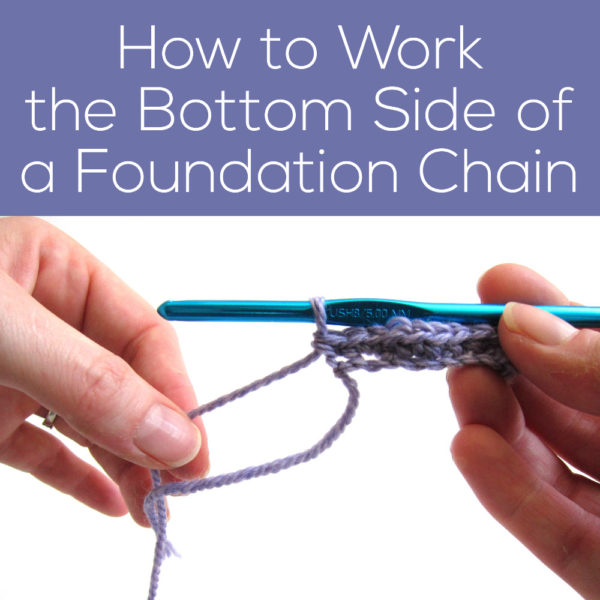
Today, I’m going to talk about an instruction that can be confusing the first time you see it. Rotate your piece to work the bottom of the foundation chain.

What does that mean? I’ll show you both in photos and in video how to do it! It’s a great technique for achieving an oval shape in your crochet work (what I’m showing in this demo) but you’ll find it in lots of other irregular shapes as well.

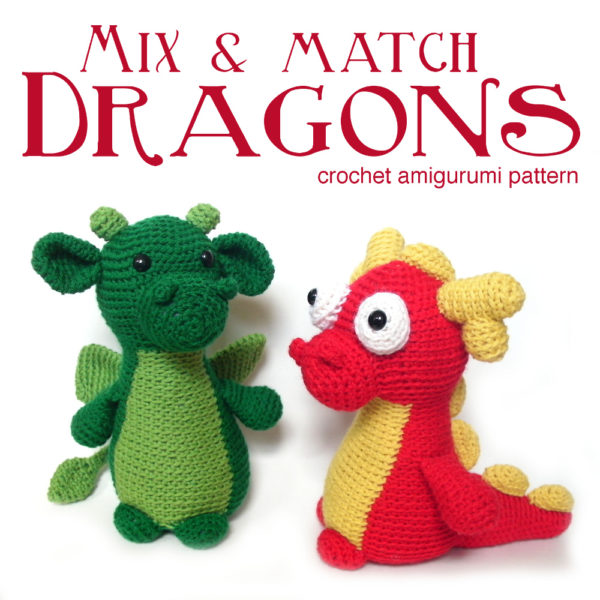
We used it on the wings in this Mix & Match Dragons pattern.

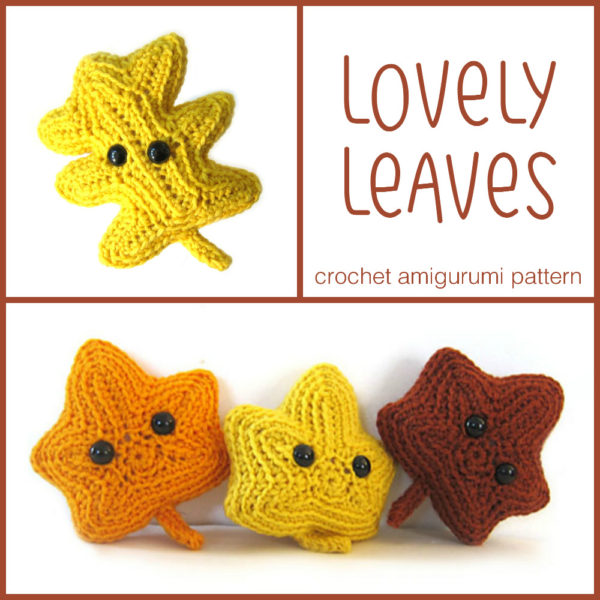
We also used it to get the really odd shapes in the Lovely Leaves pattern. . .

Lovely Leaves - crochet amigurumi pattern

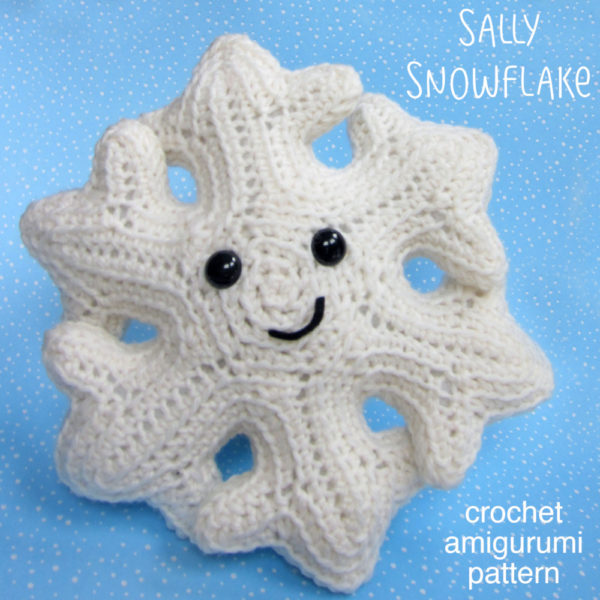
. . . and this totally unique snowflake pattern!

Sally Snowflake crochet pattern

Crocheting into the both sides of a foundation chain lets you create all kinds of shapes!

Photo Tutorial

Okay, so you’ve crocheted your first row, and your piece looks like this:

One row of crochet completed - lavender yarn and blue hook

Now, you encounter the instruction to ‘work the bottom of the foundation chain’. What does that mean? First, rotate the piece 180 degrees clockwise so that the row you just crocheted is on the bottom:

First row of crochet turned upside down so you can crochet into the bottom side of the foundation chain

Now, crochet along the bottom loops of the foundation row (working from right to left), just as if you were working a regular row!

crocheting into the bottom of a foundation chain

Once you’ve finished the row, you’ll have a lovely oval piece!

crocheted oval - lavender yarn - with blue hook and orange stitch marker still attached

If you want more info about how to crochet ovals with different proportions, there’s a separate post for that here.

Video Tutorial

Want to see it in action? Check out this video!

So, think you’re ready to crochet into the bottom of a foundation chain? Give it a try!

Here are handy links to all the posts about crocheting more advanced shapes. . .

Return to the main table of contents for Let’s Learn to Crochet Amigurumi.

Move on to the posts about troubleshooting common problems.

Happy stitching!

Changing colors and stranding yarn in crochet colorwork

Crocheting the dragon’s tummy

This dragon sports a differently colored tummy, which may seem hard, but is actually quite easy once I show you some helpful tips. There are two important pieces to getting a nice looking tummy:

  1. Changing colors cleanly so that you have a nice edge along the sides of the tummy.
  2. Managing the not-in-use color of yarn so that you don’t end up with a mess.

I’ll show you how to do both today, so that you can finish crocheting your dragon’s body! On Thursday, I’ll show you a third part, how to snip and knot the ends so that you can stuff your dragon nicely.

Do you want to know how to change colors?

Of course you do!

So, I made this little video of me doing the first color change: (click on the square icon in the lower right corner of the video to view it in full screen)

Not so hard, is it?

How to carry your yarn

There are lots of ways to manage your yarn when you’re doing color changes, but the technique I’m going to recommend is stranding your yarn, and then cutting and knotting it. The advantage to this technique is that it’s comfortable for crocheting (i.e., you aren’t interrupted by cutting the yarn twice every round) and it achieves the desired look.

If you’ve crocheted Nelson the owl, then you’re probably familiar with the technique. But, I’m going to review it, here… because the dragon adds in some complicating factors!

When you get to a color change, you want to carry the unused color of yarn along the back. But, since we’re going to cut this yarn later on… you need to make sure you have at least 3″ carried along the back. See how loose my pink strand is?

If you pull the yarn tightly, you won’t have enough yarn to cut and tie the ends, later!

So, keep doing this (carrying the unused color of yarn across the back of the work) every color change. You’ll start to get lots of strands:

By the end… you’ll have a lot!

In this post I show you how to snip & tie off these ends – including why you don’t want to just leave them as is!

Frequently asked questions

My stitches on the edges look very loose and icky. What did I do wrong?

Nothing went wrong! That’s normal. It’s just because we’re doing the strands so loosely… we’ll clean them all up tomorrow!

The dragon’s tummy looks crooked, what gives?

When you work in the round, the crochet stitches always bias a little bit to the right (if you’re right-handed). This actually happens all the time, but you don’t really notice until there’s a color change to show it off. There are some ways to fix it, but honestly, they’re a bit of a pain. I like to think of the curving tummy as a feature… it gives the dragon some sassy character!

This color change thing is really annoying.

That’s not a question! Anyway, yeah, I know. There’s no shame in crocheting the dragon’s body all in one color, and skipping the color changes. In fact, I’ve already spotted some finished dragons in our Ravelry group that did just that… and they look fantastic! Your crochet shouldn’t annoy you – do what works for you!