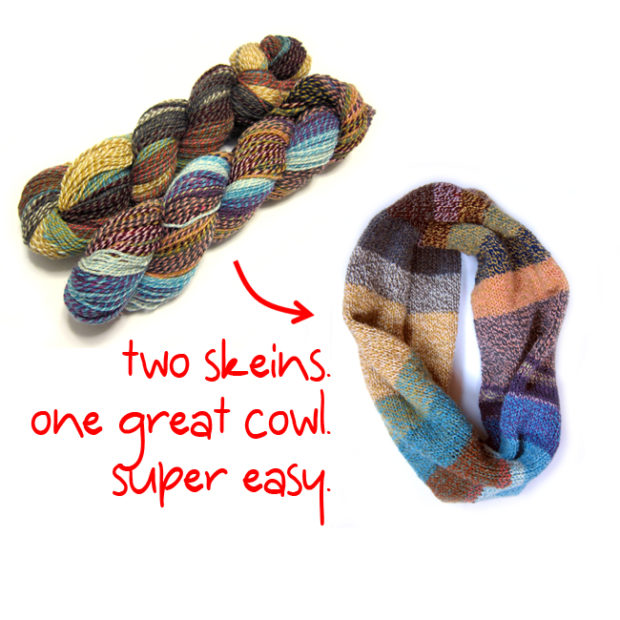
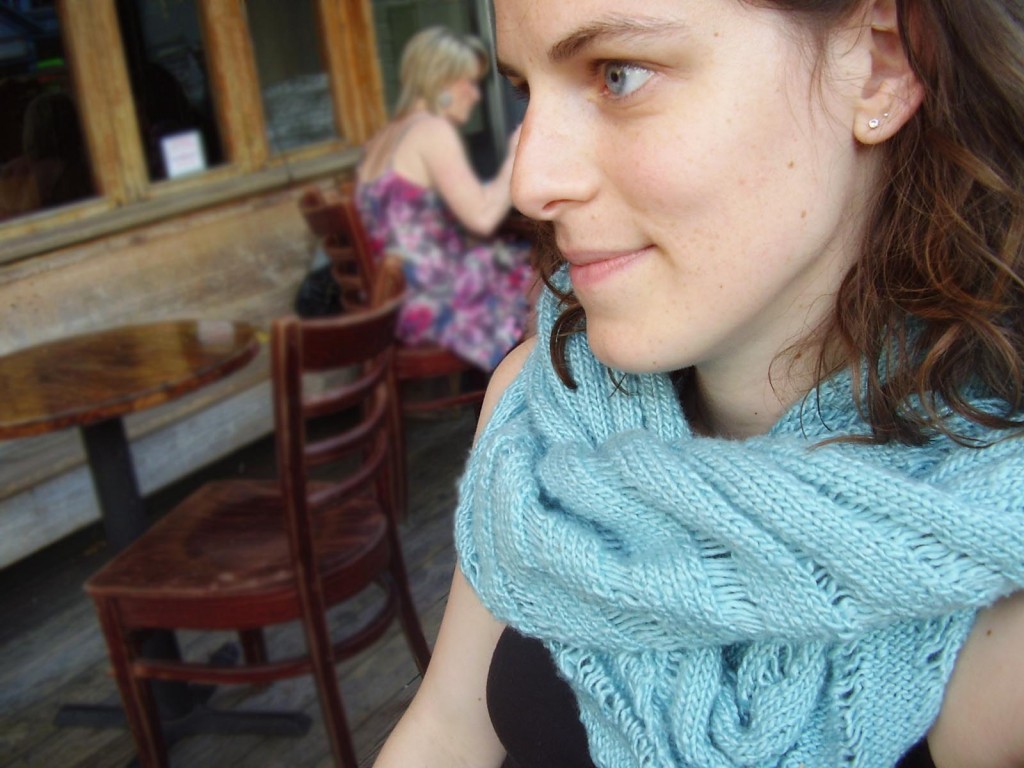
I used to carry some awesome Shepherds Wool Crazy Skein yarn and I got a lot of questions about what would be the best thing to make with it. I’ve used it for lots of things – hats, shawls, scarves and and awesome cowl.
I wrote up a quickie pattern for you that shows off the wonderful texture and colors in this yarn.
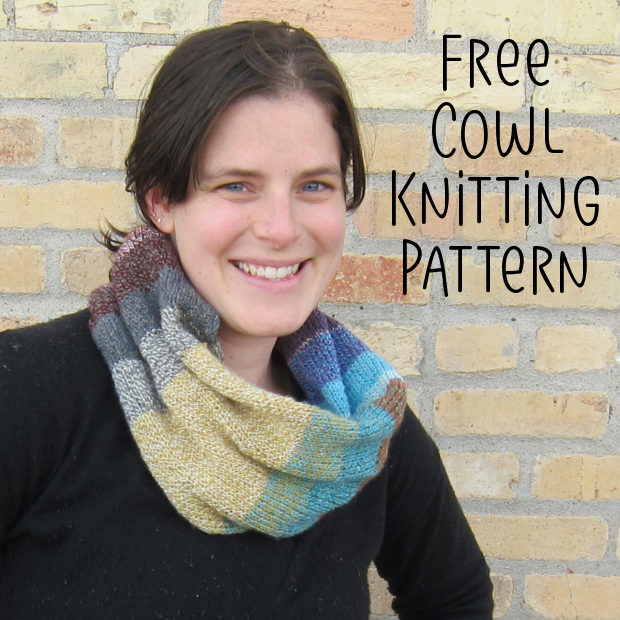
Why is it called ‘Either Way Cowl’? Because I’m showing you two different ways to knit a cowl! Try the ‘easiest way’ if you’re new to knitting or want a really simple project! If you have some knitting experience under you’re belt, then ‘try this way’ and watch my provisional cast-on video for help!
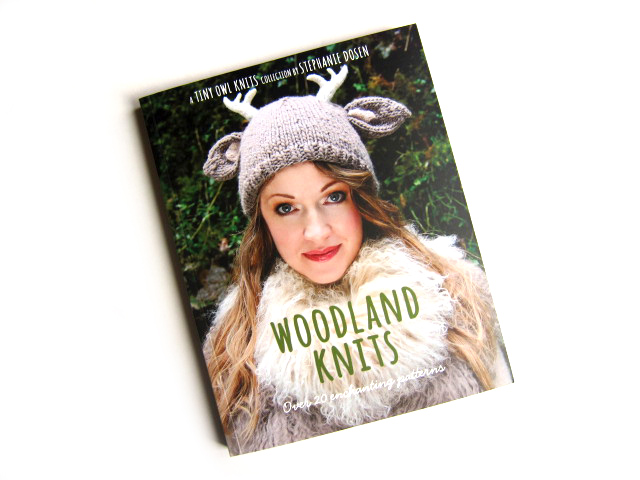
I adore Stephanie Dosen’s (aka Tiny Owl Knits) designs. She designs whimsical and fun knitting patterns… so I was really excited to see her book, Woodland Knits.
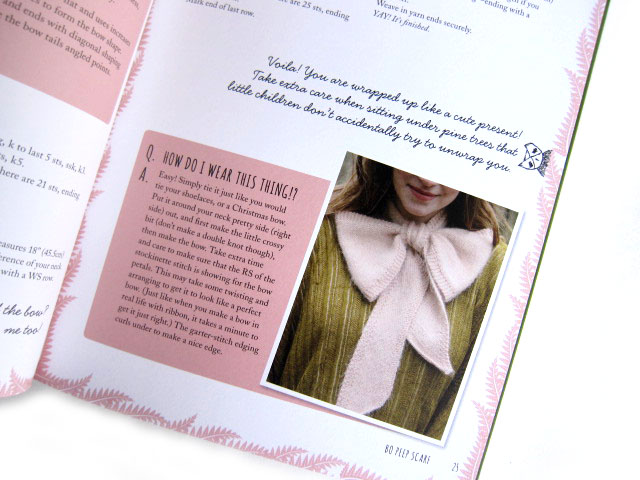
The book contains 21 adorable patterns, 10 of which are new designs for the book. The remaining 11 designs are well-loved favorites, like the deer with antlers hat, bo peep scarf and fawn poncho.
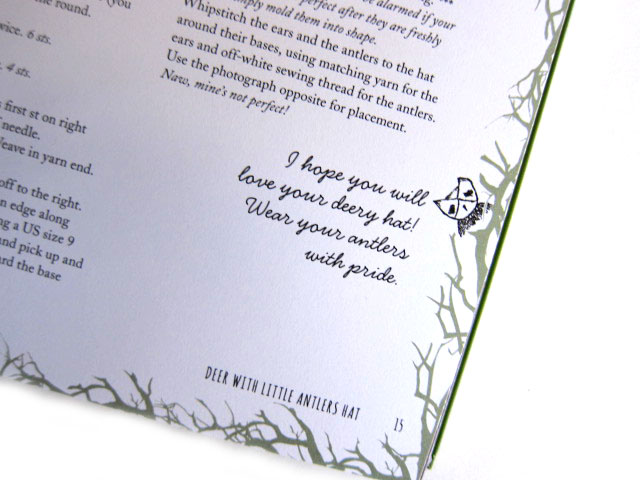
The book contains cute little notes and helpful tips throughout, but no introductory material. It’s 21 lovely patterns bound together in a book.
I was surprised to see that all of the patterns in the book are available for individual purchase as pdf downloads. At around $5 a piece, if you’d like to make a few, then $20 for the book is a great deal!
Besides the discount over purchasing 21 individual patterns, though, you don’t get much additional content to the book. So, I would recommend having a peek at the included designs (which is tricky, since only the new 10 designs are listed as patterns in the book on Ravelry), and deciding whether there are a few you’d like to knit.
The patterns are cute and the book is very pretty… so if you can find a few, then I’d say go for it!
Today I’m going to show you how to dye gradient yarn in two fabulous colors – with Kool-aid! But first, a little background. . .
I was excited when Laura Nelkin asked me to be on the blog tour for her serialized ebook, Adorn Anew. It’s a beautiful collection of knitted & beaded jewelry and accessories, with a new pattern released each month in 2012.
Laura is well-known as the ‘knitting with beads’ goddess (okay, I made the title up, but that’s an accurate description!), and is the instructor of the crazy popularKnitting with Beads course on Craftsy.
I had never knitted with beads before, so the reason I was so stoked to be on the blog tour is that I knew it would give me a push to give knitting with beads a try. Beads add such a beautiful bling to your project without increasing the difficulty by too much. Besides, I know Laura’s work. The instructions in her patterns and accompanying videos on her site are fabulous. I wouldn’t run into any trouble.
So, anyway… (this is one of those stories where my husband would say, “where’s the point of this story?” And I would say, “I have to tell the story chronologically!”) I signed up to be on Laura’s blog tour back in early summer, when only half of the patterns had been revealed. I was anxiously awaiting November, so I’d discover which pattern I’d be knitting. I nearly fell off my chair when I found out that November’s pattern is Stellanti! It’s an amazingly beautiful shawl… and I spotted Laura wearing it at Rhinebeck, but I had no idea it would be part of Adorn Anew! I had been coveting it… and I am so excited to be knitting it!
What is a gradient yarn?
A gradient yarn is a yarn that slowly shifts from one color into another. Although Stellanti would be beautiful with any fingering weight yarn… the gradient yarn used for the sample gives it a little extra pizzazz.
The samples were knit in Nightfall by Fibro Fibers, which is absolutely stunning. But since each skein is hand-dyed (and there’s currently a huge demand for Stellanti!), this particular yarn can be hard to get your hands on.
And since this shawl requires 490 yards, purchasing a standard 440 yard skein (of Noro or another commercial gradient yarn) won’t work… since you’d run out of yarn and would need a 2nd ball… which would mess with the gradient.
Sound like a pickle! No worries! I’m going to show you how to dye gradient yarn, using Kool-Aid! It’s fun, cheap and easy!
How to dye a gradient yarn
Let’s do it! You’ll need:
490 yards of undyed yarn (details below)
2 colors of Kool-Aid, 5 packets each
4 mason jars or containers
Prepare your yarn
To begin, you’ll need 490 yards of an undyed fingering weight yarn, mostly wool (a little bit of nylon is fine, but avoid plant fibers, since these won’t take dye the same way). I’m using LB 1878 from Lion Brand, but I’ve also had great success with the bare skeins from Knit Picks:
Roll your yarn into a cake… this step is important!
Select your Kool-Aid
I’ve blogged about dyeing with Kool-Aid before (read the different techniques here!), but today we want to dye gradient yarn, which means selecting only 2 colors. For the effect I want, I need to make sure one of my colors is noticeably darker than the other.
I chose Tropical Punch (red) and Grape (purple). I discovered that there’s a special Halloween color called ‘Ghoul-Aid’, which is closer to black and would work amazingly, but I didn’t know about it when I was dyeing!
Prepare your yarn and Kool-Aid
First, prepare your yarn by separating it into 4 approximately-similar-sized chunks. This is easy because you wound your ball… pull out one center chunk, then another…
Line your mason jars up in a row. Pour 2 packets of color 1 into the far left one, then 2 packets of color 2 in the far right one. For the center two jars, combine the colors to create your gradient. For example, my 2nd jar contains 1 packet of Tropical Punch and a teaspoon of grape:
Next, pour very hot water into your jars:
At this point, it would be wise to stick a little sample yarn into each jar… just to make sure you like the color. You can add more Kool-Aid to alter the color at this point.
Dye!
Stick the yarn in the jars! One yarn ball per jar. . .
Use a utensil (remember, the water’s hot!) to poke at the yarn and make sure every bit of yarn is getting wet. If there’s a section that doesn’t absorb yarn, you’ll end up with a white blotch!
Do you notice a little section of white yarn between the jars? Be sure to dunk those sections into the dye as well!
Let dry
Remove the yarns and squeeze out the excess water:
Let these dry completely before you do anything else… you don’t want any tangles!
You have a gradient yarn!
Once dry, wind into a cake:
Ta da! Isn’t it beautiful!
Want to see my progress?
I think my Stellanti is knitting up beautifully!
And look at my beads! Aren’t they fabulous?
Knitting with beads isn’t too complicated… the most difficult part (in my opinion) is that once pre-strung, you have to keep scooting the beads down your yarn as you work. No biggie.
Want to get started?
Now you can dye gradient yarn yourself – no special tools or supplies needed, just two colors of Kool-aid! You can grab the Adorn Anew ebook (for the whole collection of fabulous patterns), or just the Stellanti pattern.
Love knitting cute monsters? Rebecca Danger’s Big Book of Knitted Monsters has been on the wish-list of every monster-knitter I know! And for good reason: it’s packed full of adorable monster patterns. This book isn’t for every knitter out there, so you’ll want to skip down to reading my review to see if it’s for you. But first, I want to show off the cutie I knitted from the book!
Hugo the Couch Monster
I couldn’t wait to break into the book and make a monster of my own! I chose Hugo the Couch Monster… he’s a real cutie! Since all of the patterns in the book are ‘any size, any yarn’ patterns… I was pleased to use up some of my stash! Hooray!
The book recommends using magic loop, but I’m a two-circulars sort-of-girl, and that technique worked out just fine!
And I’m very happy with my resulting cutie!
What do you think?
The Review
If you’re familiar with Rebecca Danger and her adorable monster patterns, then you know what this book is about! Big Book of Knitted Monsters contains 20 patterns for cuddly monsters that you can customize to be any size you’d like.
Besides the cuteness of the monsters, one of the big strengths of this book is the variety of yarns that are used to make the samples. Rebecca says in the introduction that the monsters can be knitted with any thickness yarn (and the appropriate sized needle), and she demonstrates the flexibility of her patterns throughout the book. Every monster in the book is knitted in at least two yarns: often a bulky yarn and a worsted weight yarn. It’s really great that you’re able to see how the pattern works up in different yarn choices… gets your creativity flowing!
One of the weaknesses of this book is the lack of detailed introductory and finishing information. I know why there isn’t: Martingale (the publisher) imposes an 80 page limit on its books. So of course, if you have a book with 20 different patterns, there isn’t much room for details. There are very helpful photographs sprinkled throughout the book, which I appreciate… but there are a few spots where you’re left to fill in the gaps. You’ll be instructed to ‘sew the arms on using a whipstitch’, but the exact positioning of the arms is up to you to sort out from the photograph (or maybe, your own creativity!).
Pros
The writing in the book is whimsical, playful and enjoyable to read.
The monsters are adorable.
Each pattern can be knitted in a variety of yarn thicknesses and colorways, so there’s lots of options!
Tricky knitting techniques are demonstrated through photographs: which are much clearer than an illustration.
If you can knit on double points (or two circulars, or magic loop), you can do almost any of the patterns in this book. Most of the monsters are fairly simple to knit.
Cons
The introduction is sparse. It contains information about how to do the magic loop technique, but you’ll need to look at an outside resource if you need help with other knitting techniques.
Other reviews I’ve read have been disappointed in the similarity between the various monsters in the book. I, personally, am not too bothered by this… they’re knitted in Rebecca’s signature style, and each one demonstrates a different shape/feature. However, each monster has a glued-on mouth, and I would have liked to have seen one that doesn’t- since glued-on mouths aren’t safe for small children to play with. She mentions in the introduction that the monster would be just as cute with an embroidered mouth, but we don’t ever see one knitted up.
So, if you like monsters and are comfortable with basic knitting techniques (or, at least, feel confident looking for outside help if you need it), then this book is for you! Happy monster knitting!
I’m very excited to announce that my pattern for an intarsia slouchy beret made it into Knitty! I’ve been nearly bursting trying to keep the news quiet… but the Deep Fall version of Knitty was released today, so I can spread the news!
I really wanted to make a slouchy beret that was an easy introduction to intarsia- but that looked really complicated. Combining self-striping yarn and a really simple intarsia pattern, you can get a hat that looks like you’re doing a zillion color changes… a great pattern to try if it’s your first time doing intarsia. The pattern has two versions: a fingering weight (my favorite) and a worsted weight version (a perfect quick-knit).
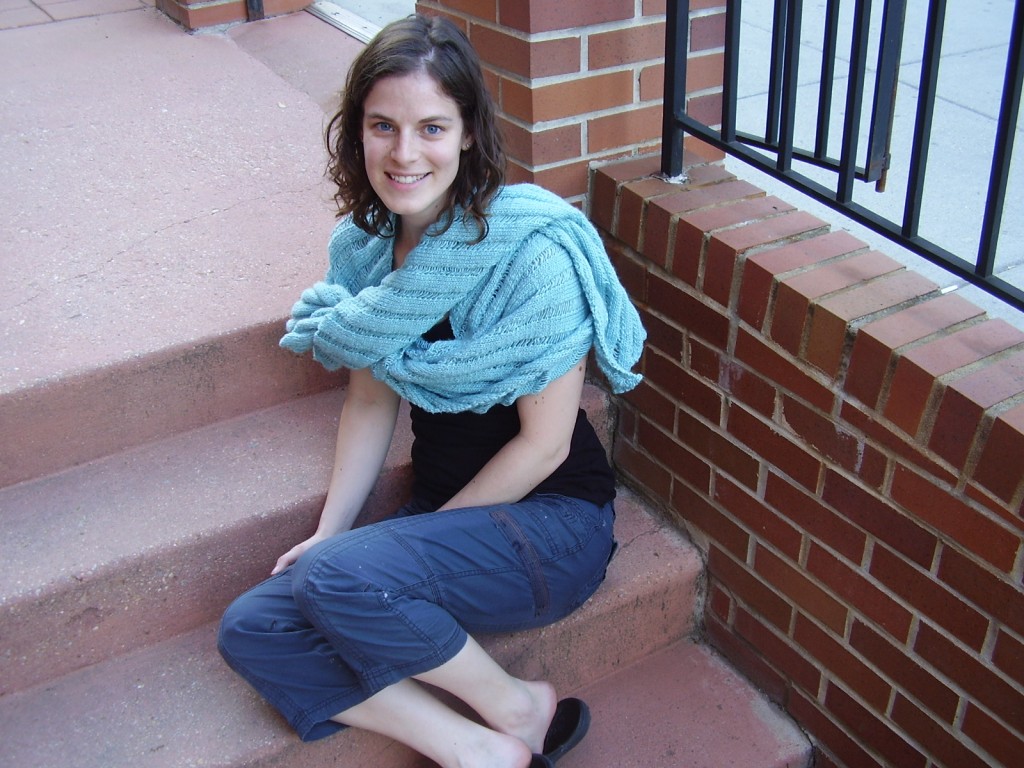
Just the other day, I finished my clapotis, a wonderful scarf/wrap pattern by Kate Gilbert available as a free download on knitty. Clapotis is a wrap that makes use of dropped stitches for a great finished texture. It’s a very popular pattern (over 14,000 people on ravelry have made it), and no wonder! The pattern is easy to remember and it’s fun to do!
After a successful Clapotis attempt, I learned a couple tips and tricks to share. These tips will be most useful once you’ve familiarized yourself with the pattern.
selecting a yarn Keep in mind that you’ll need to drop lots of stitches (on purpose) for this pattern. That will be easier to do if your yarn isn’t fuzzy or sticky. I used a 50% wool 50% silk for mine, which I loved, but dropping the stitches took a bit of effort because it clung to itself. If a yarn is hard to unravel, then it’s going to be hard to drop stitches.
switching yarns If you’re using multiple balls of yarn, you’ll have to change yarns at some point. Some folks are ‘switch yarns at the end of the row’ people, but I’m a ‘switch yarns in the middle of the row’ sort. If you’re like me, it’ important to switch yarns in the middle of a k3 sequence. This will ensure that your change isn’t near a stitch that will be dropped, and also give you solid surroundings to weave in your ends.
customizing Don’t forget that you can change the size from what is called for in the pattern (either by changing the number of increase repeats- to alter width- or the number of straight repeats- to change length)! Mine is much longer than what is called for, so I can wrap it around me oodles of times! If you’re looking for a quick project, you can do a skinny scarf version.
knitting through the back loop Don’t forget to knit through the back loop… especially the row after you’ve done your yarn overs! If you forget on this particular row, it will look very sad when you drop the stitches. And, the saddest part is… you will have knitted lots of rows before you find out!
instead of stitch markers If you’re low on stitch markers, you can purl the stitch that you’re going to drop. This will remind you when to knit through the back loop without oodles of little rings. (thanks, Ravlery, for that tip!)
If you’re interested, you can check out the full details of my clapotis project. I loved it so much, I’ve already started a second one!
This slouchy beret is deceptively simple to knit, and makes use of one color-changing yarn and one complimentary solid color to create a gorgeous design. In this sample, I used handspun yarn as the colorful yarn, but any number of commercial yarns would look wonderful, including: Noro Silk Garden, Crystal Palace’s Mochi Plus or Noro Kureyon.
For this pattern, you will need:
100 yards of a variegated worsted weight yarn (I used handspun, but see suggestions above)
100 yards of a complimenting solid color (I used Stonehedge Fiber Mill’s Shepherd’s Wool… super soft merino!)
size 5 (3.75mm) 16 inch circular needle
size 5 (3.75mm) double point needles for the top
a stitch marker
tapestry needle
a length of 1mm elastic (optional)
Persephone Slouchy Beret: the pattern
Gauge: 6 sts/in
MC: solid color
CC: variegated color
With MC, CO 100 sts
Rounds 1-6: * k1, p1. Repeat from * until end of round.
Round 7: * k2, m1. Repeat from * until end of round.
Round 8: * k6, m1. Repeat from * until end of round. (175)
Rounds 9-10: With CC, knit in each st.
Rounds 11-12: With MC, knit in each st. Repeat rounds 9-12 (essentially, knit while switching colors every two rounds) until piece measures 5.5″ from end of ribbing. This is approximately 50 rounds. Add more rounds for more ‘slouch’, fewer rounds for less.
Helpful Tip: twist the strands of yarn when you are switching colors (as when working intarsia). This will prevent a gap from forming between the color changes.
Now, begin your decreases
Decrease Round 1: * k2tog, k23. Repeat from * until end of round.
Round 2: * k2tog, k22. Repeat from * until end of round.
Round 3: * k2tog, k21. Repeat from * until end of round. Continue in this pattern (one fewer knit stitch between decreases per round) until 7 sts remain.
Cut yarn, and thread tail through remaining sts and knot!
This brim is slightly loose. To assure a snug fit, run elastic through the brim, or use a smaller size needle when working the ribbing. Wear proudly!
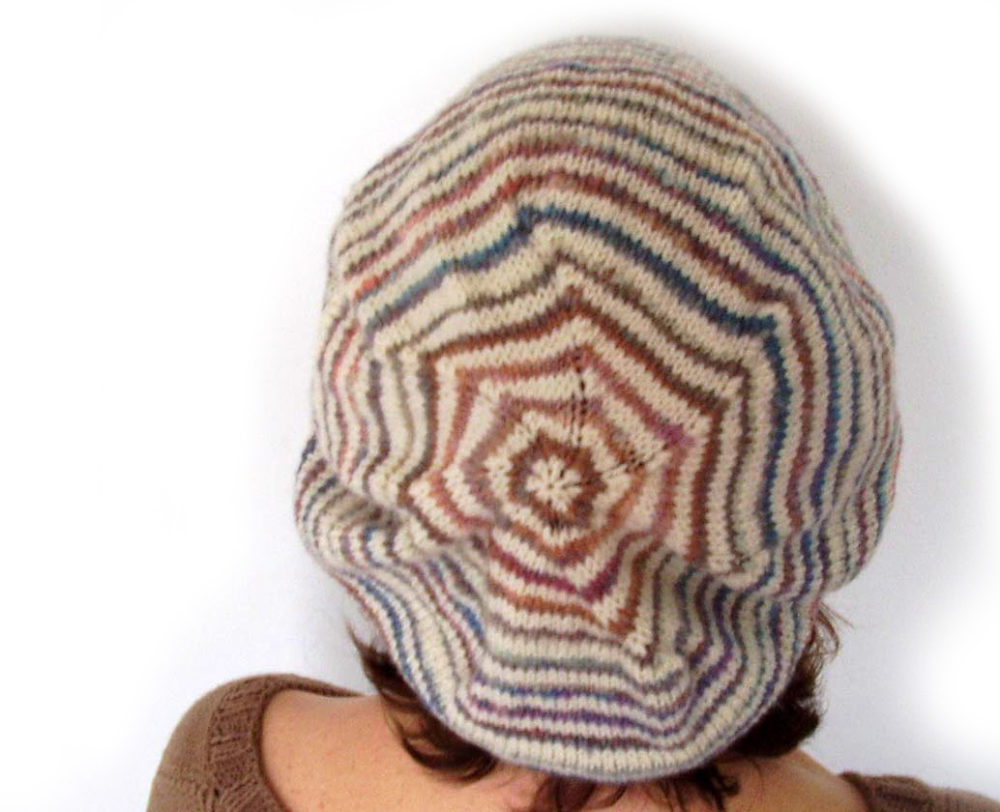
I was inspired by the changing of the seasons in designing this hat. I love the variation in color across the beret, and it’s versatile enough to be used as a winter hat, or a stylish spring beret. Hence the name.
According to Greek myth, Persephone was abducted by Hades and (making a long story short) was tricked into spending 3 months of each year in the underworld. Her mother, goddess of fertility of the Earth, was so distraught at losing her daughter that nothing could blossom on Earth in her absence. Upon Persephone’s return, her mother delighted, and the Earth blossomed with new fruits and vegetation. (Get it? Winter and spring!)
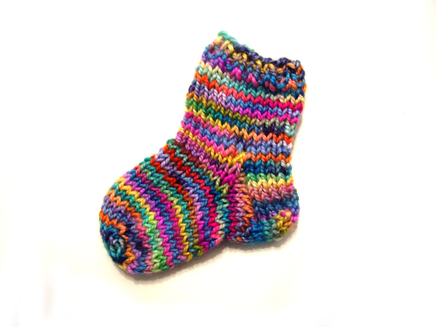
Little knitted sweater and stocking ornaments/keychains are popping up all over the place… and I thought I needed to have one, too! A couple days ago, I knitted a miniature sock, and thought I’d share the pattern with all of you! Click here to download the pattern.
Miniature socks are a great project to do: they’re cute, quick, don’t take a lot of yarn, and they are a great starter to making full-sized socks. You get to practice all of the sock-making techniques (heel turning, decreasing for the gusset and toe), without the pressure of making sure it fits, or having to make a second one! Yay!
I made the sample socks using some leftover fingering weight yarn and size 2 needles, but the pattern works well for any weight yarn. It’s a wonderful way to use yarn scraps! My sock is about 3.5″ long (from cuff to toe), so you can expect a larger one if you use a worsted weight yarn.
I think it’s a fun little project, and I hope you enjoy!