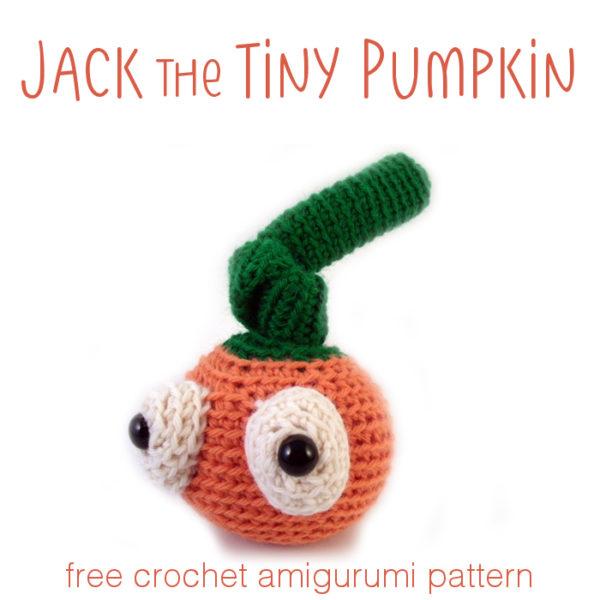
Make an adorable tiny pumpkin to celebrate Halloween or Thanksgiving!
It would also be adorable stitched up in red to be a cherry. 🙂
Here’s how to make it!
The skills you’ll need for just about any amigurumi are. . .
- How to Read a Crochet Pattern
- Starting with a Sloppy Slip Knot
- How to Chain
- How to Single Crochet
- Single Crochet Increase
- Single Crochet Decrease
- How to Use a Stitch Marker
- How to Fasten Off Amigurumi Pieces
You can go through all those posts now, or just hop to them as you get to those points in the pattern – whatever works best for you!
Yarn
This pattern can be used with any weight yarn. The sample is crocheted with worsted weight yarn to make a 3-inch tall pumpkin with a 10-inch vine. You can use thicker yarn/a bigger hook to make a bigger pumpkin, and thinner yarn/a smaller hook to make a smaller pumpkin.
Materials
- Size H crochet hook (or size needed to get a tight fabric)
- two 12mm black animal eyes
- tapestry needle
- 1/2 cup plastic poly pellets
- nylon knee high
- yarn
Stitch into the Back
All stitches in this pattern (that are worked in the round) are worked through the back loop only, unless otherwise directed. Look at this picture.
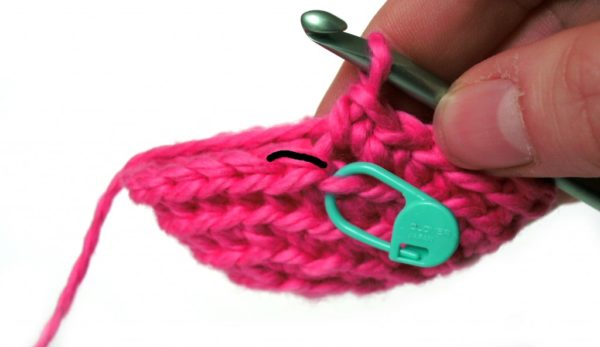
See how one loop is highlighted in black? This is the back loop, and it’s what you’ll stitch into. Stitching into the back loop creates ridges on the right side of the piece.
Want to see crocheting through the back loop in action? Check out this blog post. It talks all about why Stacey crochets through the back loop and even has a handy dandy video showing how to find that loop.
Abbreviations
- ch: chain
- sc: single crochet
- sc2tog: single crochet 2 stitches together
- st(s): stitch(es)
Ready? Let’s jump in!
We’ll start with those googly eyes in white yarn.
Ch 2 (I like to start with a sloppy slip knot. This video shows how. And this video shows how to chain.)
Round 1 sc 6 in 2nd ch from hook (6) This post will help you find that second chain from the hook.
Round 2 sc twice in next st (12) This video will help you if you find it tricky to start the second round.
Round 3 [sc twice in next st, sc in next st.] 6 times (18)
Round 4 sc in each st. (24)
Fasten off with a long tail. Insert a 12 mm eye into the center of the bowl shape. Repeat to make a second eye.
Now for the body. Use orange yarn for the pumpkin. Ch 2.
Round 1 sc 6 in 2nd ch from hook (6)
Round 2 sc twice in next st (12)
Round 3 [sc twice in next st, sc in next st.] 6 times (18)
Round 4 [sc twice in next st, sc in next 2 sts.] 6 times (24)
Round 5 [sc twice in next st, sc in next 3 sts.] 6 times (30)
Round 6 [sc twice in next st, sc in next 4 sts.] 6 times (36)
Round 6 [sc twice in next st, sc in next 5 sts.] 6 times (42)
Round 8-13 sc in each st. (42, 6 rounds)
Round 14 [sc2tog, sc in next 5 sts.] 6 times (36)
Round 15 [sc2tog, sc in next 4 sts.] 6 times (30)
Round 16 [sc2tog, sc in next 3 sts.] 6 times (24)
Round 17 Change to green yarn for the pumpkin top and vine. This post shows you how to get a clean color change. [Sc2tog, sc in next 2 sts.] 6 times (18)
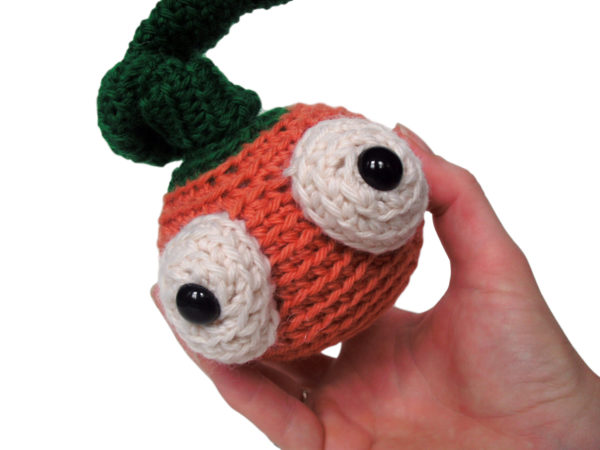
Remove hook, but do not fasten off. Stuff the eyes and attach them to the body, as pictured.
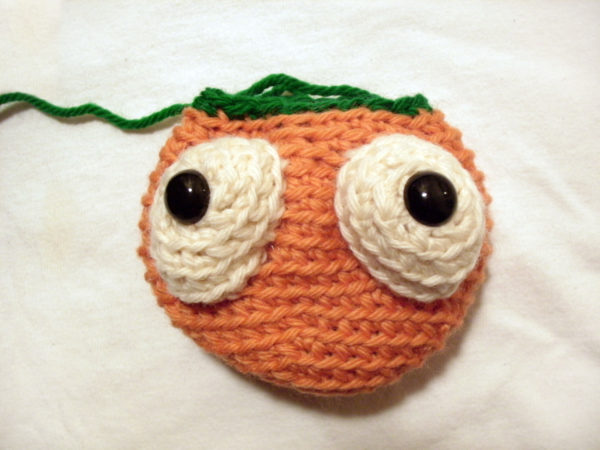
Stuff the body and continue crocheting.
Round 18 [sc2tog, sc in next st.] 6 times (12)
Round 19-54 (or until vine is about 10 inches long) Sc in each st. (12, 36 rounds)
Round 55 [sc2tog] 6 times (24)
Close up the tip of the vine using the drawstring method (there’s a video here) and bury the tail.
Tie the vine in a loose knot.
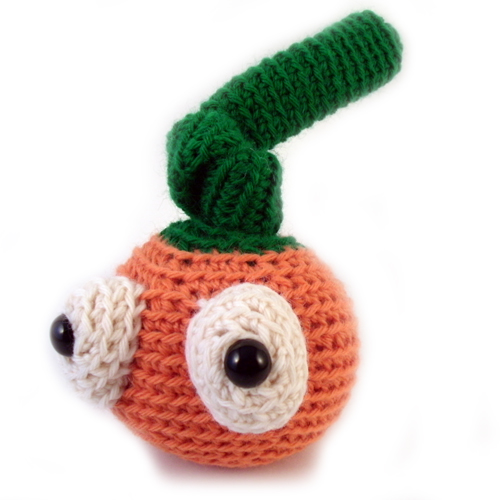
Done!
Make some more – enough to fill a whole pumpkin patch! They’re so much fun to make!
Happy stitching!
Best,
Wendi


