


How’s your doll coming along?

I’ve been seeing some fabulous works-in-progress and finished dolls in the Ravelry Doll-a-long thread… have I seen yours?
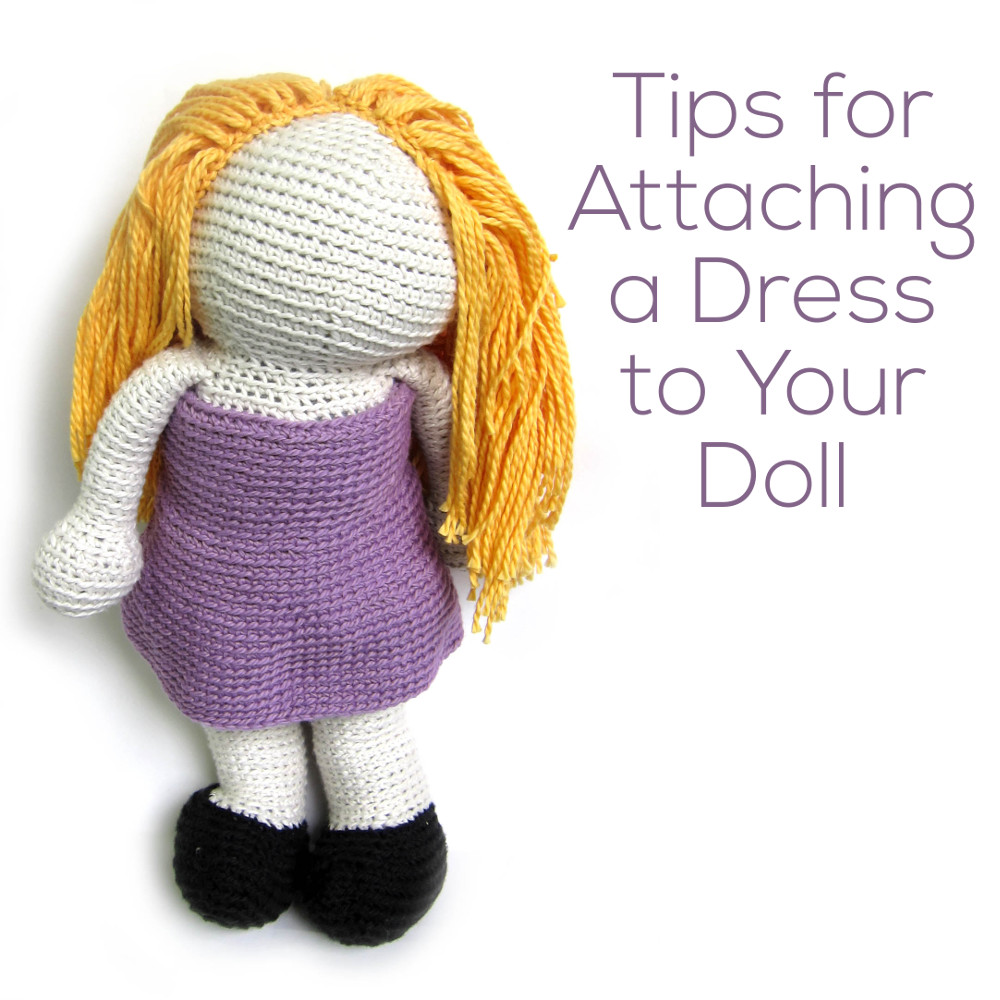
Today, I’m going to share some tips for crocheting on the dress/skirt/tutu for your doll!
Tip 1: Start without a head
The dress can be added after your doll has been stuffed and assembled, and many people prefer doing this because they can ‘envision’ what clothing will look best.
However, it’s actually easiest to crochet clothing on before the doll has been stuffed.
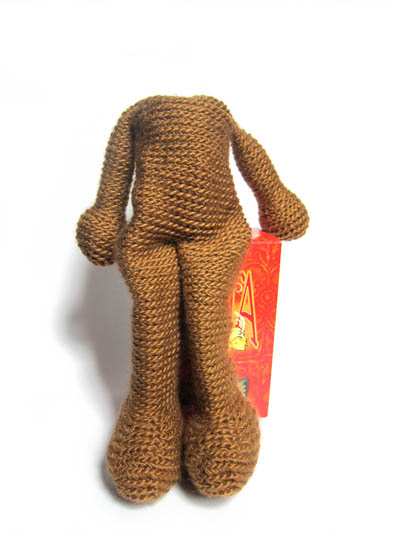
In doing it this way, you can crochet on the dress (and easily maneuver the body) without the bulk of stuffing or the head getting in the way.
Tip 2: Join the new yarn with a sc, in the back
Okay, so this ‘tip’ is written in the pattern, but I thought it was worth repeating!
It may look like the doll’s body doesn’t have a front/back… but take a look at the feet! The toes point forward to the front!
Attach your new yarn with a sc, at the center back of the body. This way, any jog in the rounds will be hidden at the back.
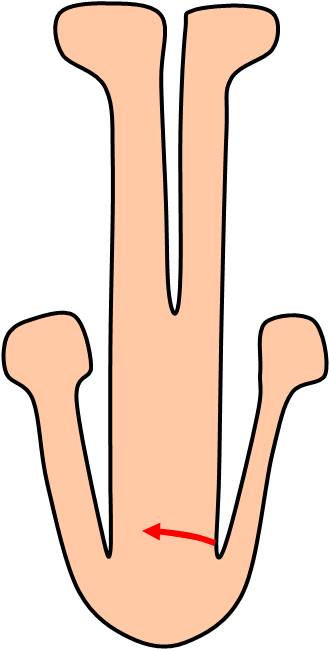
Tip 3: Hold your doll upside down
When attaching the dress, you want the right side of the dress fabric to face outwards.
This means holding the doll ‘upside down’ (head towards you, feet away) when you attach your new yarn.
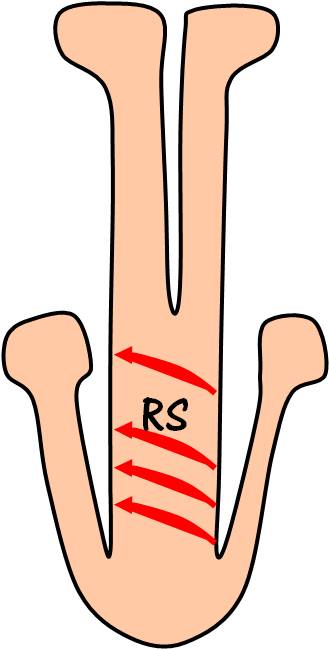
Notice how the right side of the dress is now facing outwards? That’s important! It will continue to do so as you crochet:
Tip 4: Weave in that end!
When you finish the dress/skirt, you’ll have an end that needs to be woven in. Whip out your tapestry needle, and zig-zag it through the wrong side of the fabric!
How’s your dress coming?
Well… if you’re doing one of the girls, that is! I know a number of you are crocheting Ethan, so you don’t need a skirt… but the same tips apply to attaching the sleeves!
Here’s how my Avery looks:
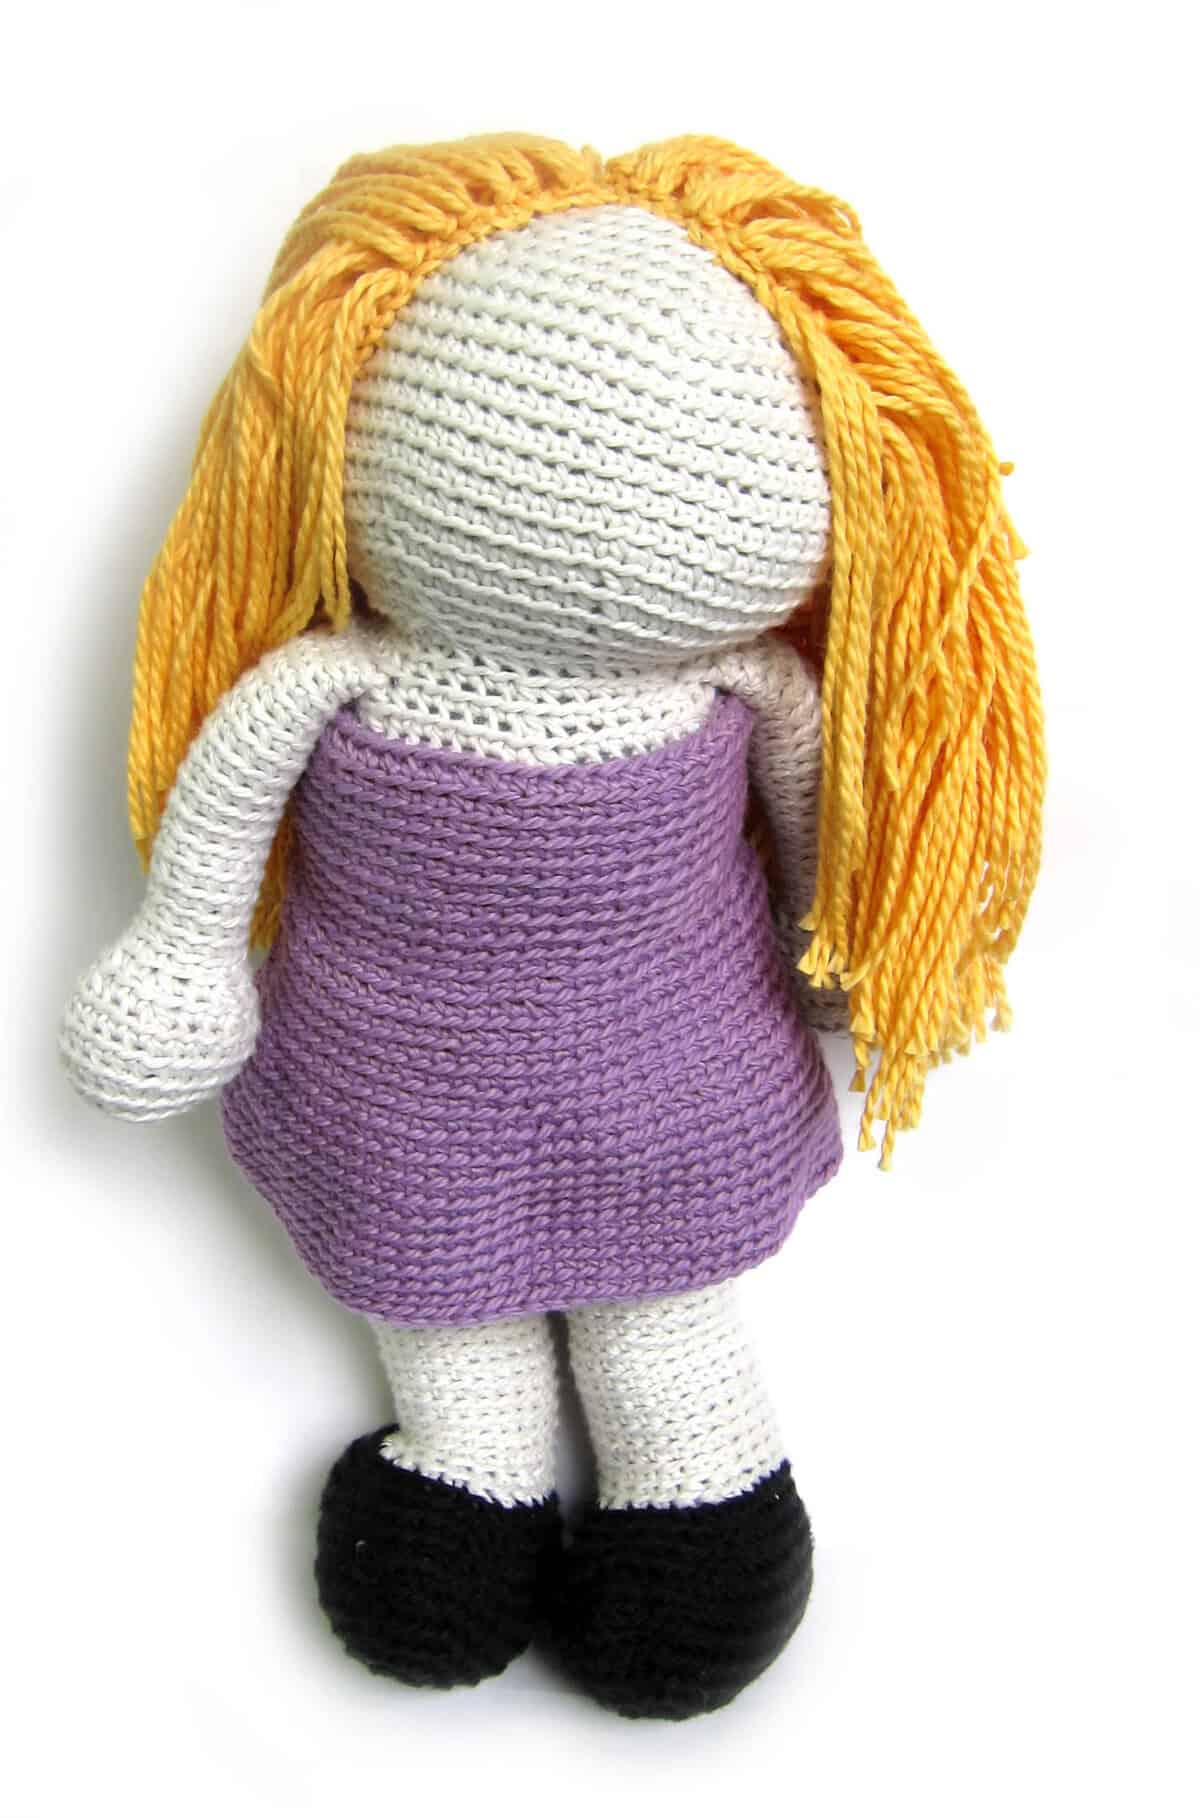
She’s almost done! Now to make choices about her eye color…
Want to make your own doll? Get the pattern here.

Here are handy links to all the posts about attaching parts. . .
- How to Attach Limbs to Amigurumi
- How to Attach Amigurumi Arms and Legs with Single Crochet
- Tips for Attaching Amigurumi Features
- Which Loop Do You Use When Attaching Pieces?
- How to Attach Nicely Rounded Amigurumi Pieces
- How to Give Your Amigurumi a Shapely Neck
- How to Attach a Flattened Piece to Amigurumi
- How to Attach a Folded Ear to Amigurumi
- How to Attach a Folded Ear to Two Rounds
- How to Attach Flat Spots Using Running Stitch
- How to Attach with Single Crochet
- Tips for Attaching a Dress to Your Doll
Return to the main table of contents for Let’s Learn to Crochet Amigurumi.
Move on to the lessons about faces and details.
Happy stitching!
