


Crocheting with beads can be tricky. Many techniques call for adding the bead to the stitch as you go, which isn’t great for traveling, and the bead doesn’t sit nicely.
Want to see the beading technique I developed?
In this technique, the beads sit nicely on the front loop of the piece, so we’ll be crocheting through the back loop only. Here’s how to do it:
Step 1: String your beads
I’m using size 6 beads on worsted weight yarn. You’ll want to use the size beads that work for your yarn.
You’ll want to thread all of your beads onto your yarn. To do this, you might find a bead threader to be helpful! Stick the tail of your yarn through the big loop of the bead-threader:

Make sure about an inch or two is through the threader. Now, thread beads on the tip of the threader!

The bead may take a little bit of tugging to pass over the doubled-piece of yarn, but then it’ll slide easily down the yarn.
Thread all of your beads, and then you’re ready to start!
Step 1: Crochet with beads!
To place a bead, single crochet… and on the stitch before you want to place a bead, pull the bead through the stitch as you do the final ‘pull-through’ of the stitch:

This is the trickiest part. You may have to use your fingers to fidget the bead through, especially if you crochet tightly.
Now, make sure the bead lies on the front half of the stitch (in front of your hook):

Finish the next crochet stitch, and your bead will lay right on that front loop! So much fun!

Let’s see it in action!
I know it can be hard to learn from photos sometimes… so I made you a video!
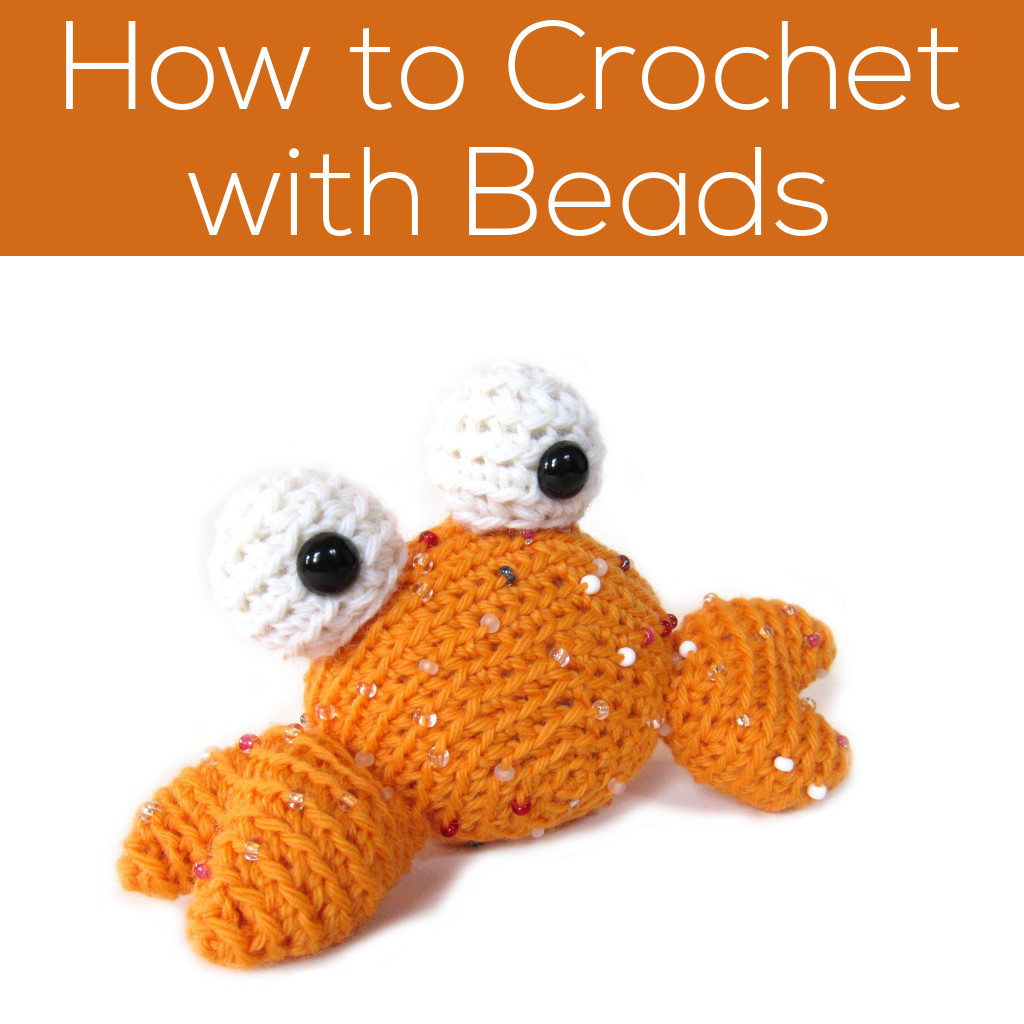
Look how cute!
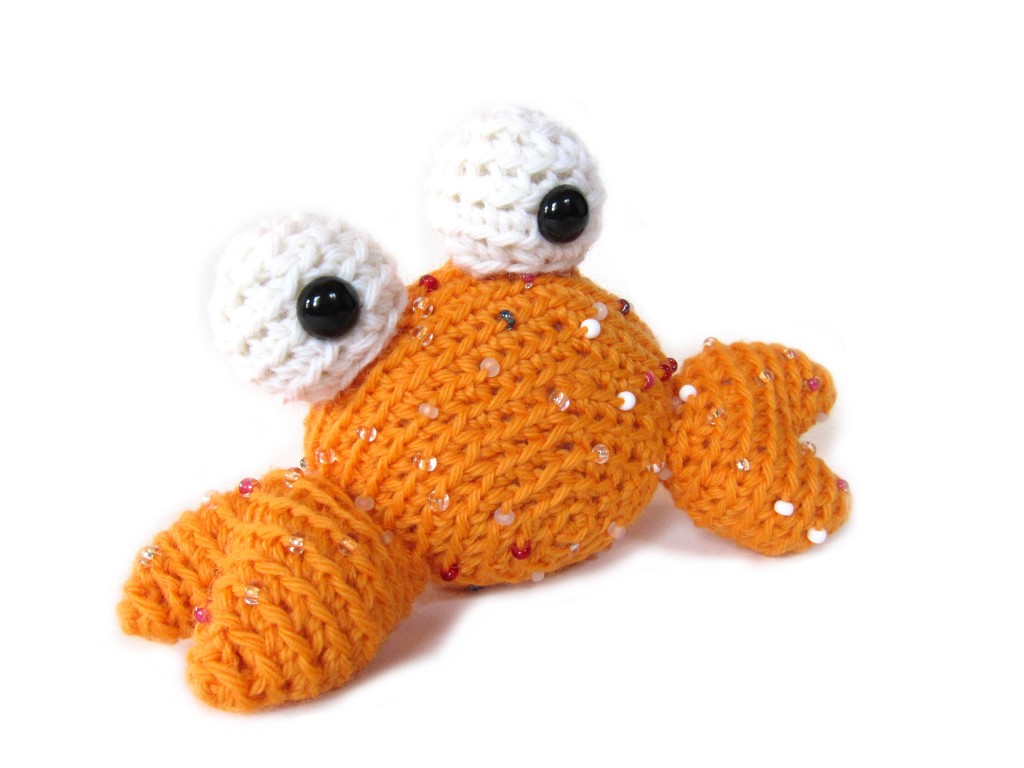
This is Tipper the Tiny Crab. To make him, just string the beads onto the yarn, and crochet the beads using the technique described above! You’ll follow the instructions for Tipper as they are written in the pattern, but you’ll place beads randomly, about every 5-8 stitches.

Here are handy links to all the posts about faces and details. . .
- How to Embroider with Yarn
- How to Embroider a Smile on Amigurumi
- How to Attach Felt Pieces to Your Amigurumi
- How to Add Hair to Amigurumi
- How to Make a Pompom Tail
- How to Crochet with Beads
Return to the main table of contents for Let’s Learn to Crochet Amigurumi.
Move on to the lessons about eyes.
Happy stitching!
Funny. I couldn’t get past where you don’t actually do a slip knot to start. You just twist it.
I know it sounds crazy – but it holds beautifully. 🙂