


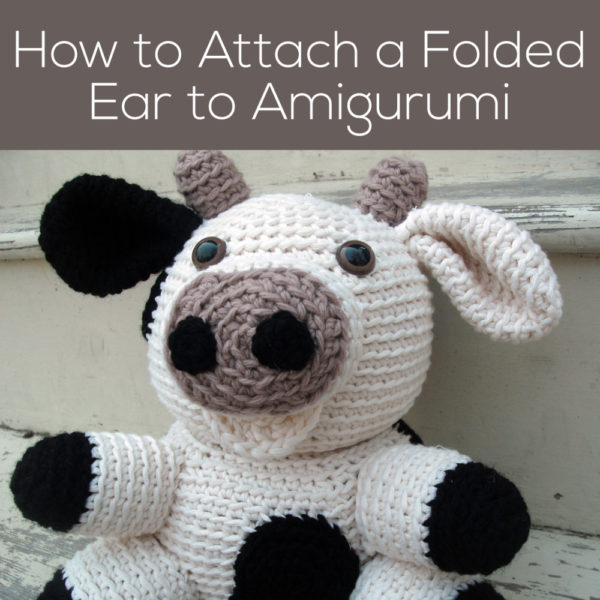
Today I’m going to show you how to attach a folded ear when making amigurumi. There are two kinds of folds you’ll see a lot.
You can fold the ear in half, like you see here on Jackie the cow. . .

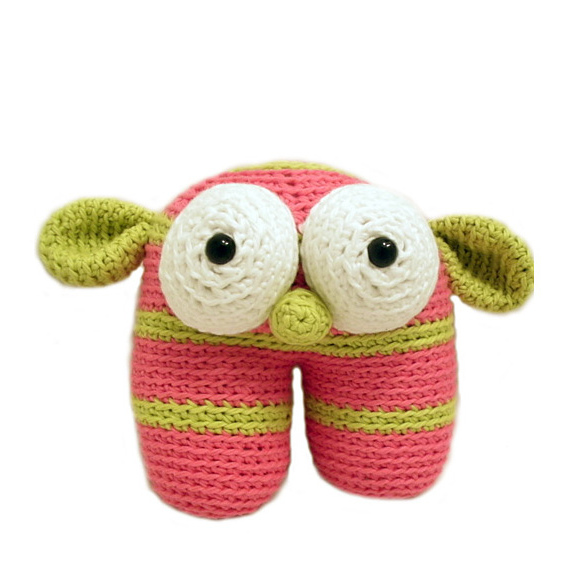
. . . and also here on Roosevelt the Monster.
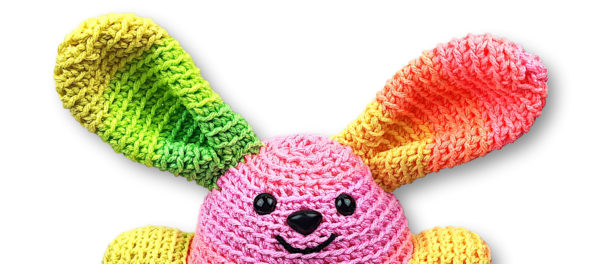
I also really like ears that fold from the side into the center. You can see both sides folded to the center here on Boone Bunny. . .
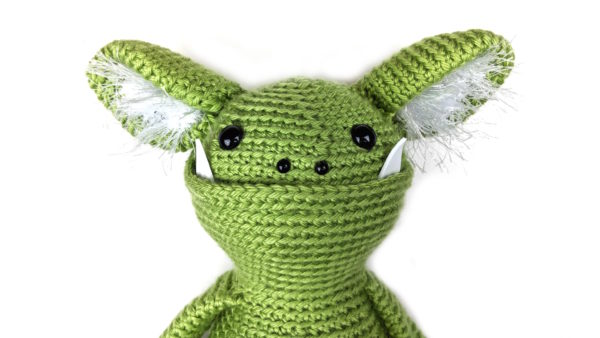
. . . and also just one side folded in to the center on this Maxwell Monster.
However you decide to do it, folded ear is a great technique. It looks complicated, but it’s all about the attaching.
Okay, let’s assume that you’ve crocheted the ear as instructed.
Whipstitch the opening of the ear closed
Press the opening of the ear flat, and using the long tail and a tapestry needle, whipstitch the opening closed. I stitch through one stitch on the top of the opening, then one stitch on the bottom of the opening, until I’m the whole way across.

It’ll look like this when you’re finished.

Don’t cut the tail… you’re still going to use it!
Fold the ear
Just like it sounds! Fold the ear however the pattern, along the edge you just whipstitched. This is an ear from the Mix & Match Dragon pattern and I’m folding it in half.

Remember that tail you have? It should be on one corner of the ear. I like to run the tail (with tapestry needle) through the other corner, so that the fold stays closed.
Attach the ear to the head
Now, just attach the folded ear to the head using whipstitches all around. Take one stitch in the ear, then one in the head. Repeat, working your way all the way around the base of the ear.
If the piece seems to get away from you, I recommend using locking stitch markers to hold it in place while attaching.

Once the ear is attached, tie a knot, and you’re done!

This method makes a fairly floppy ear. If you want an ear that stands up more, take a look at this tutorial showing how to attach a folded ear to two rounds of the head.
Attaching an ear that’s folded may look complicated, but it’s just a few simple steps, and gives a really cute result!

Here are handy links to all the posts about attaching parts. . .
- How to Attach Limbs to Amigurumi
- How to Attach Amigurumi Arms and Legs with Single Crochet
- Tips for Attaching Amigurumi Features
- Which Loop Do You Use When Attaching Pieces?
- How to Attach Nicely Rounded Amigurumi Pieces
- How to Give Your Amigurumi a Shapely Neck
- How to Attach a Flattened Piece to Amigurumi
- How to Attach a Folded Ear to Amigurumi
- How to Attach a Folded Ear to Two Rounds
- How to Attach Flat Spots Using Running Stitch
- How to Attach with Single Crochet
- Tips for Attaching a Dress to Your Doll
Return to the main table of contents for Let’s Learn to Crochet Amigurumi.
Move on to the lessons about faces and details.
Happy stitching!

I just love your tutorials, I’m an experienced crocheter and I am still learning so much from you.
Thank you for your wonderful instructions.
Liz