It’s Finished Object Friday!
As you may have surmised from this week’s Work-in-Progress post, I don’t have anything finished that I can actually show you…
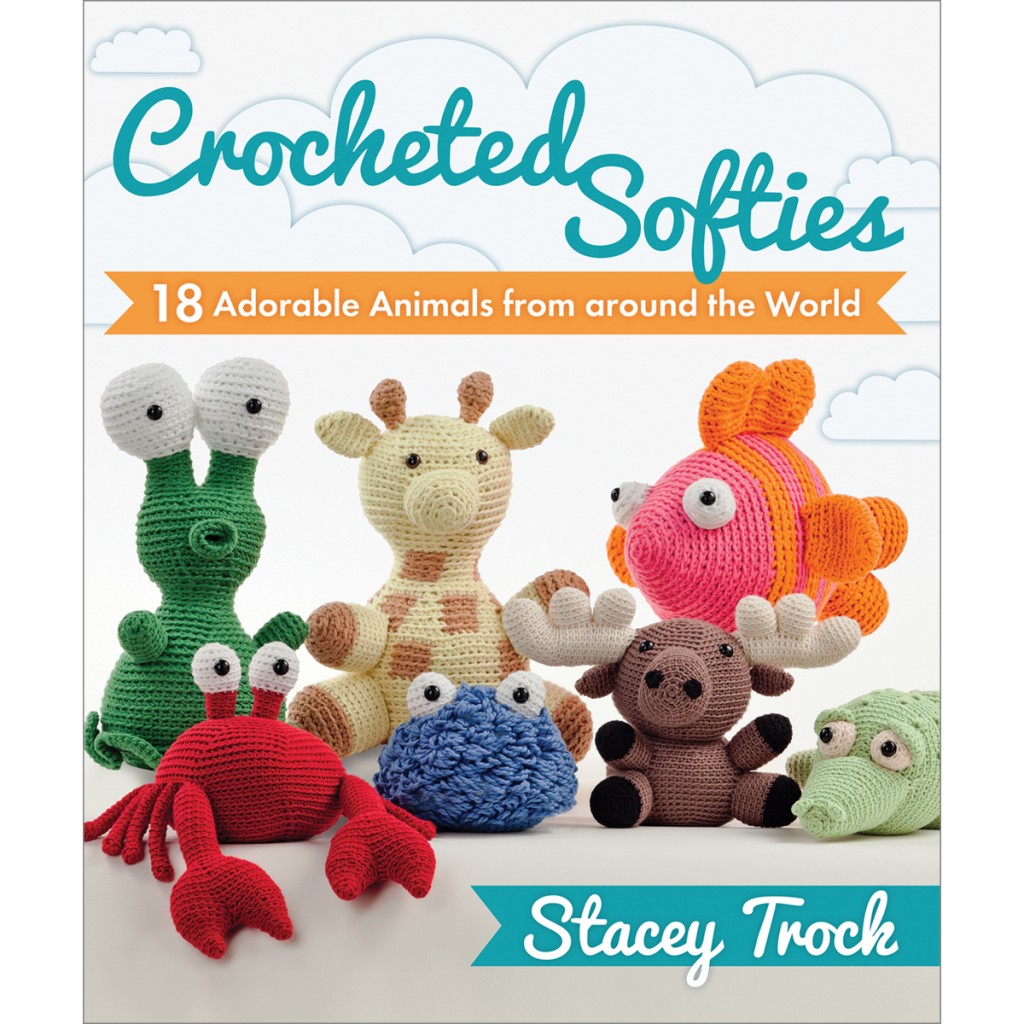
But, do you know what today is? It’s the 1 year anniversary of the release of Crocheted Softies! Talk about a big FO!
So today, I’m going to take a little look back and chat about my goals and how I chose the projects for the book!
My goals for Crocheted Softies
There are quite a few books of crocheted stuffed animal patterns out on the market. When designing my book, I wanted to make sure it was special and unique, so I set a few goals. I wanted to make sure that:
- the book contained patterns for large, cuddly animals suitable for children to play with (many books available focus on teeny-tiny animals)
- the book included Earth-friendly yarns, since one and two-skein projects are an excellent time to experiment with new fibers!
- a newbie crocheter could pick up Crocheted Softies and make an animal
- a crocheter of any level could find a project that is interesting and learn something new!
Selecting the projects
To meet these goals (the last two in particular), I had to put a lot of thought into selecting projects. I thought about what sorts of skills a crocheter might want to learn (from easiest to hardest) and then designed an animal that incorporated each one of these skills. Let’s take a peek!
The basics: single crocheting, increasing & decreasing
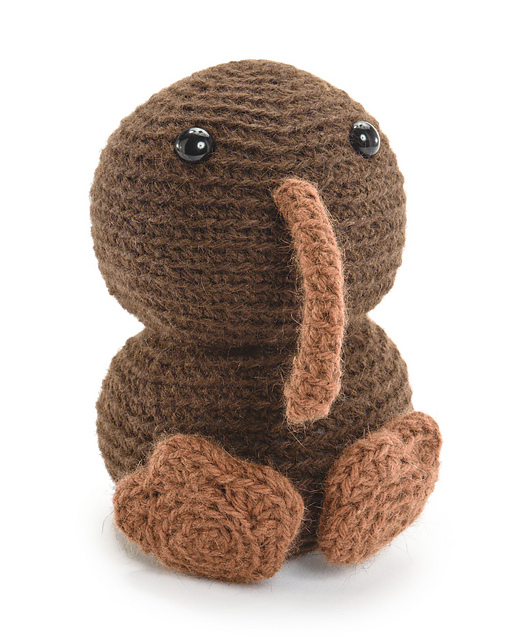
It can be daunting to start on a big project, so the simplest project in the book is also the smallest: Kai the Kiwi.
Practice attaching pieces, without complicated stitching
Many people tell me that attaching pieces is their least favorite part of making animals… so it’s helpful to get a little practice on a cutie that doesn’t require complicated stitching.
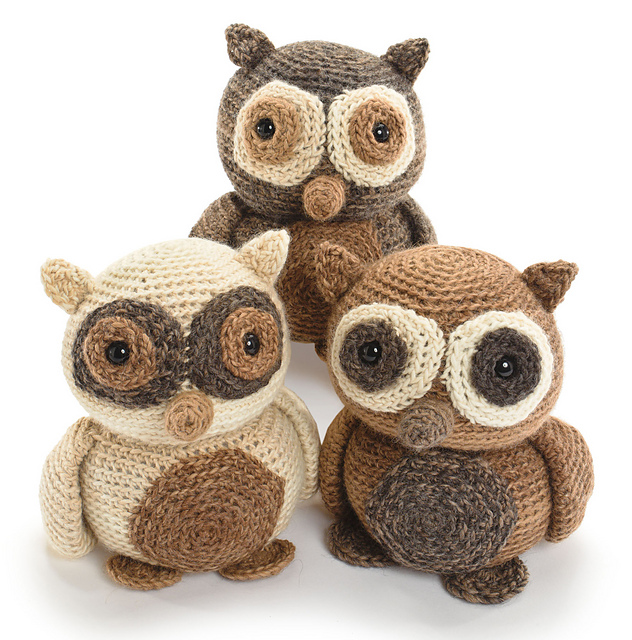
That’s why I designed this adorable owl: the stitches aren’t any harder than is required for the kiwi… but there are more pieces, so you’ll quickly gain confidence when putting him together.
And don’t you just hate buying three skeins of yarn for one project… and then having lots of leftovers? I designed this owl so that you could make all three of the owls with only 3 skeins of yarn! By using the main color of one owl as the contrast color of another… you use up the skeins perfectly!
(I thought it was very clever…)
Changing Colors
Changing colors is a skill that you’ll need for a variety of crochet projects! And, it’s a fun way to add character, so I put quite a few ‘color-changing’ projects in the book.
Maple the Moose is a great way to ease in to changing colors: each of his limbs just require one color change (going from the black of the ‘hoof’ to the brown of his ‘leg’):
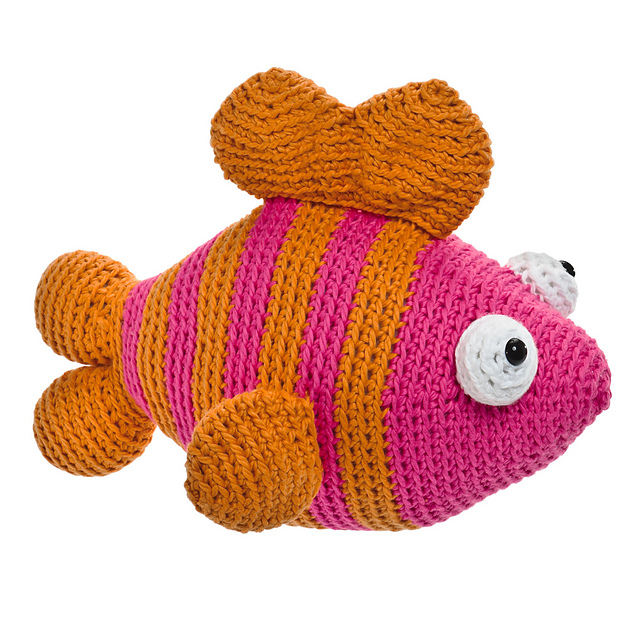
The next level up in working color changes is to execute stripes… check out Fins!
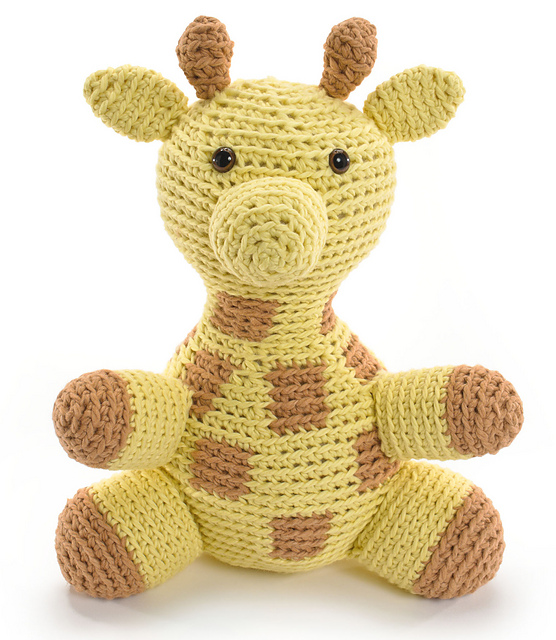
And once a crocheter has mastered those skills, they’re ready for working color changes multiple times over the entire piece, as you do for the patches of the giraffe:
By working through these patterns, a crocheter would end up with a bundle of awesome color-changing skills in their pocket! And what’s better than feeling fully confident with changing colors? It’s a boost that’ll let you tackle a whole variety of (non-stuffed animal) projects!
Shaping with slip stitches
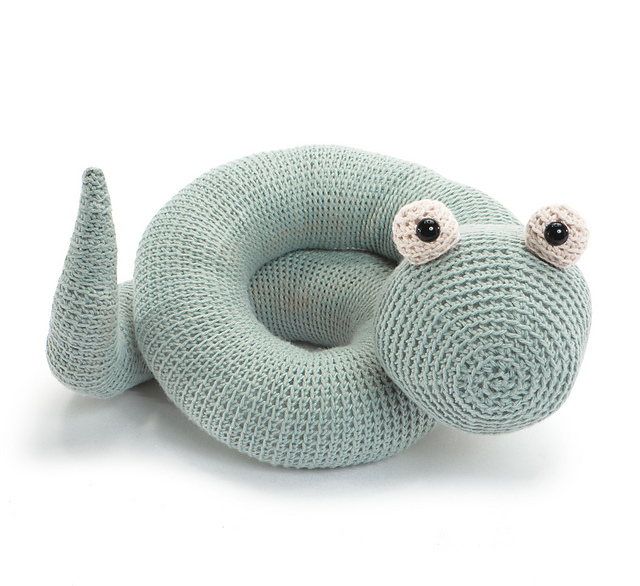
Aside from shaping by using increases and decreases, I wanted to include a project that used slip stitches to accomplish the shaping. This technique creates the curvy body of Slithers the Snake:
Doesn’t he look fun?
Shaping with short rows
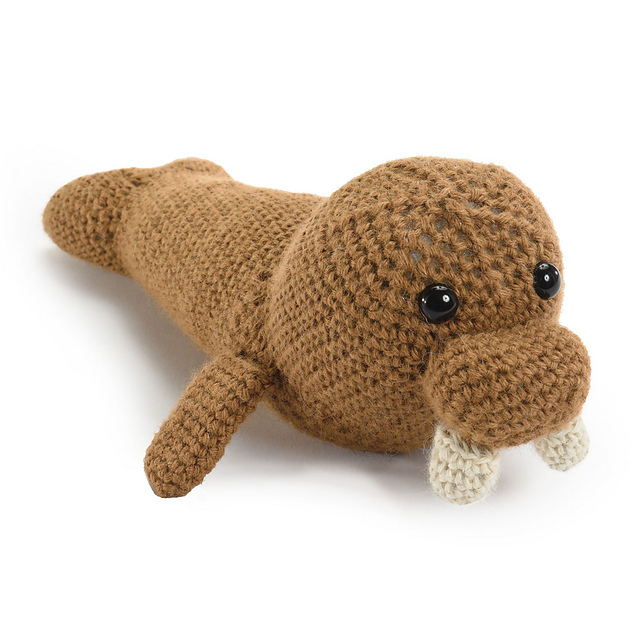
Another technique for shaping is using short rows. I designed Tuskegee the Walrus, which uses short rows to achieve the curve of his body:
Shaping with short rows allows you to create a sharper bend than is possible with slip stitch shaping. It’s also a technique that will pop up in garments such as socks and some sweaters. I thought, ‘what better way to practice than on a stuffed animal that doesn’t need to fit anyone?’!
The loop stitch
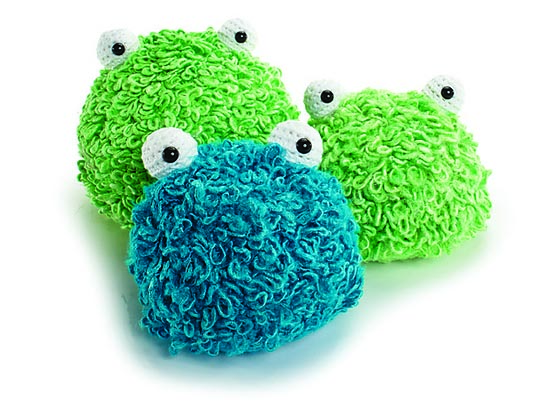
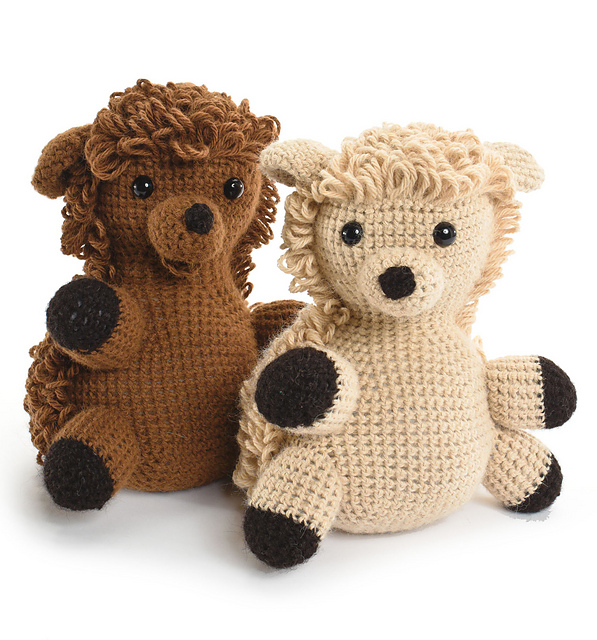
Who doesn’t want to add a little bit of texture to a crochet piece? The loop stitch is a super-fun stitch that creates a fabulous look. It can feel like a lot to learn, though, so I made sure to include a project with very little shaping, so crocheters could just practice the loop stitch:
And then, you could try your hand at the alpaca, which uses the loop stitch and shaping:
The alpacas are crocheted with 100% natural alpaca yarn… giggle!
The bobble stitch
I created (at least, I haven’t seen it anywhere else!) a bobble stitch that can be used on stuffed animals, since it doesn’t leave a hole in the fabric like many other bobble/popcorn stitches. I wanted to use this stitch, so I had to come up with an animal that would have bumpy skin…
It’s a crocodile! The perfect excuse to use those bobbles!
Joining pieces by crocheting
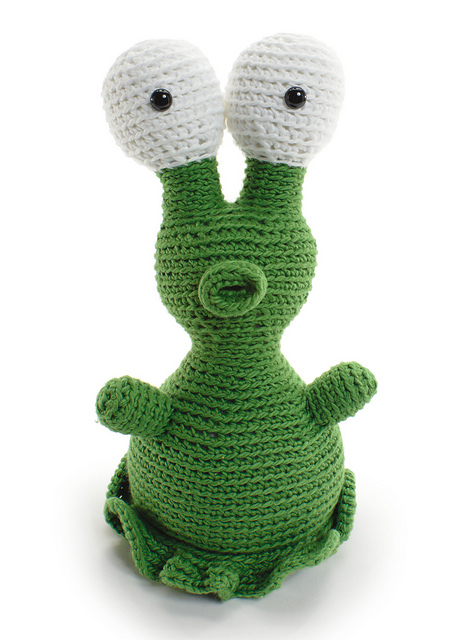
Another technique I knew I wanted to include was joining separate pieces by crocheting them together. This is how I designed Zork the Alien’s eyes:
My hope is that this is a technique crocheters will fall in love with, and use on their own projects and designs!
Would you feel confident?
If you mastered all of these techniques, would you feel like a more confident crocheter? More willing to tackle patterns? My hope is that you’re saying, “Yes, I would!”!
There are more patterns!
Did you know that there were supposed to be 2 more patterns in the book? But that they got cut for space reasons?
And now… (this is exciting) those missing patterns are available for free!
One of these is M. Richard the Whale:
And he’s available as a free download from Martingale. (Do you like the name? Get it? M. Richard… think about that for a minute.)
The second is Hugo the hippo, available as part of Crochet Me’s free Amigurumi ebook!
Go ahead and grab those patterns!
Join in on the Crocheted Softies fun!
I’ve had a total blast in the year following the release of Crocheted Softies. It’s been wonderful getting emails from all over the world from people who have discovered/rekindled their love of crochet with my book! One of the highlights was when I found out that Adriana crocheted all 18 projects from the book! How awesome is that?
Crocheting doesn’t have to be hard or stressful… with the right tools (and I’m hoping the super-illustration-ful introduction of my book is one of them), you can develop the skills you need to make crocheting a fun part of your life!
So, thank you, everyone for loving Crocheted Softies and filling my year with fabulous projects and comments! If you don’t have it… maybe you should put it on this year’s Christmas list!
Thanks for stopping by and reading!
If you want to see more great finished items… make sure to visit Tami’s Amis blog, the organizer of this great FO Friday theme!
I hope you have an awesome and craft-filled weekend! I’m making it a goal to put some serious thought into my holiday crafting…




Awesome, thanks for sharing! This book is on my holiday wish list!