 Howie is a great pattern for those just getting started, because he uses only a few of the most basic skills. You’ll find links to those skills sprinkled throughout the pattern wherever you need them – that way you can learn as you go! Just click on the link to hop to the tutorial.
There are loads of free video lessons here that take you through everything you need to know to get started with amigurumi. You can work your way through those lessons using this free pattern if you like. 🙂
The skills you’ll need for just about any amigurumi are. . .
- How to Read a Crochet Pattern
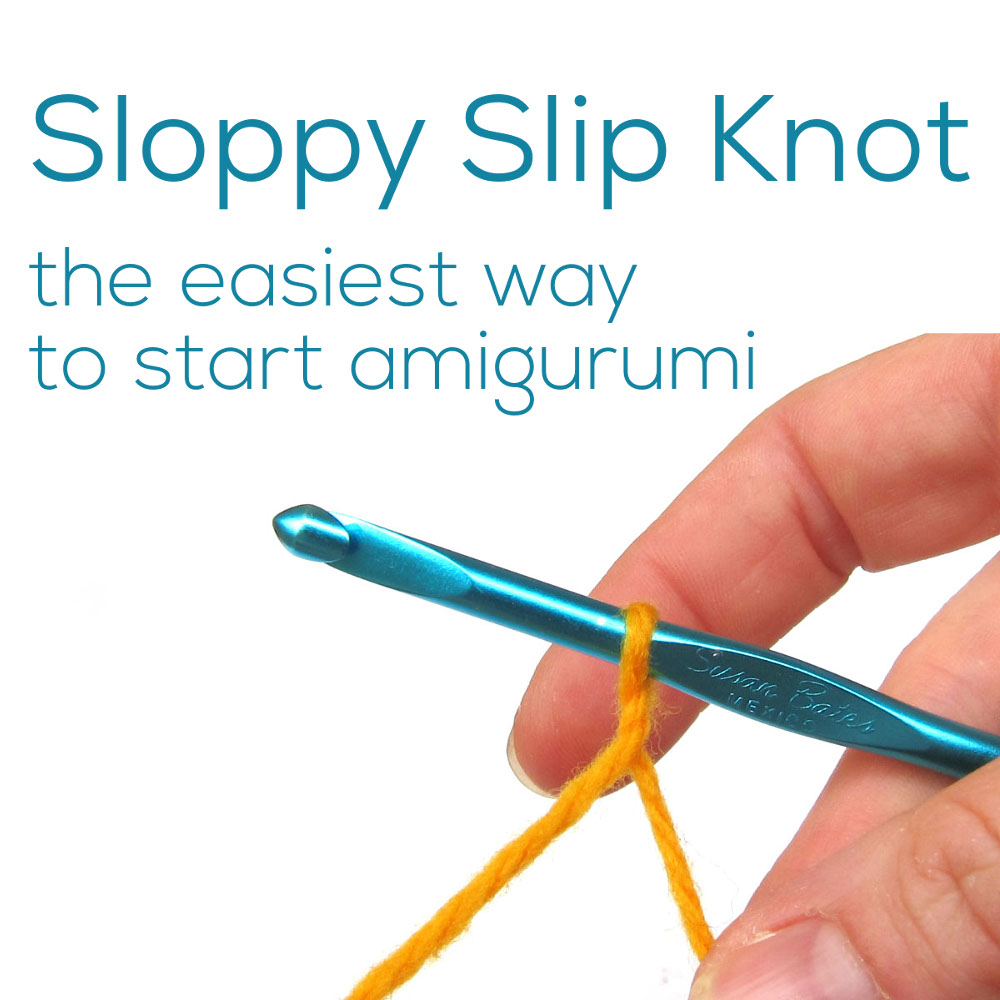
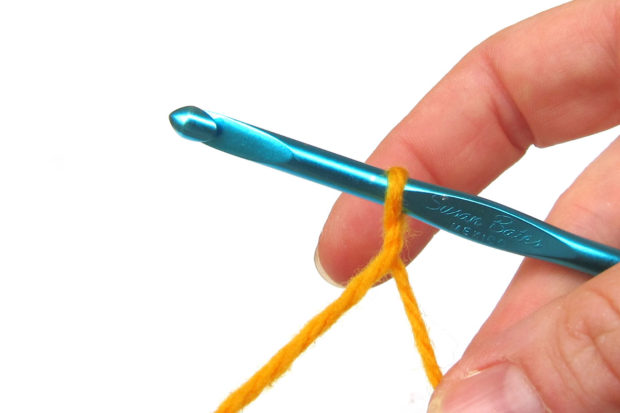
- Starting with a Sloppy Slip Knot
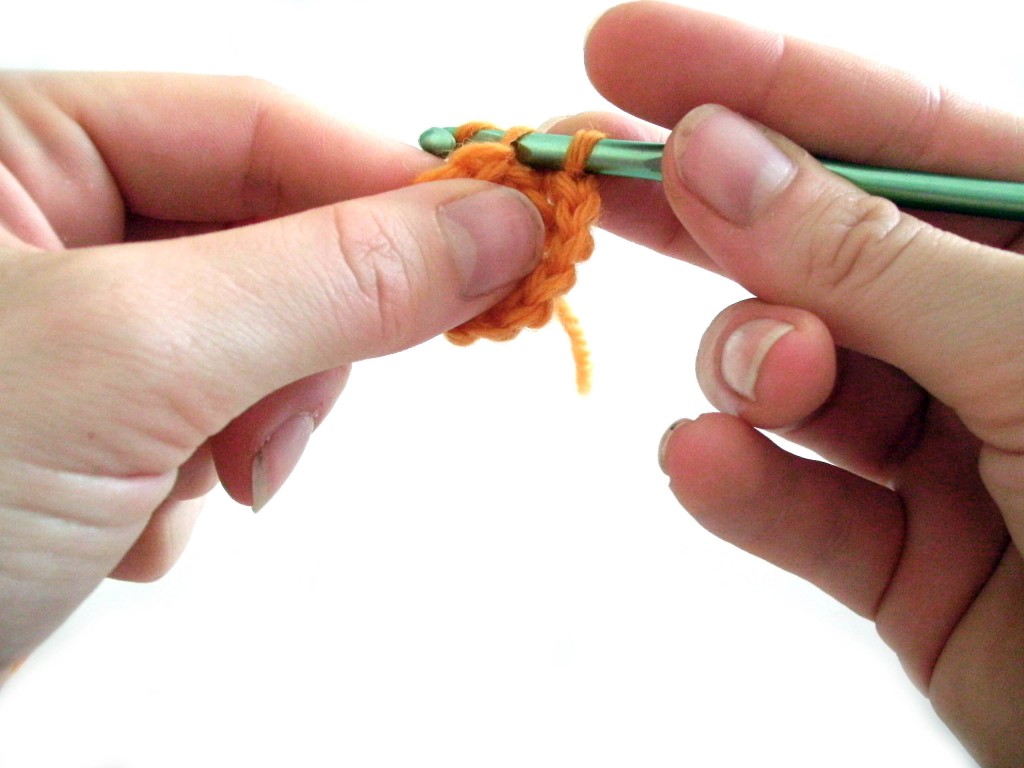
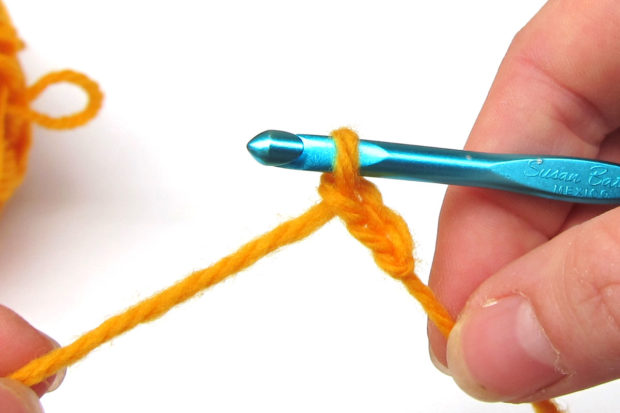
- How to Chain
- How to Single Crochet
- Single Crochet Increase
- Single Crochet Decrease
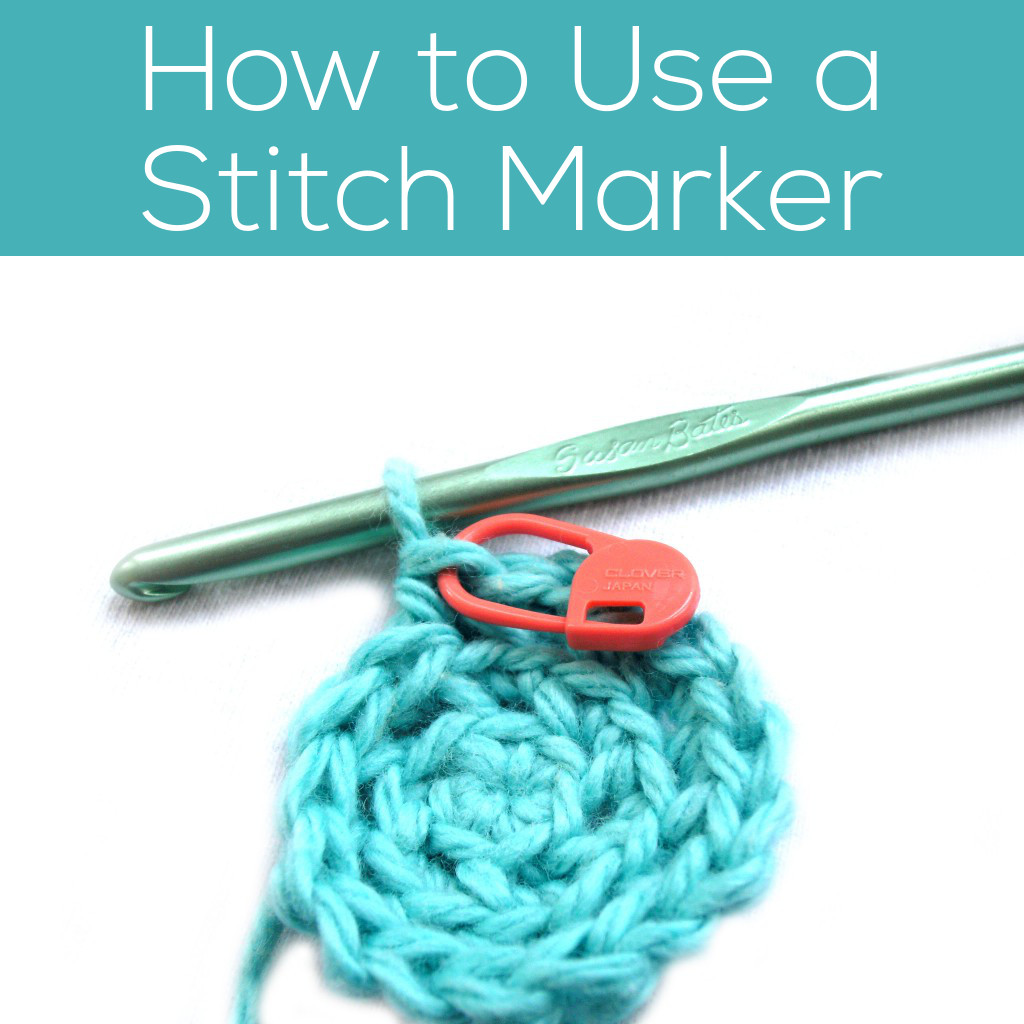
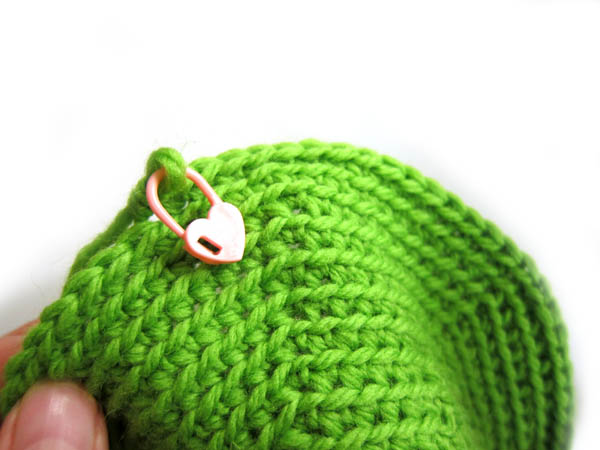
- How to Use a Stitch Marker
- How to Fasten Off Amigurumi Pieces
Additional skills for this pattern. . .
- How to Attach a Flattened Piece to Amigurumi
- Using Running Stitch to Attach Flat Pieces to Amigurumi
You can go through all those posts now, or just hop to them as you get to those points in the pattern – whatever works best for you!
Yarn
This pattern can be used with any weight yarn! Just use the hook recommended on the ball band, and adjust as needed (see ‘gauge notes’ below). For a bigger, super-cuddly animal, try a bulky weight yarn! Just keep in mind that you’ll use more yardage than recommended. The sample is crocheted in worsted weight yarn, and all yardage/ hook recommendations are calculated based on the sample.
Less than 220 yards (1 skein) is required of each color. For the yarn, Stacey used 100% wool worsted weight (Ella Rae Classic the brand used in the sample). However, any worsted weight yarn can be substituted.
- MC- Black (Plymouth Galway Worsted color # 154)
- SC- White (Ella Rae Classic color #01)
- AC1- Yellow (Ella Rae Classic color #44)
- AC2- Blue (Ella Rae Classic color #83)
Other Tools and Supplies
- Size H (5 mm) crochet hook
- Tapestry needle
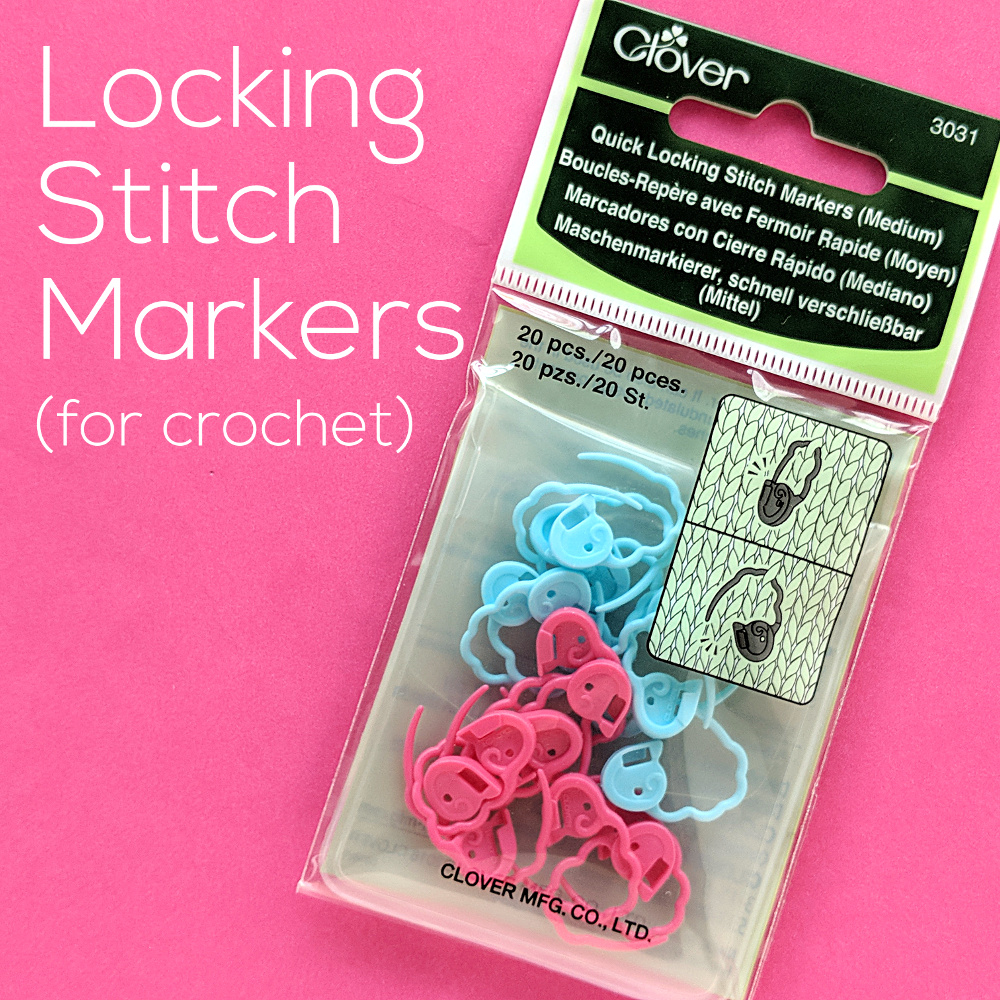
- Locking stitch markers (for counting rounds)
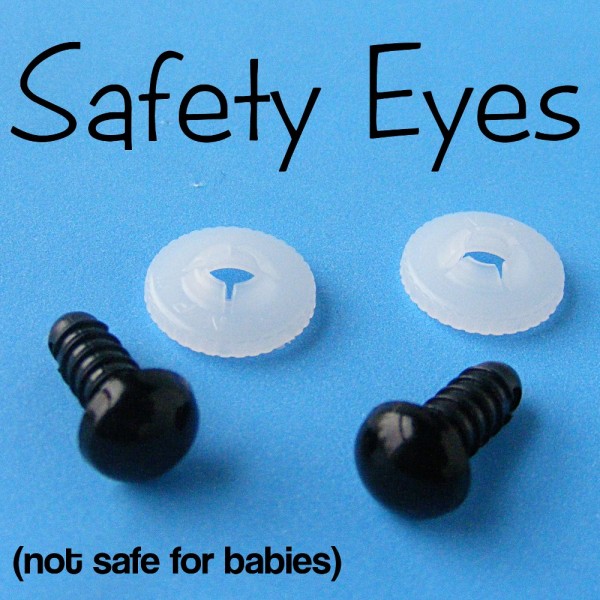
- Pair of 12 mm black craft eyes
- Polyester stuffing
Gauge Notes
This pattern doesn’t specify a gauge. It’s a stuffed animal, and you don’t need to be too picky about exact sizing. The most important thing is that you use a hook size that creates a nice looking fabric for your yarn. If you use the recommended hook size, and your fabric looks very loose (so that stuffing would show through), then you will want to use a smaller hook. Other than that, no measuring required!
In case you’re curious about getting the exact gauge Stacey does, it’s 5 rounds=2 inches. Note that you will need to have this gauge for the yardage suggestions to provide an accurate estimation.
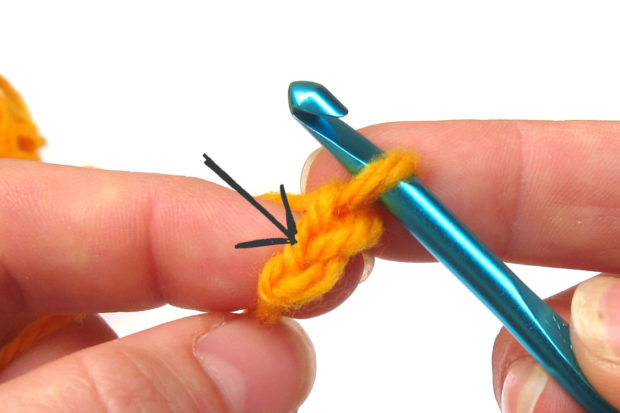
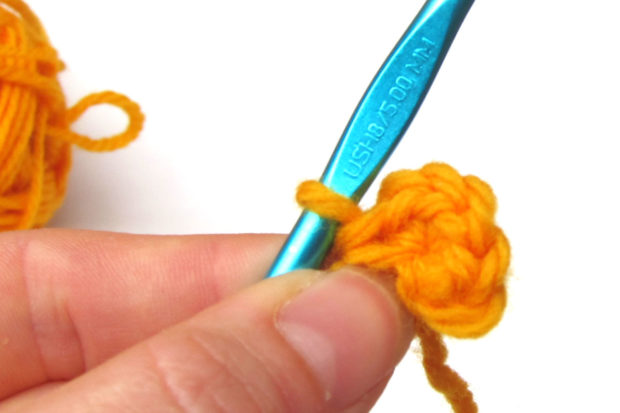
Stitch into the Back
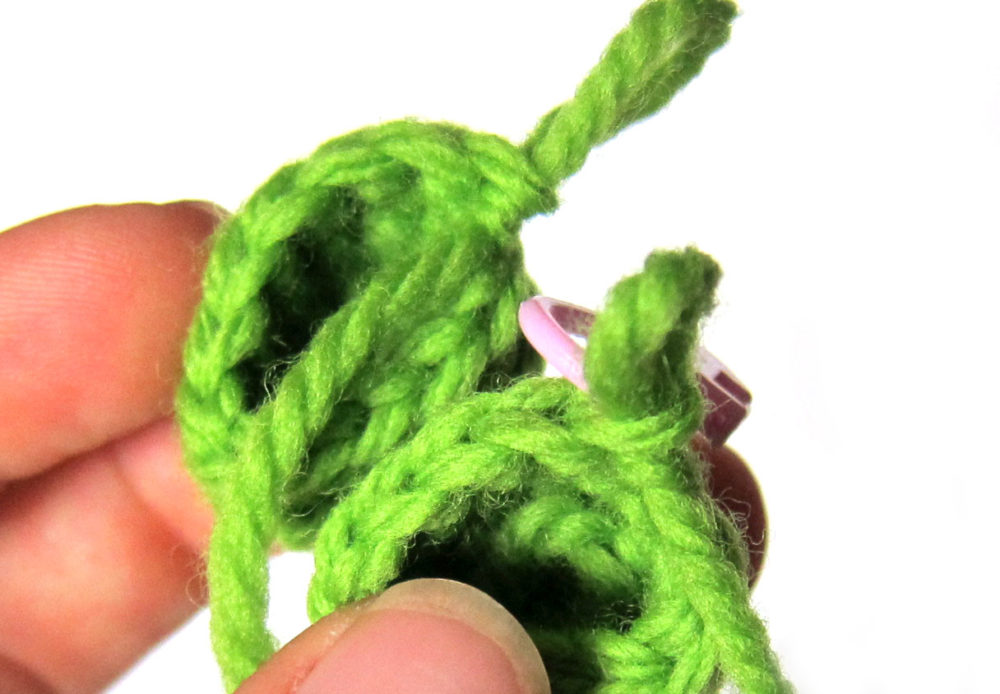
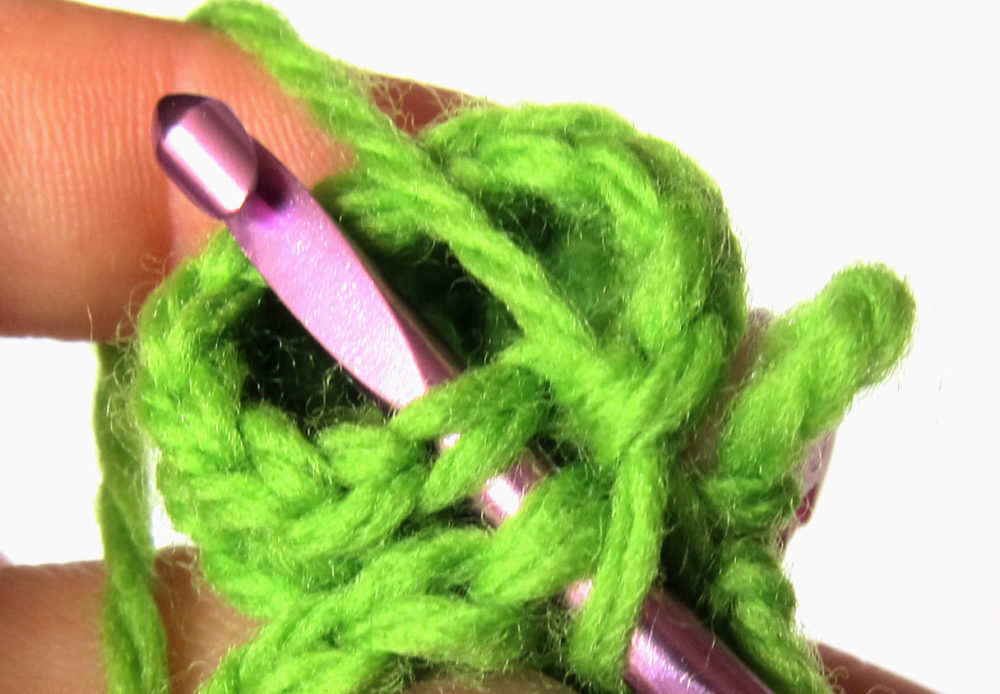
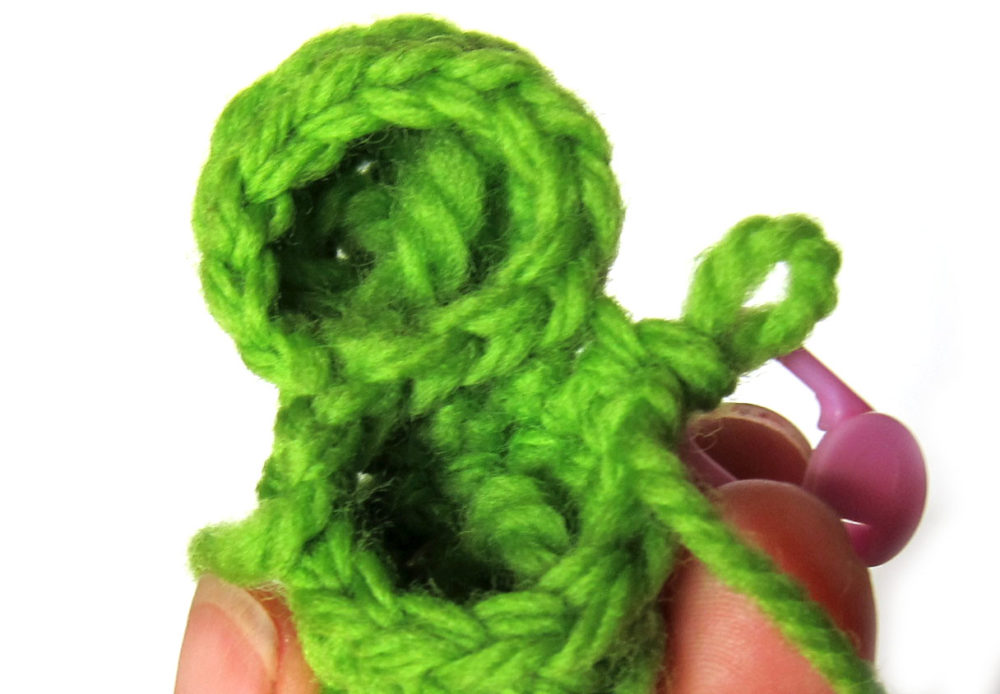
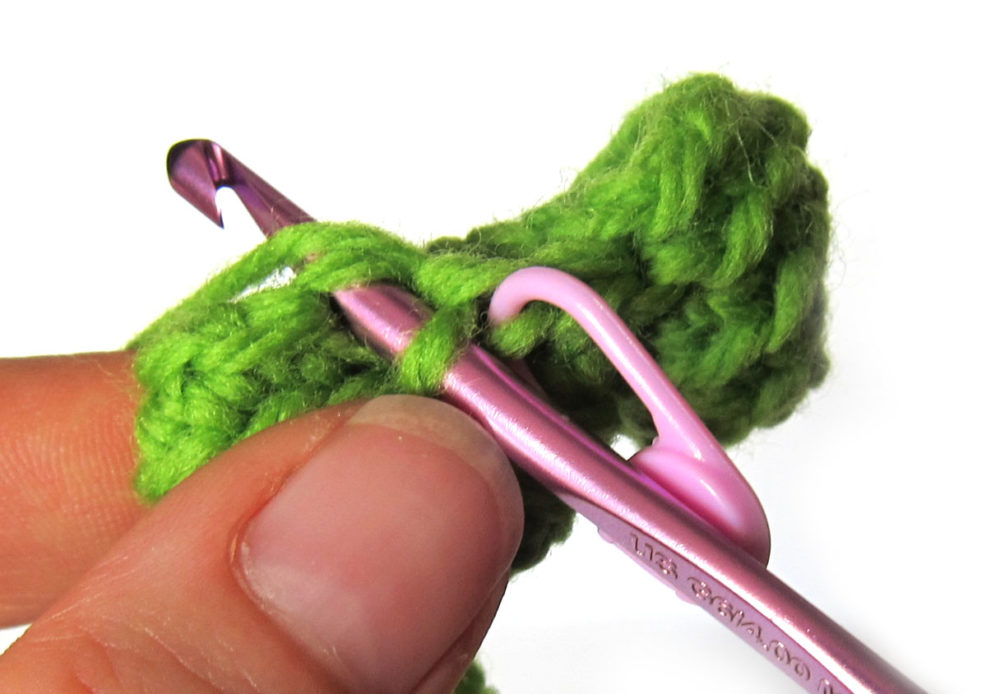
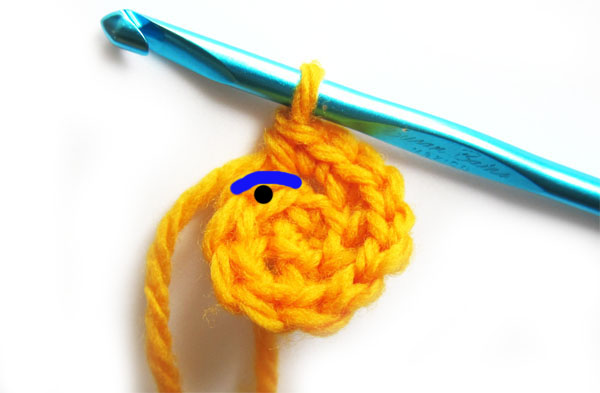
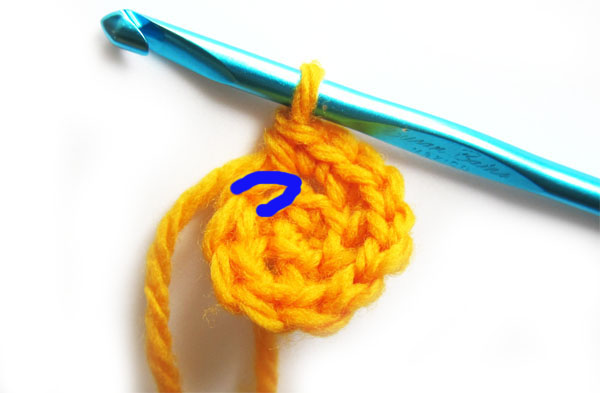
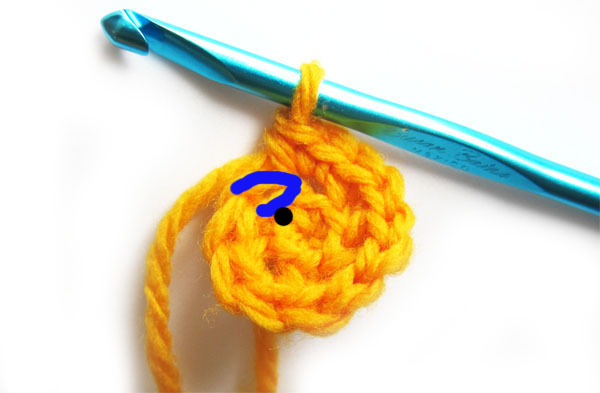
All stitches in this pattern (that are worked in the round) are worked through the back loop only, unless otherwise directed. Look at this picture.
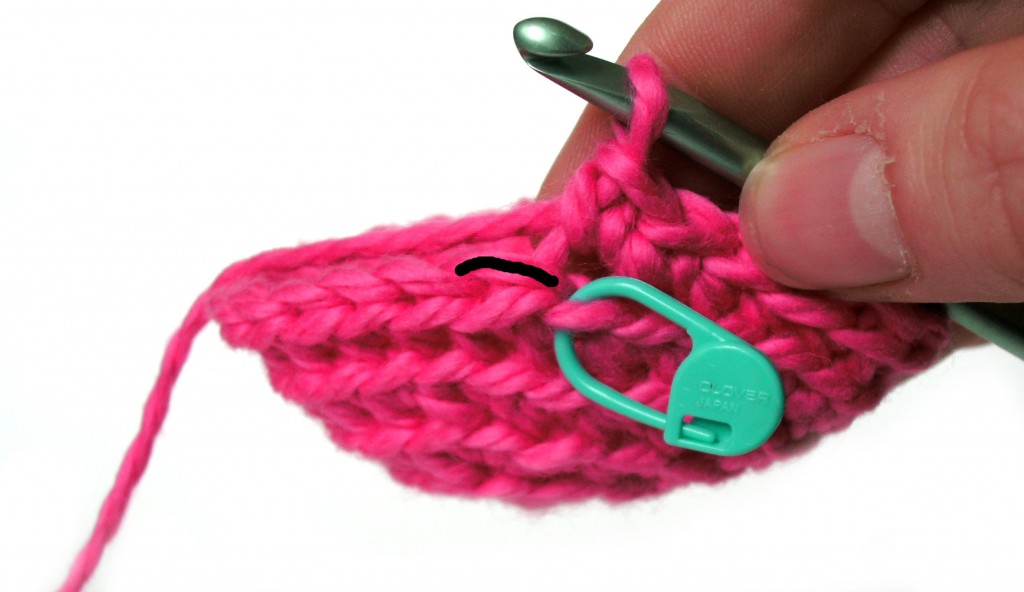
See how one loop is highlighted in black? This is the back loop, and it’s what you’ll stitch into. Stitching into the back loop creates ridges on the right side of the piece.
Want to see crocheting through the back loop in action? Check out this blog post. It talks all about why Stacey crochets through the back loop and even has a handy dandy video showing how to find that loop. 🙂
Abbreviations
- ch: chain
- sc: single crochet
- sc2tog: single crochet 2 stitches together
- st(s): stitch(es)
Ready? Let’s jump in!
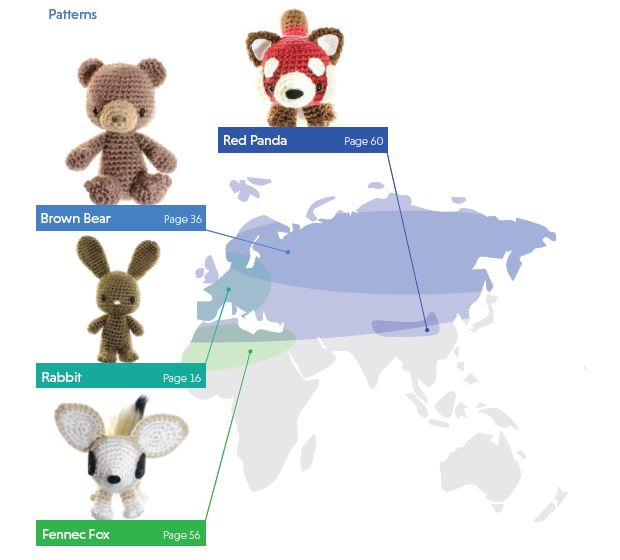
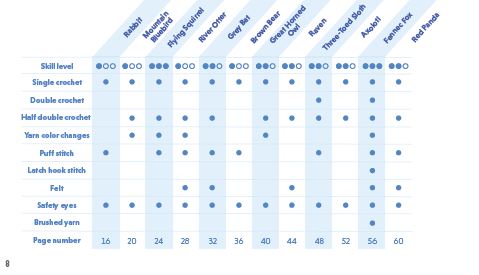
The Pattern
Eye Circles
Make 2.
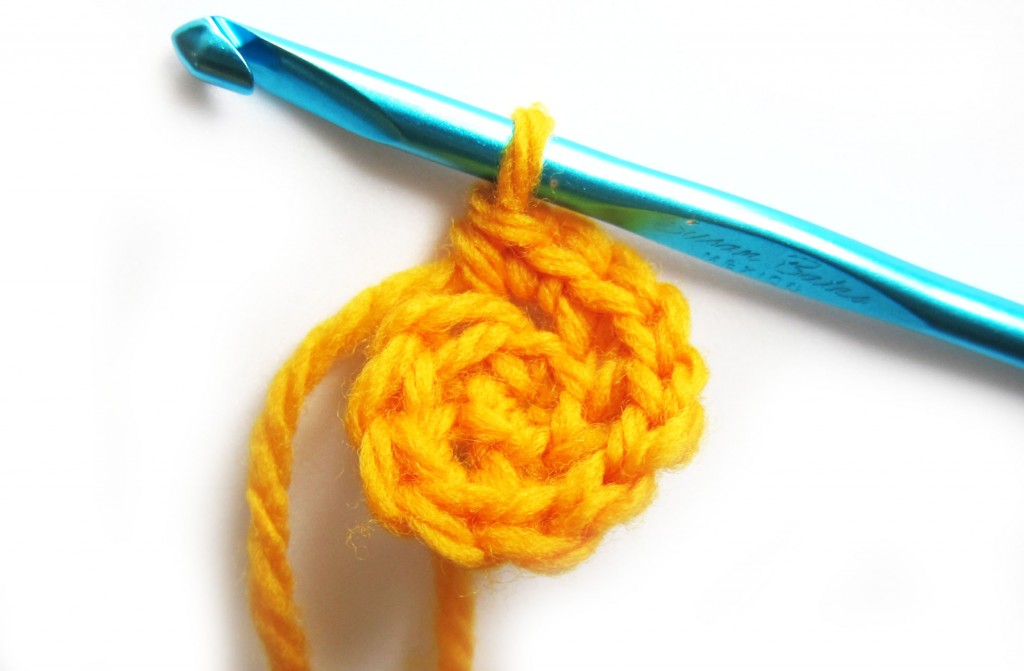
With AC2, ch 2 (I like to start with a sloppy slip knot. This video shows how. And this video shows how to chain.)
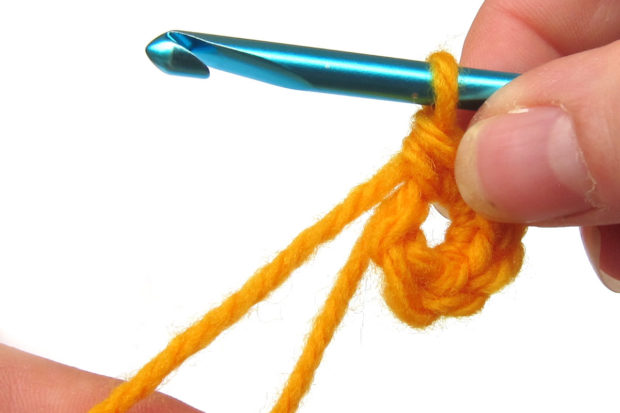
Round 1 sc 6 in 2nd ch from hook (6) This post will help you find that second chain from the hook.
Round 2 sc twice in each st (12) This video will help you if you find it tricky to start the second round.
Round 3 [sc twice in next st, sc in next st.] 6 times (18) (Whoa! What’s with the brackets? It’s just telling you that set is going to repeat. So do everything in the brackets, and then repeat that same series for a total of six times. No big deal. And the 18 in parentheses is telling you that this round is a total of 18 stitches. It’s a good way to check your work.)
Round 4 [sc twice in next st, sc in next 2 sts.] 6 times (24)
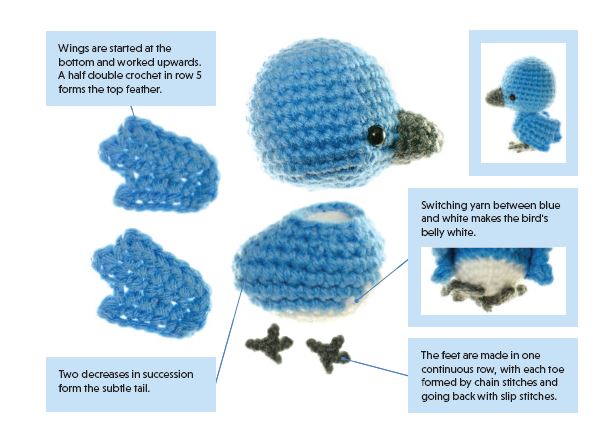
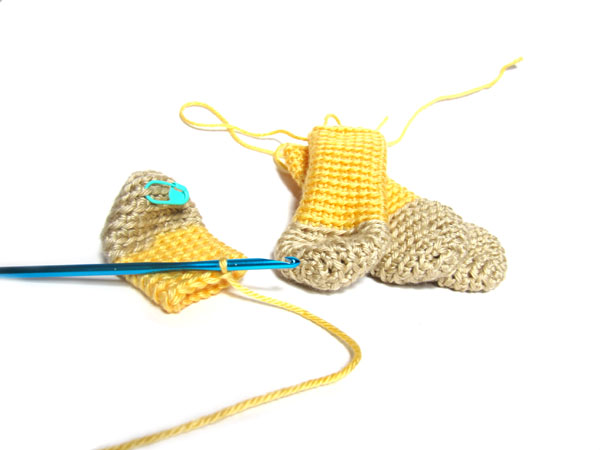
Feet
Make 2.
With AC1, ch 2
Round 1 sc 6 in 2nd ch from hook (6)
Round 2 sc twice in each st (12)
Round 3 [sc twice in next st, sc in next st.] 6 times (18)
Rounds 4-5 sc in each st (18, 2 rounds)
Fasten off with long tail.
Wings
Make 2.
With MC, ch 2
Round 1 sc 6 times in 2nd ch from hook (6)
Round 2 sc twice in each st (12)
Rounds 3-4 sc in each st (12, 2 rounds)
Round 5 [sc twice in next st, sc in next st] 6 times (18)
Rounds 6-9 sc in each st (18, 4 rounds)
Round 10 [sc2tog, sc in next st] 6 times (12)
Fasten off with long tail.
Beak
With AC1, ch 2
Round 1 sc 6 times in 2nd ch from hook (6)
Round 2 sc twice in each st (12)
Rounds 3-5 sc in each st (12, 3 rounds)
Fasten off with long tail.
Tummy Circle
With SC, ch 2
Round 1 sc 6 times in 2nd ch from hook (6)
Round 2 sc twice in each st (12)
Round 3 [sc twice in next st, sc in next st] 6 times (18)
Round 4 [sc twice in next st, sc in next 2 sts] 6 times (24)
Round 5 [sc twice in next st, sc in next 3 sts] 6 times (30)
Round 6 [sc twice in next st, sc in next 4 sts] 6 times (36)
Round 7 [sc twice in next st, sc in next 5 sts] 6 times (42)
Round 8 [sc twice in next st, sc in next 6 sts] 6 times (48)
Fasten off with long tail.
Body
With MC, ch 2
Round 1 sc 6 times in 2nd ch from hook (6)
Round 2 sc twice in each st (12)
Round 3 [sc twice in next st, sc in next st] 6 times (18)
Round 4 [sc twice in next st, sc in next 2 sts] 6 times (24)
Round 5 [sc twice in next st, sc in next 3 sts] 6 times (30)
Round 6 [sc twice in next st, sc in next 4 sts] 6 times (36)
Round 7 [sc twice in next st, sc in next 5 sts] 6 times (42)
Round 8 [sc twice in next st, sc in next 6 sts] 6 times (48)
Round 9 [sc twice in next st, sc in next 7 sts] 6 times (54)
Round 10 [sc twice in next st, sc in next 8 sts] 6 times (60)
Rounds 11-21 sc in each st (60, 11 rounds)
Round 22 [sc2tog, sc in next 8 sts] 6 times (54)
Round 23 sc in each st (54)
Round 24 [sc2tog, sc in next 7 sts] 6 times (48)
Round 25 sc in each st (48)
Round 26 [sc2tog, sc in next 6 sts] 6 times (42)
Round 27 sc in each st (42)
Round 28 [sc2tog, sc in next 5 sts] 6 times (36)
Round 29 sc in each st (36)
Round 30 [sc2tog, sc in next 4 sts] 6 times (30)
Round 31 sc in each st (30)
Remove hook, but do not fasten off!
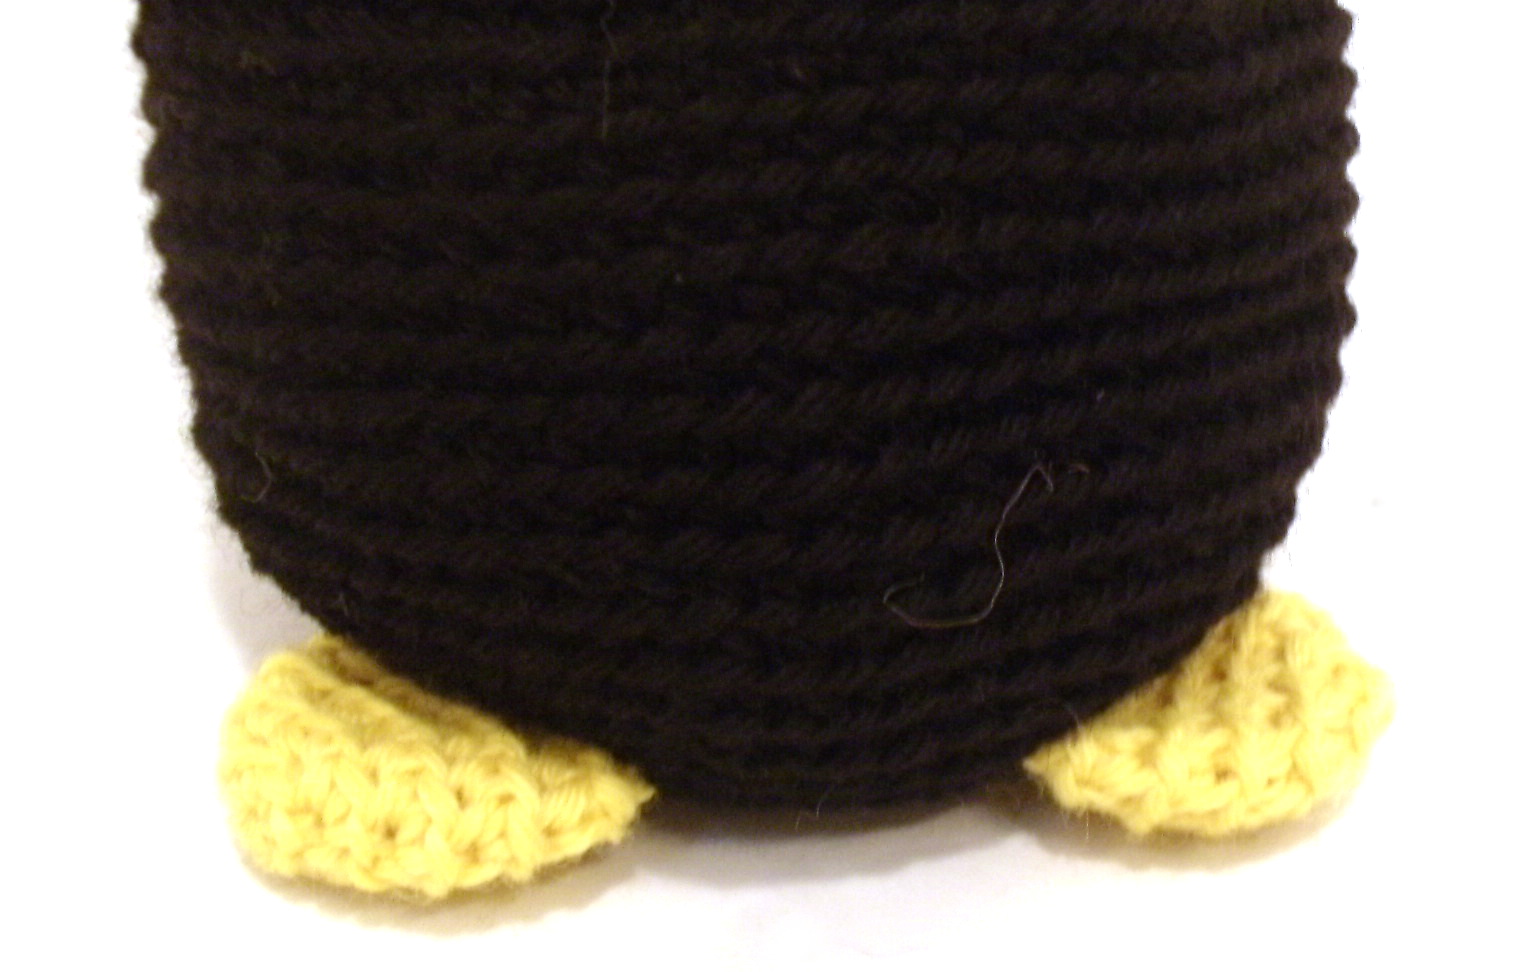
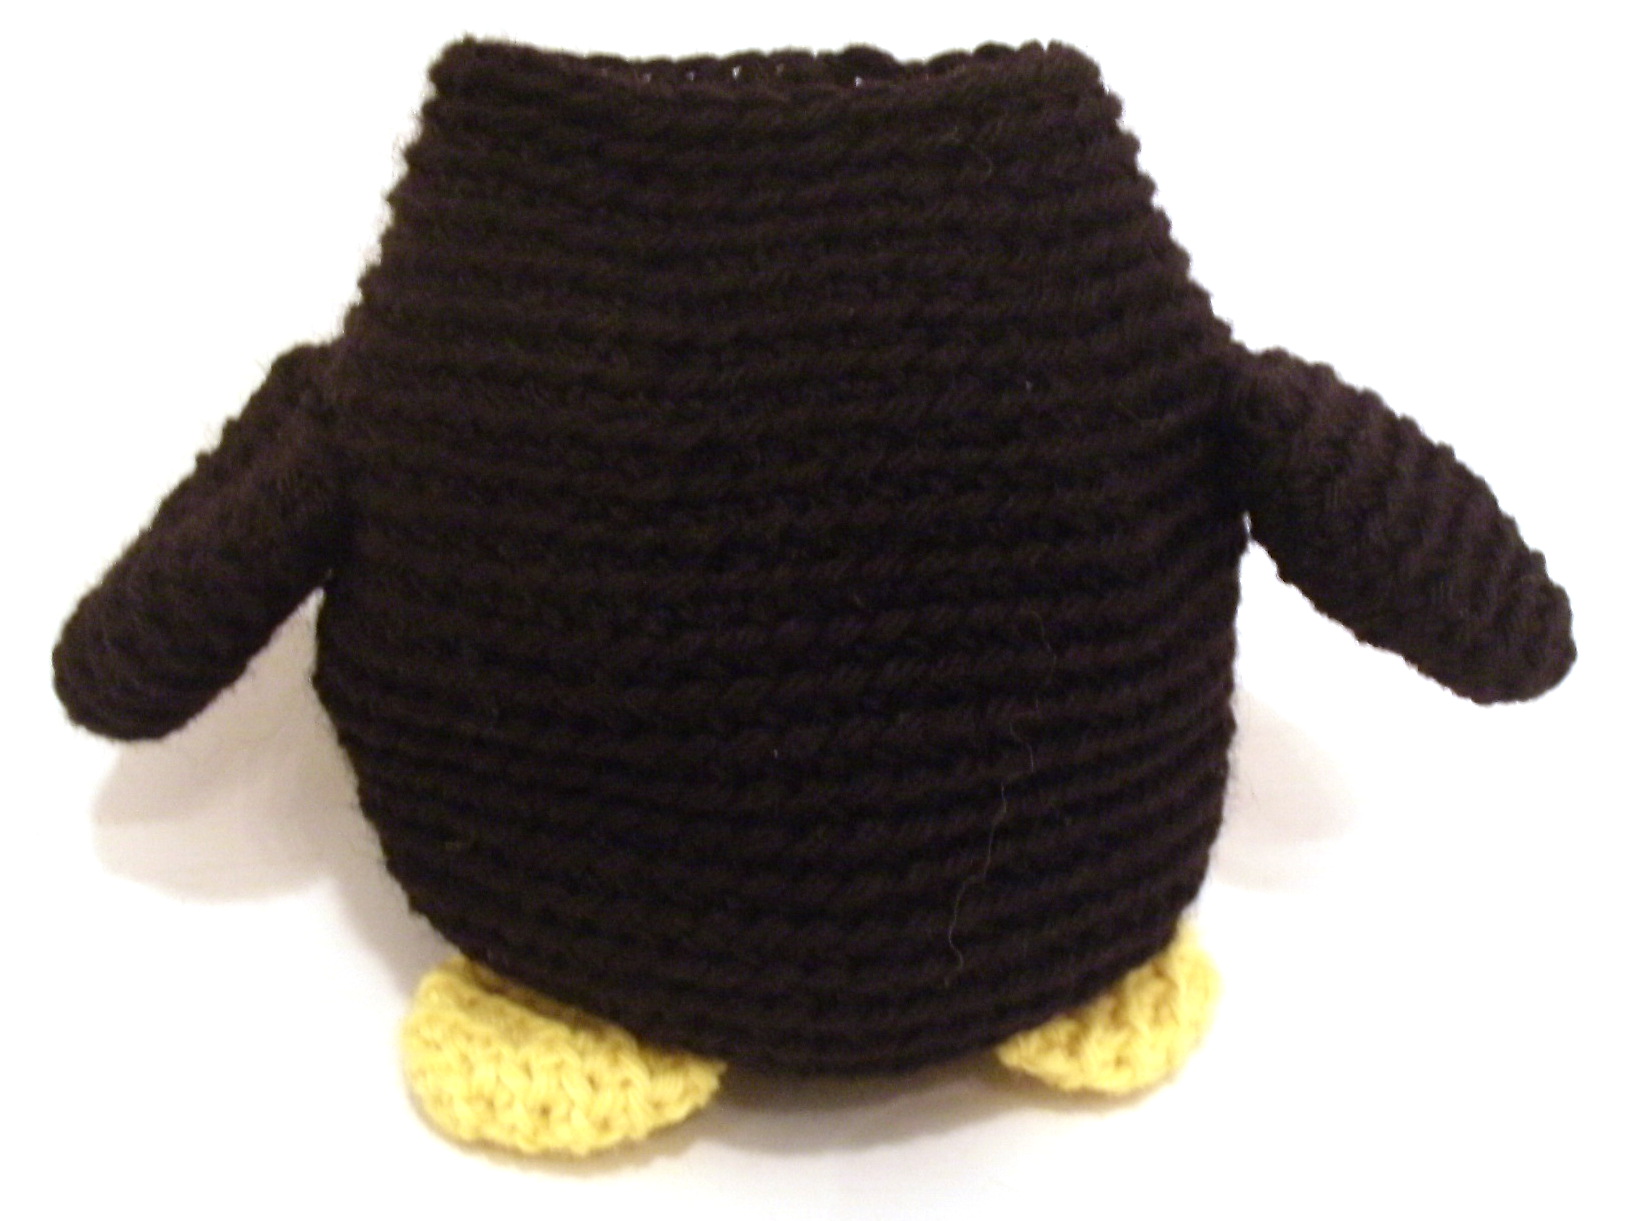
Flatten feet, and attach to round 7 of body. This post shows to how flatten and attach amigurumi pieces.
Flatten wings, and attach to each side of body, at approximately round 22.
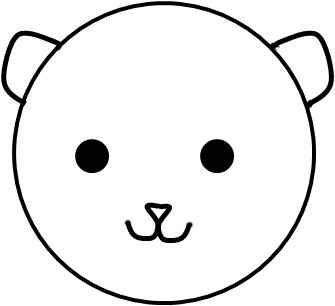
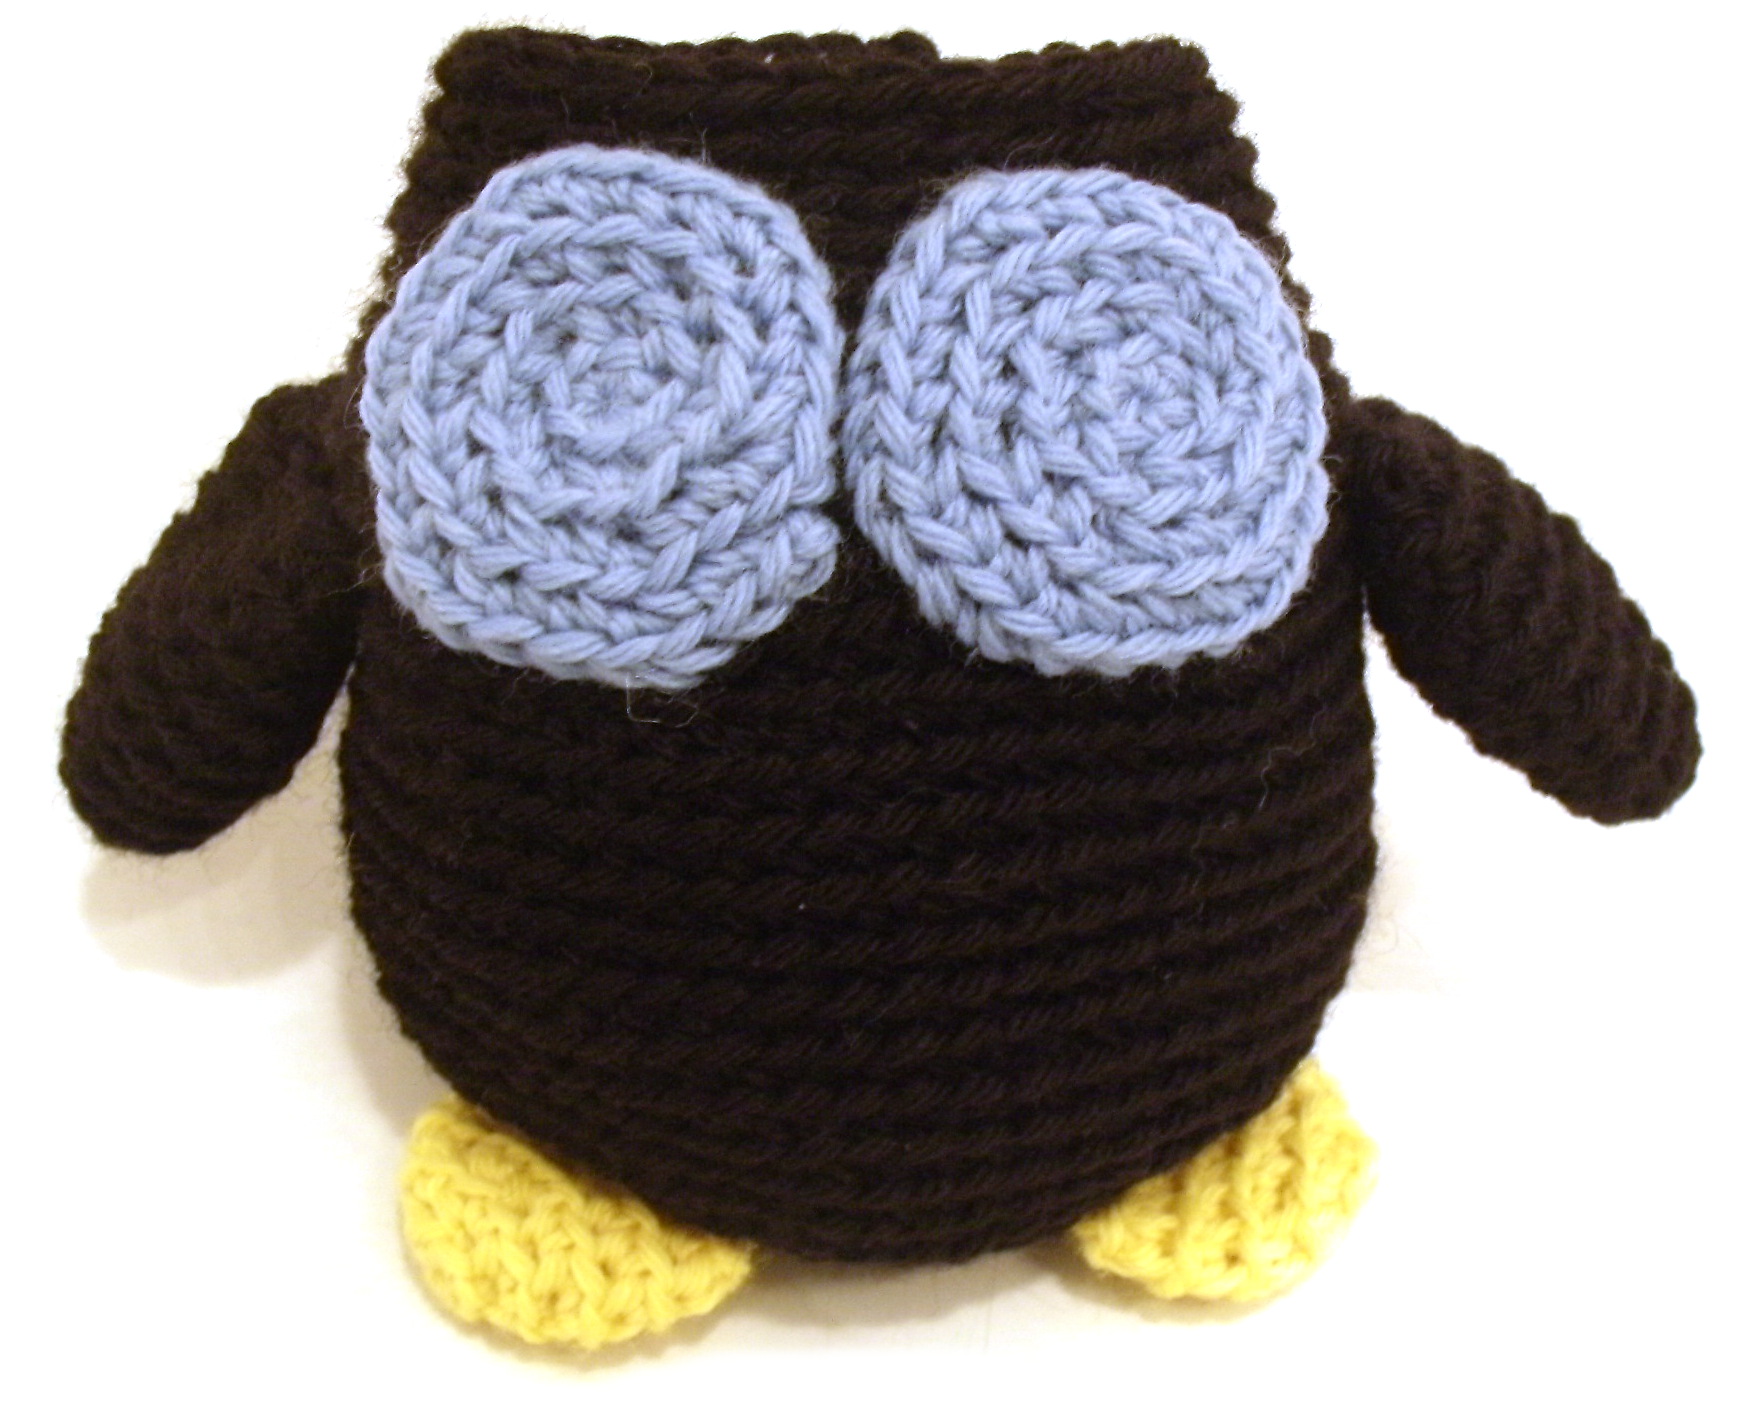
Attach eye circles to body. The bottom of the eye circles should be attached to round 21, and the top of the eye circles will reach round 27. Be sure that the two eye circles touch in the center. This post shows how to use running stitch to attach flat pieces (like spots) to amigurumi.
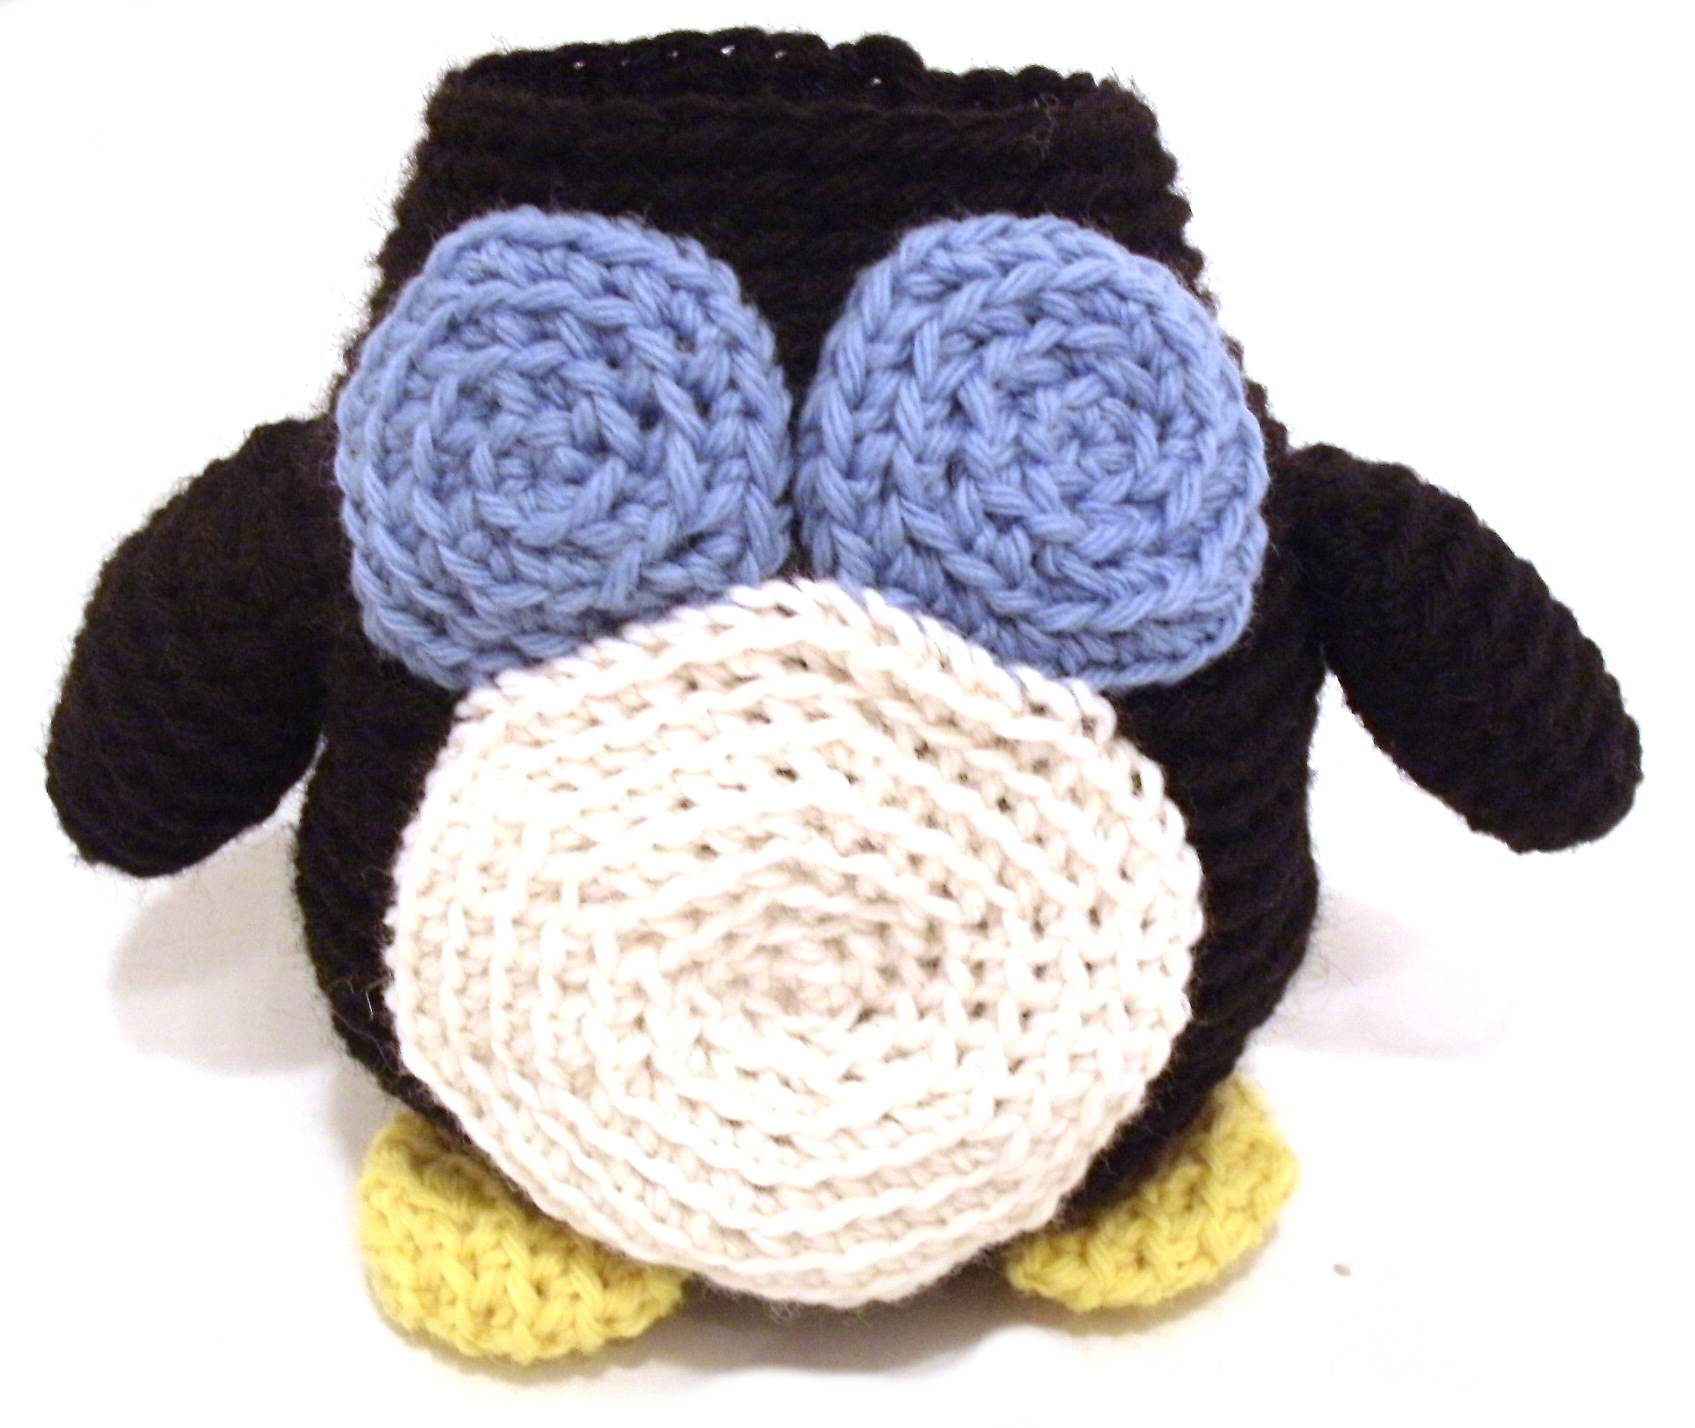
Attach tummy circle to body. The bottom should be attached at round 9 (two rounds above the feet), and slightly overlap the bottom of the eye circles at the top.
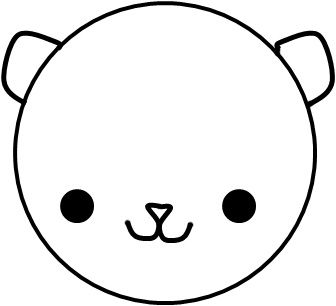
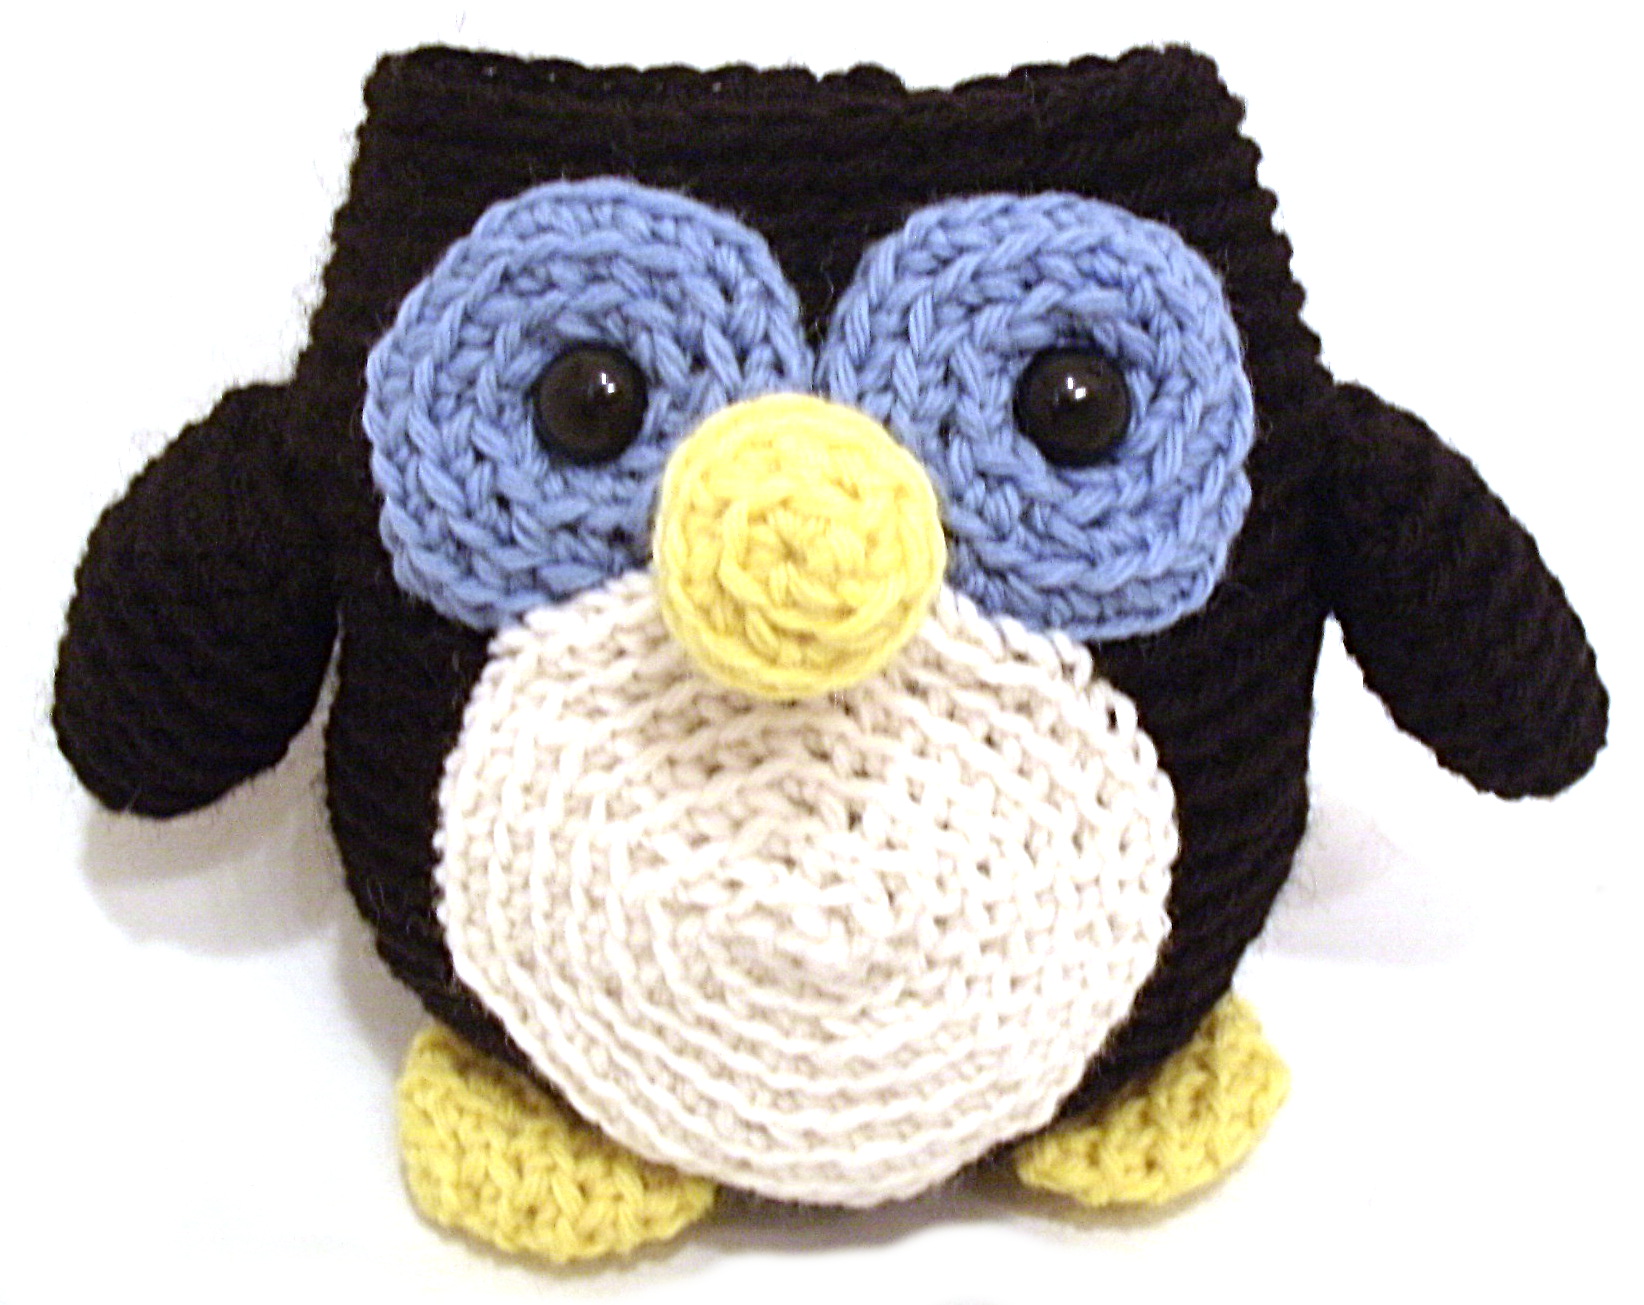
Fasten eyes onto the head. To do so, just insert the post where you want the eye to go (for Howie it’s in the center of his eye circles) and press the washer onto the back post to secure. Make sure the washer is pushed on all the way.
Stuff beak slightly, and attach over the point where the eye circles and tummy circle meet. This post shows how to do that kind of attachment.
Stuff the penguin body and continue crocheting.
This post has tips for stuffing amigurumi (it’s a little different from sewn softies), and this video has some terrific help for closing up those last few rounds.
Round 32 [sc2tog, sc in next 3 sts] 6 times (24)
Round 33 [sc2tog, sc in next 2 sts] 6 times (18)
Round 34 [sc2tog, sc in next st] 6 times (12)
Round 35 [sc2tog] 6 times (6)
Slipstitch across the top and fasten off. Here’s a video showing how to slipstitch, and here’s one showing how to fasten off.
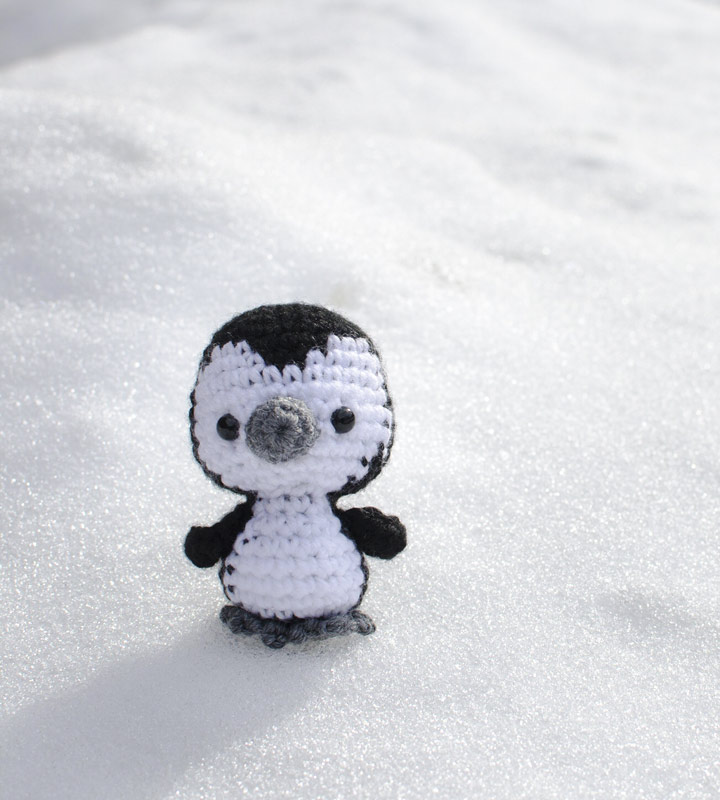
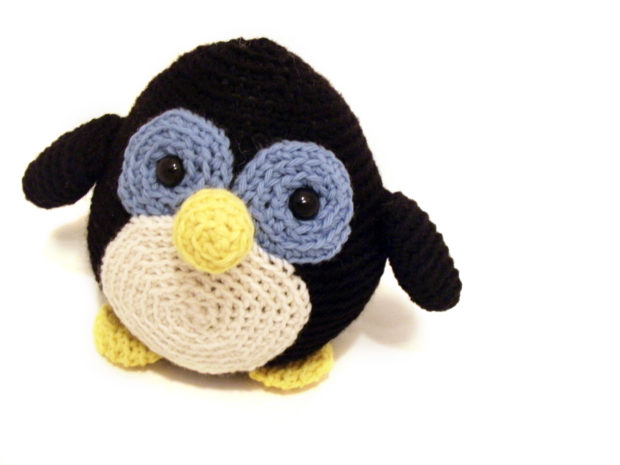
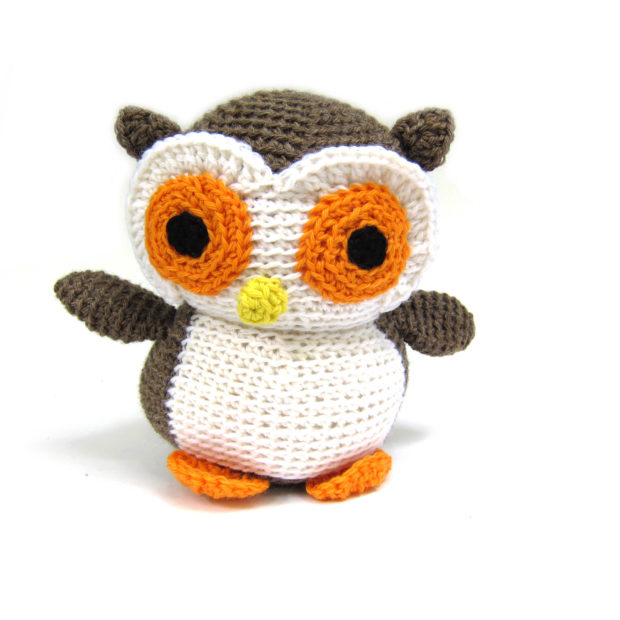
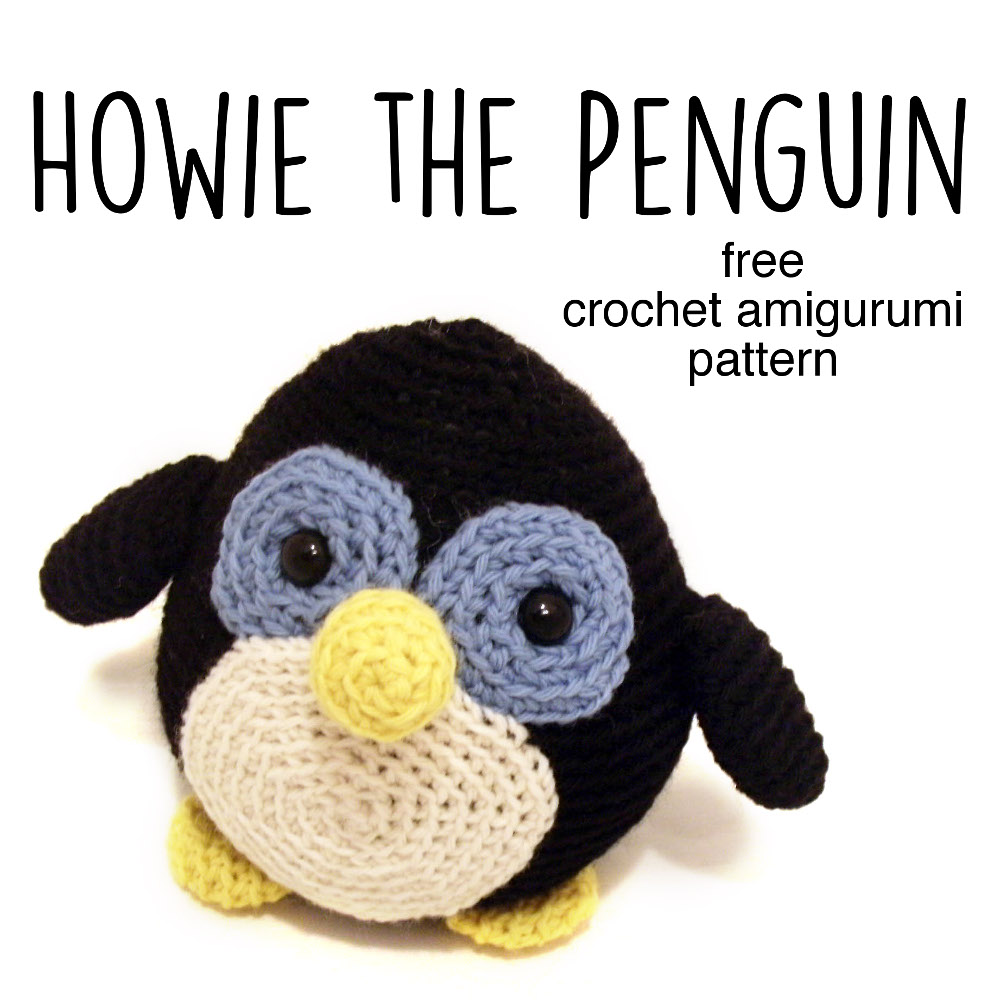
Ta da! You made a penguin!
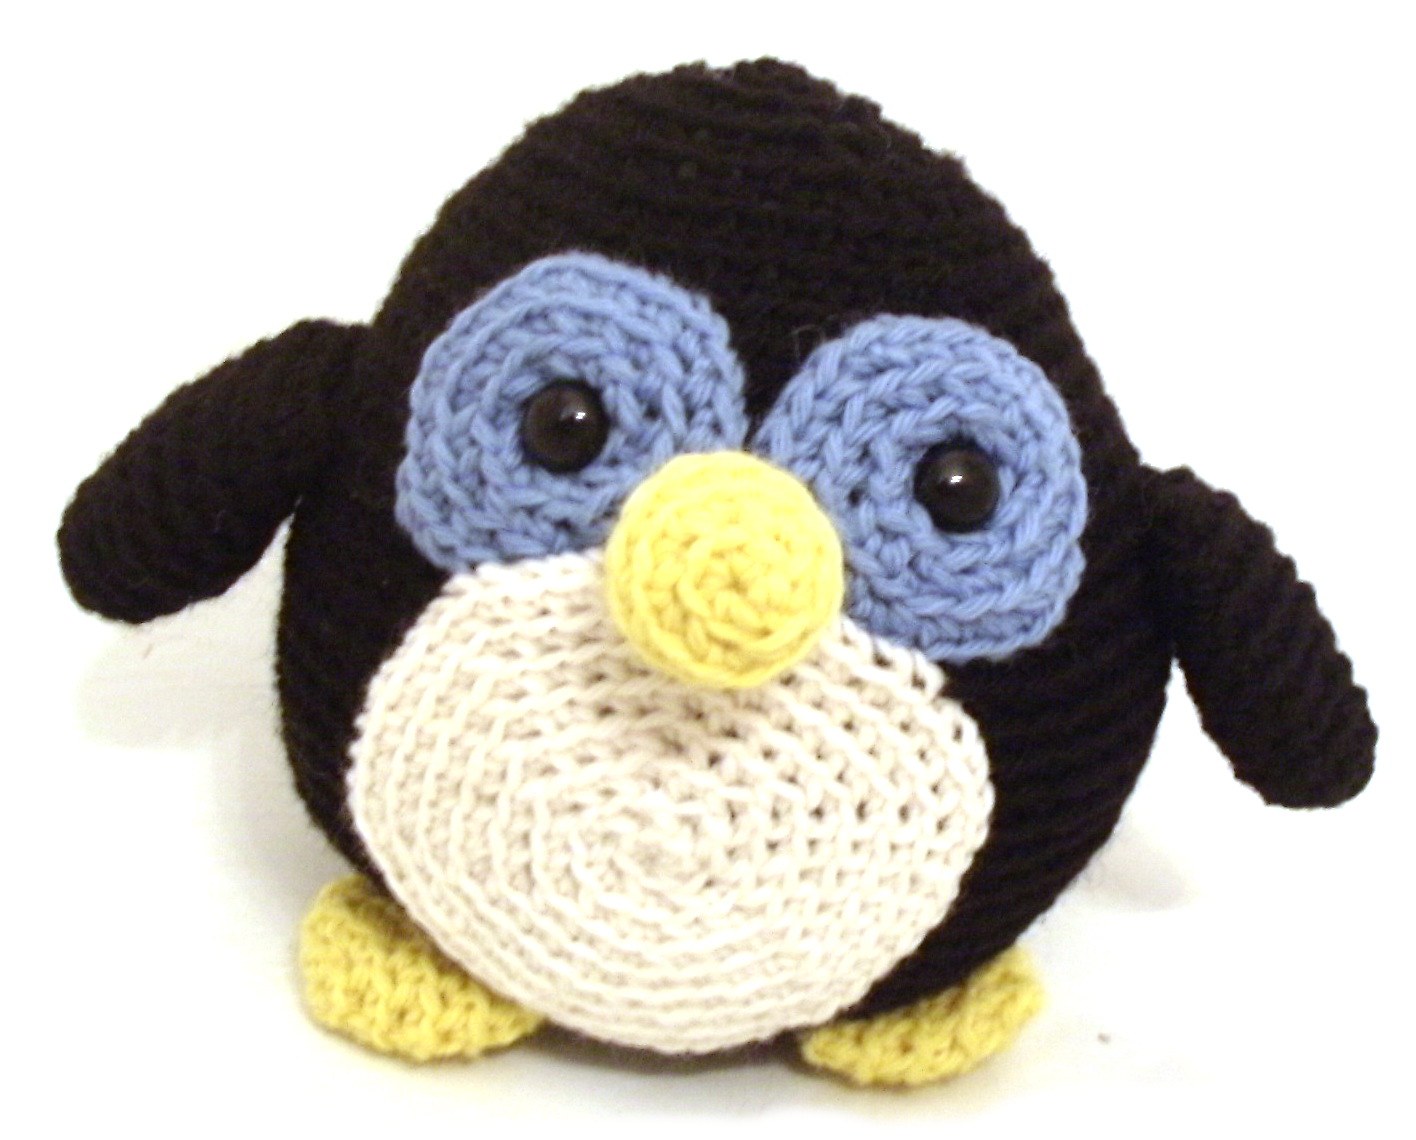
Aren’t you proud? You should be!
Click here to download a handy dandy printable PDF of the free Howie the penguin amigurumi pattern.
Snap a photo and share it with us over in the Shiny Happy People group! If you share it on social media, tag with with #shinyhappyworld so I can see it. 🙂
I hope you want to make something else now. You can shop for more crochet patterns here.
Happy stitching!
Best,
Wendi