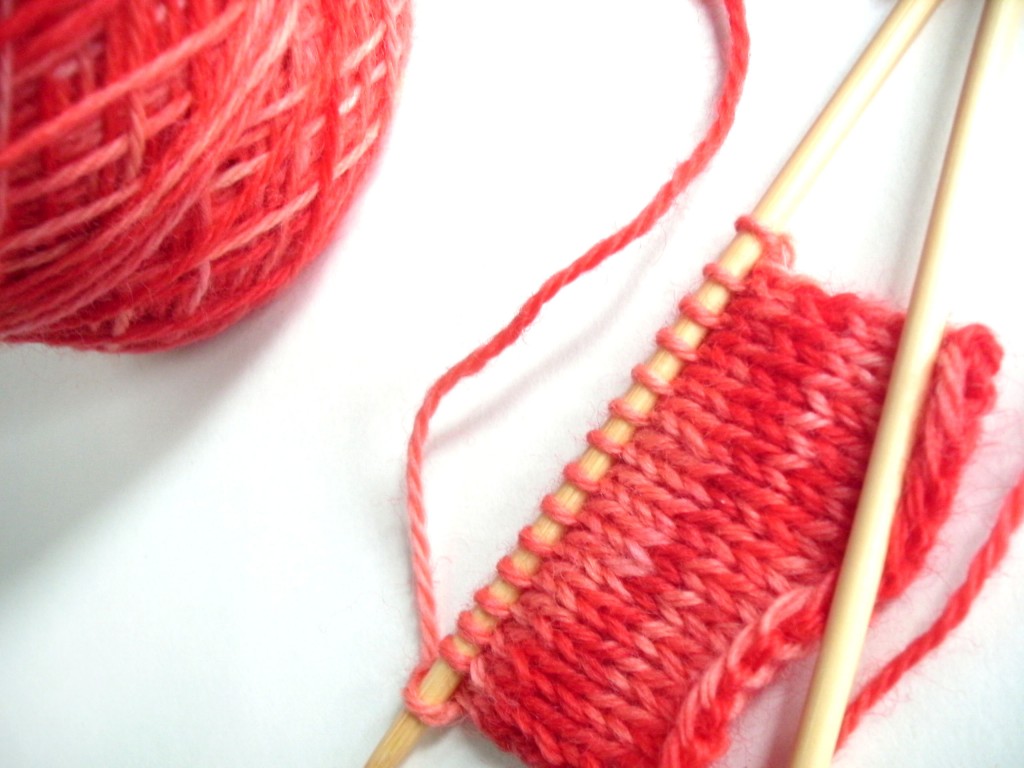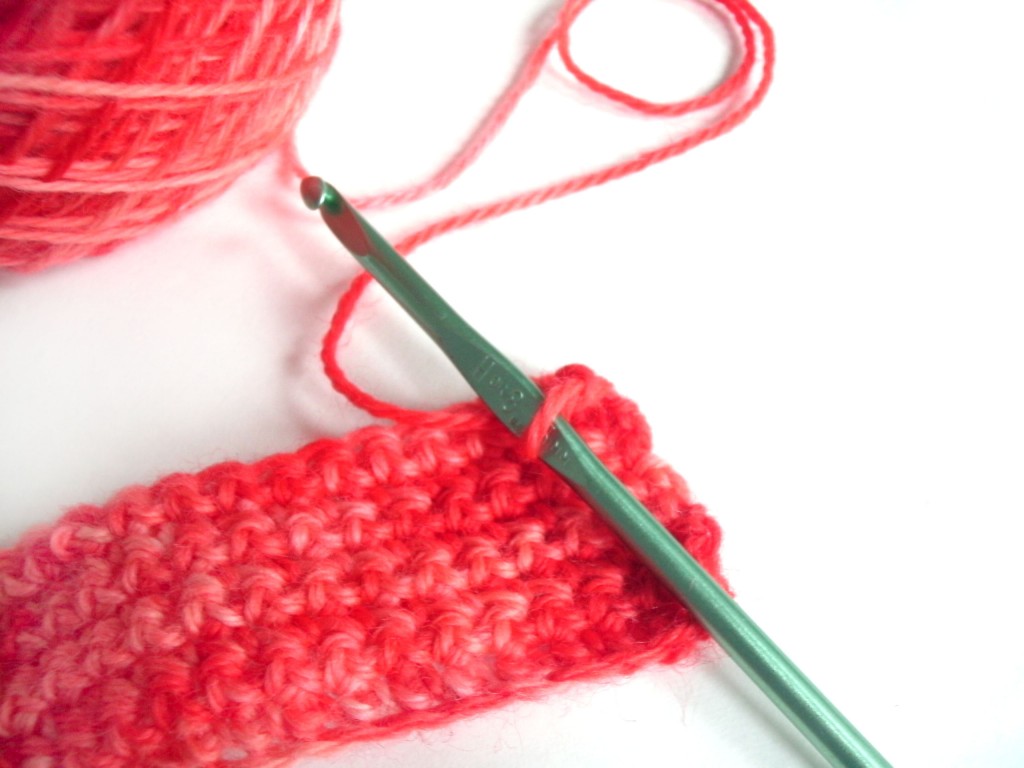
Flash your awesome Kool-Aid dyeing results!

I hope you’ve had an awesome time with Kool-Aid Dye Week… I know I’ve had a blast experimenting! Did you give any of the techniques a try? If so… show it off!

In case you missed it…

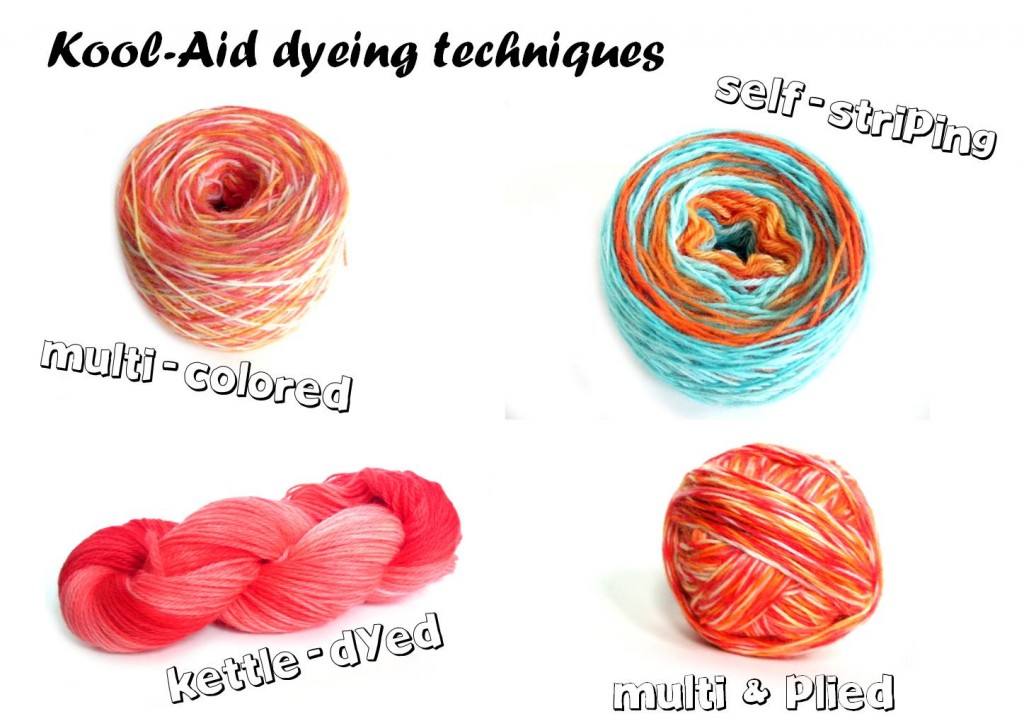
I’ve posted tutorials for quite a few ways of using Kool-Aid to dye your yarn! If you missed them, don’t worry… here’s a wrap-up:

Click on any of the following links to zip to the tutorial!

Check out what I made!

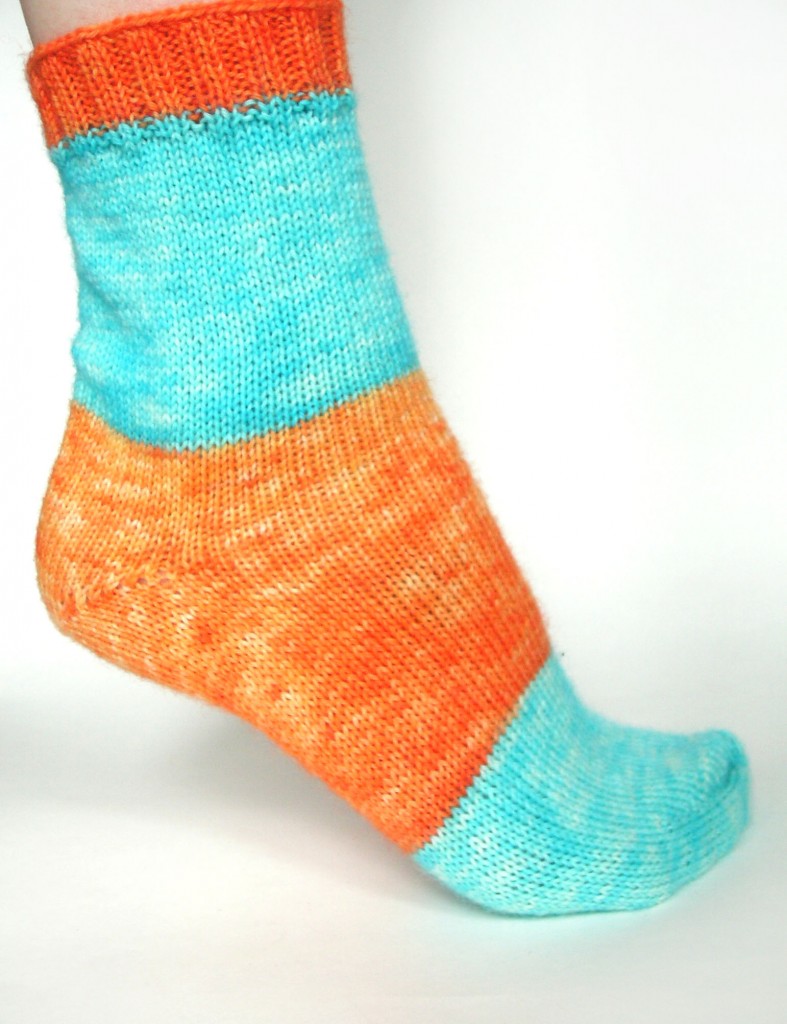
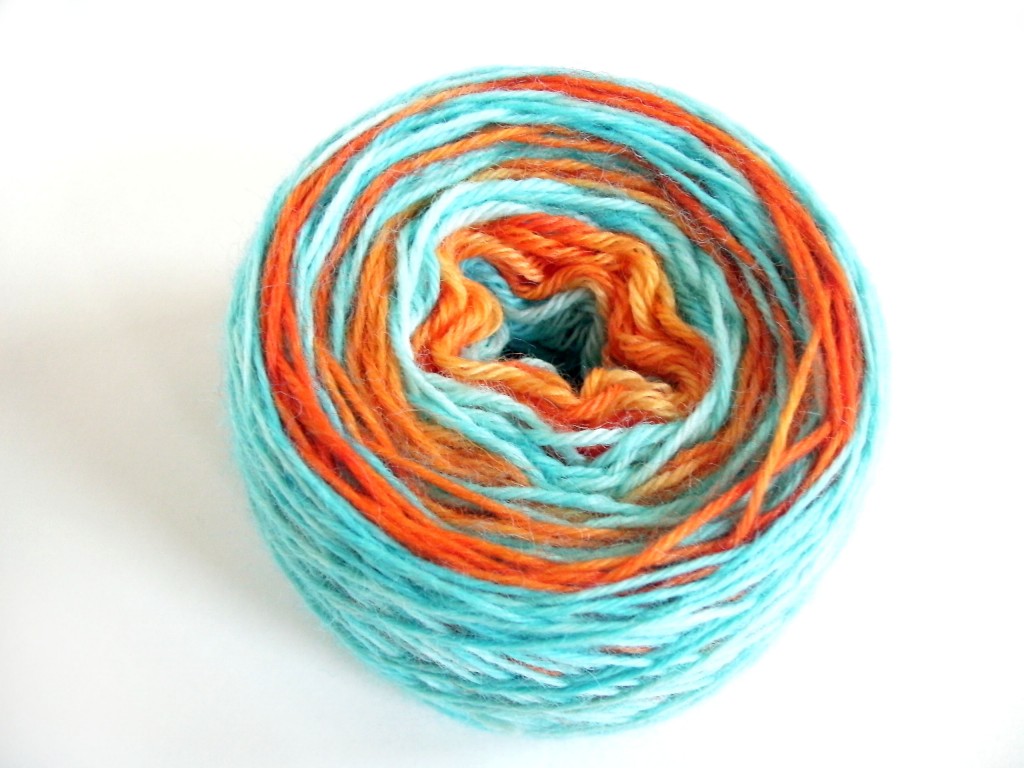
While I made a few knitted & crocheted swatches for Dye Week, I couldn’t wait to get started on a project! And since my favorite technique is dyeing the long colorways, I started with that skein, first!

Check out my socks!

EEE! Don’t you love it! In retrospect, I might have dyed smaller sections to get narrower stripes, but I’m not complaining… I think these are super-fun!

Show me what you’ve got!

I wanna see it!

Share your experiences with Kool-Aid dyeing in the comments section!

Better yet, write a blog post showing off your awesome yarn, and share the link in the comments! Then we can all see what awesome work you’ve done!

How to ply your Kool-Aid dyed yarn for an awesome look!

Ready to learn yet another cool technique you can do with Kool-Aid?

Today, I’m going to show you how to get great barber-pole yarn by plying already dyed yarn!

Remember how we dyed multi-color skeins? Now we’re going to go one step further! I learned this technique in Spin Off Magazine, and had to give it a try!

Materials

You’ll need:

The Process

We’re going to ply our already-dyed yarn together… and it results in a great effect!

Step 1: Start plying!

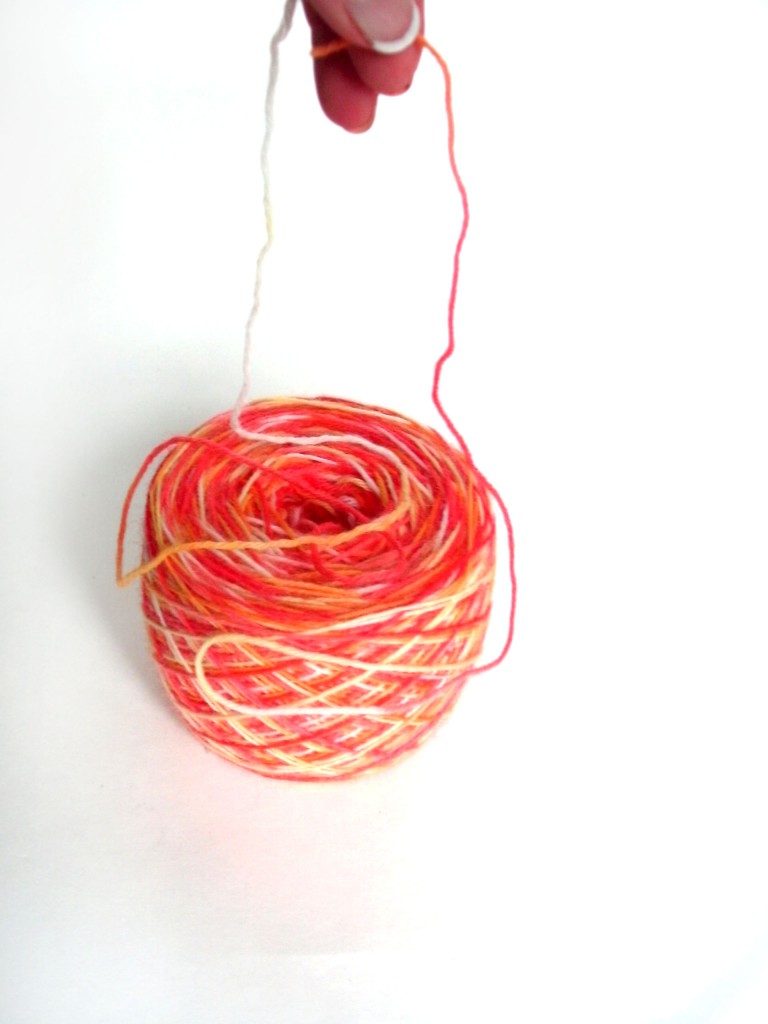
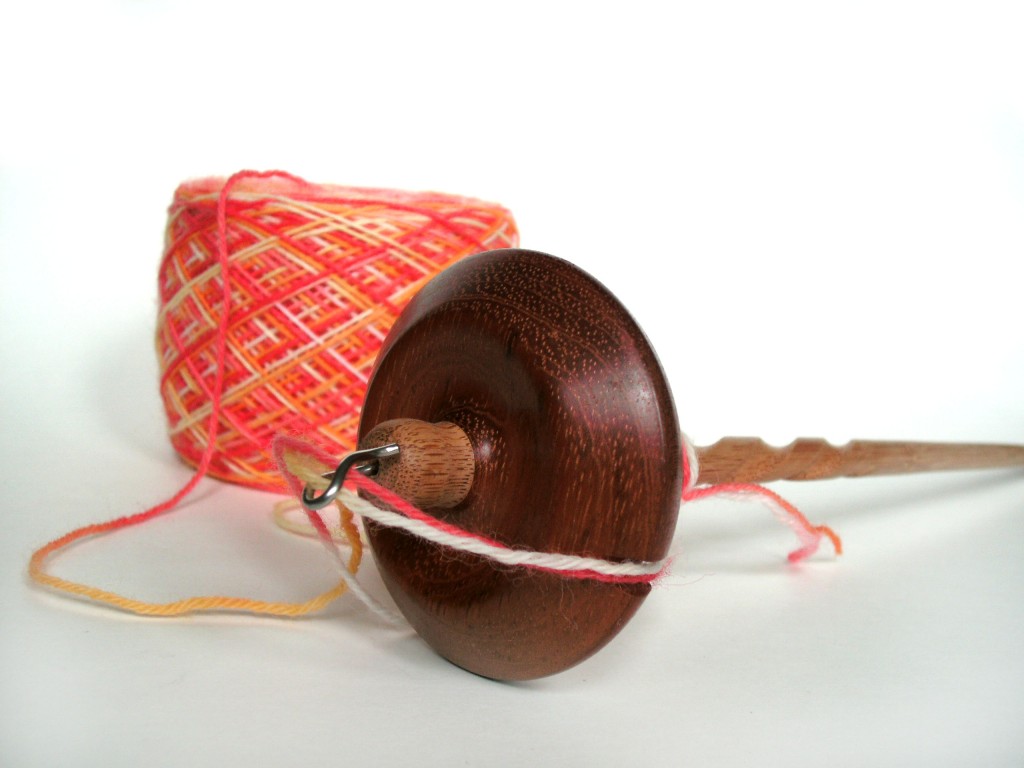
Pull one strand from the center and one from the outside of your ball:

This way, you’ll always have two strands of equal length!

And then, begin plying! I’m using my spindle…

That’s all!

Swatches

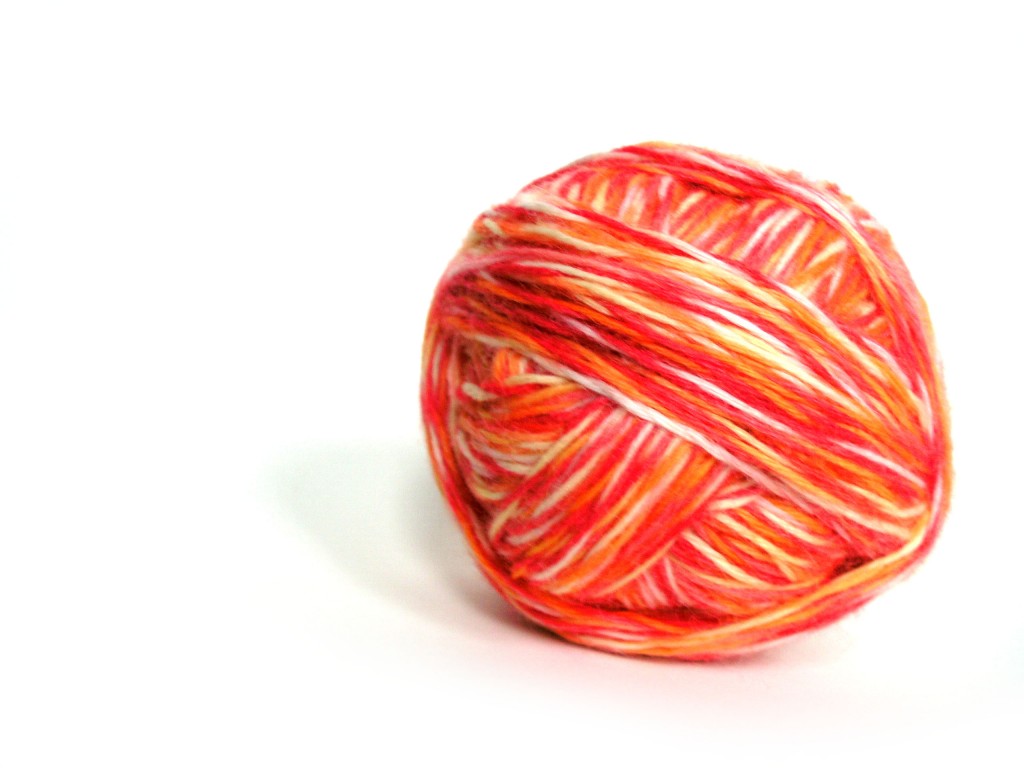
This yarn is beautiful!

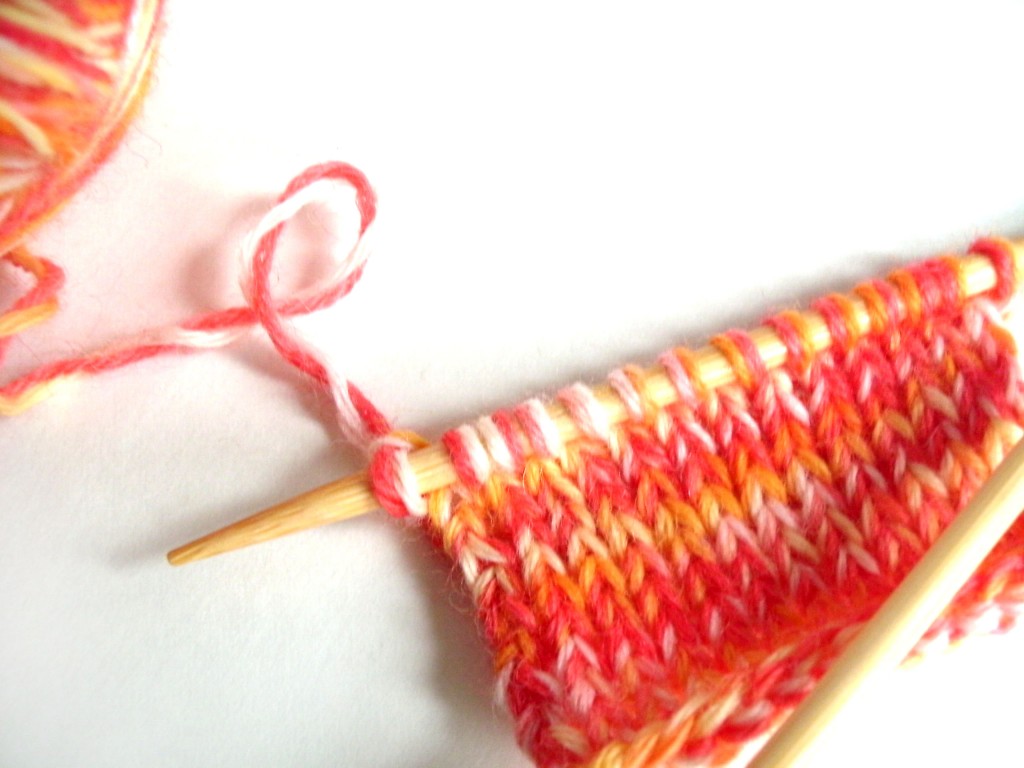
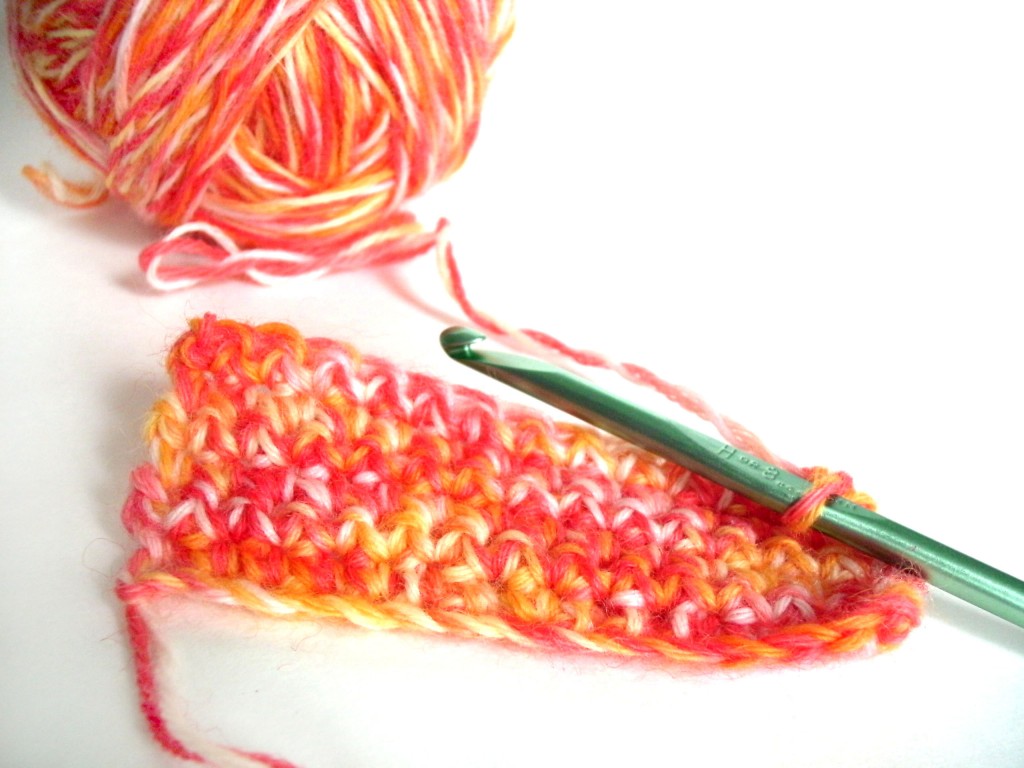
The advantage to this technique is that it obscures some of the ‘splotchy-ness’ that can happen with the simple multi-colored skein. Here’s how it looks in knitting and crochet:


Having fun?

I’ve been having a blast showing you new techniques for using Kool-Aid to dye yarn! I hope you’ve been enjoying it! Come back tomorrow to have a peek at some projects!

Best,
Stacey

How to dye long colorways with Kool-Aid, part 2

Alrighty, folks! Remember, we’re in the middle of dyeing a fabulously long colorway?

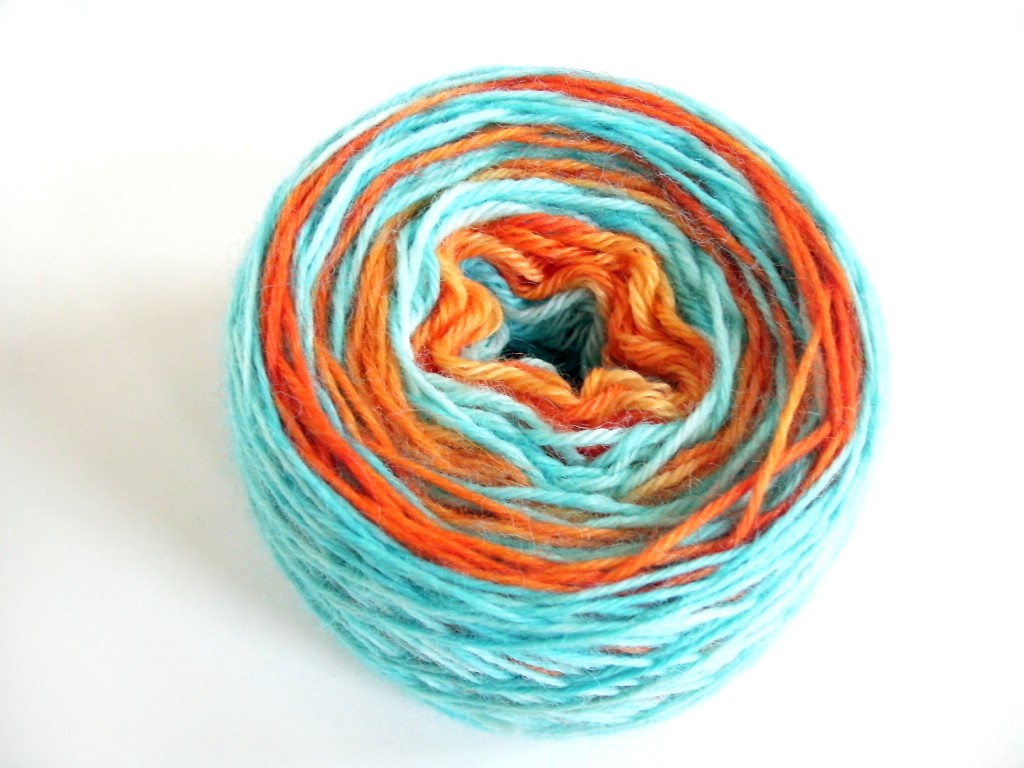
If you missed it, check out yesterday’s post to catch up. I’m in the middle of showing you how to get a fab yarn like this:

And we left off with our yarn in bowls, like this:

Okay, so let’s keep going!

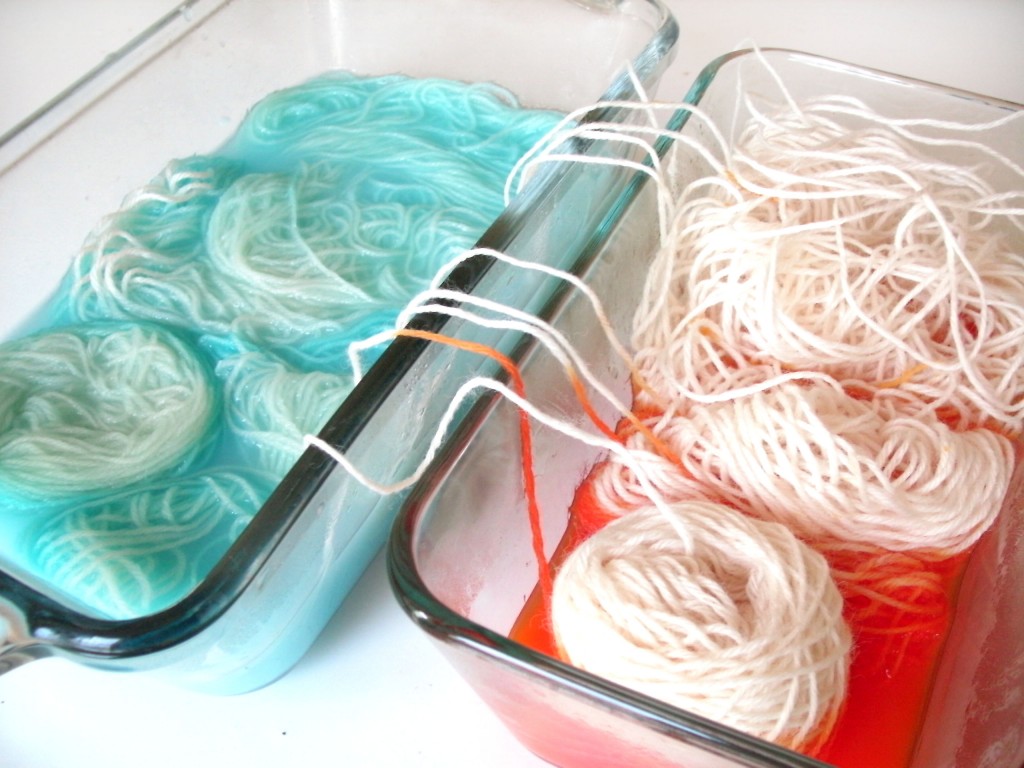
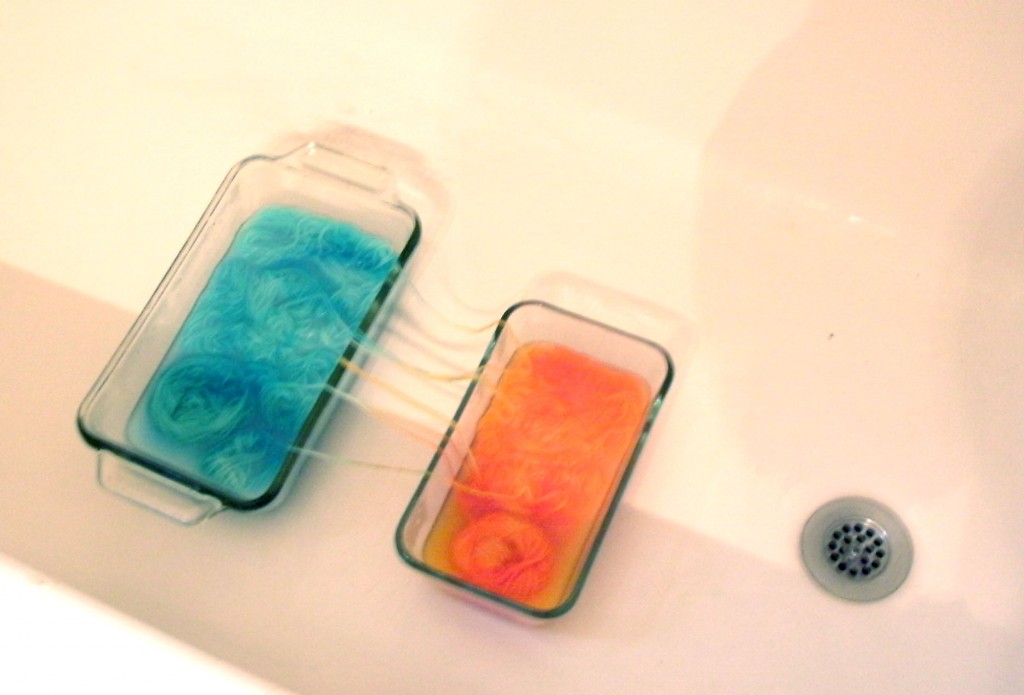
Step 5: Completely dye each section

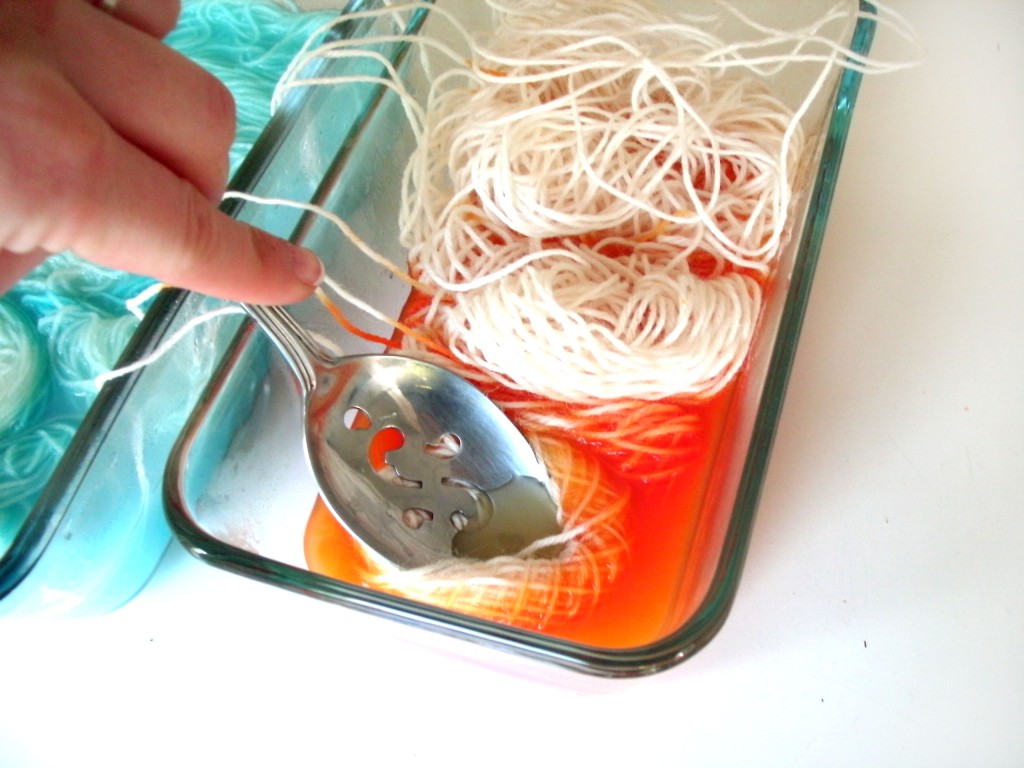
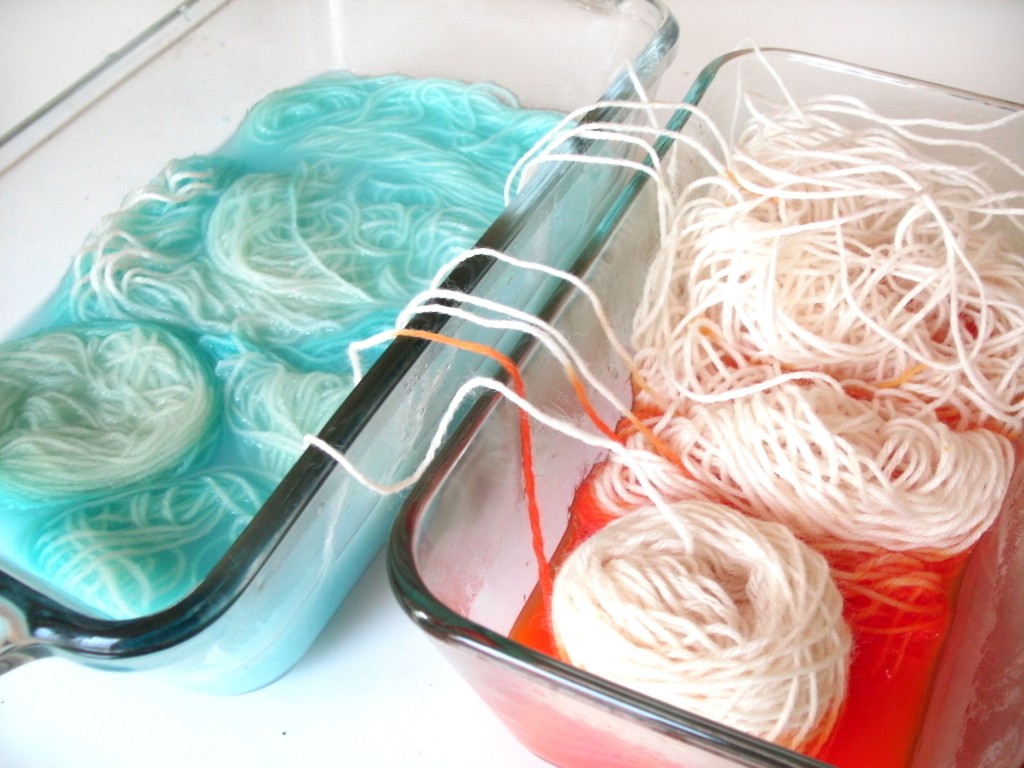
When you’re dyeing lots of pieces, you want to make sure each part soaks up the color. You might need to use a spoon (or your finger, if you don’t mind an orange finger) to press the yarn into the water:

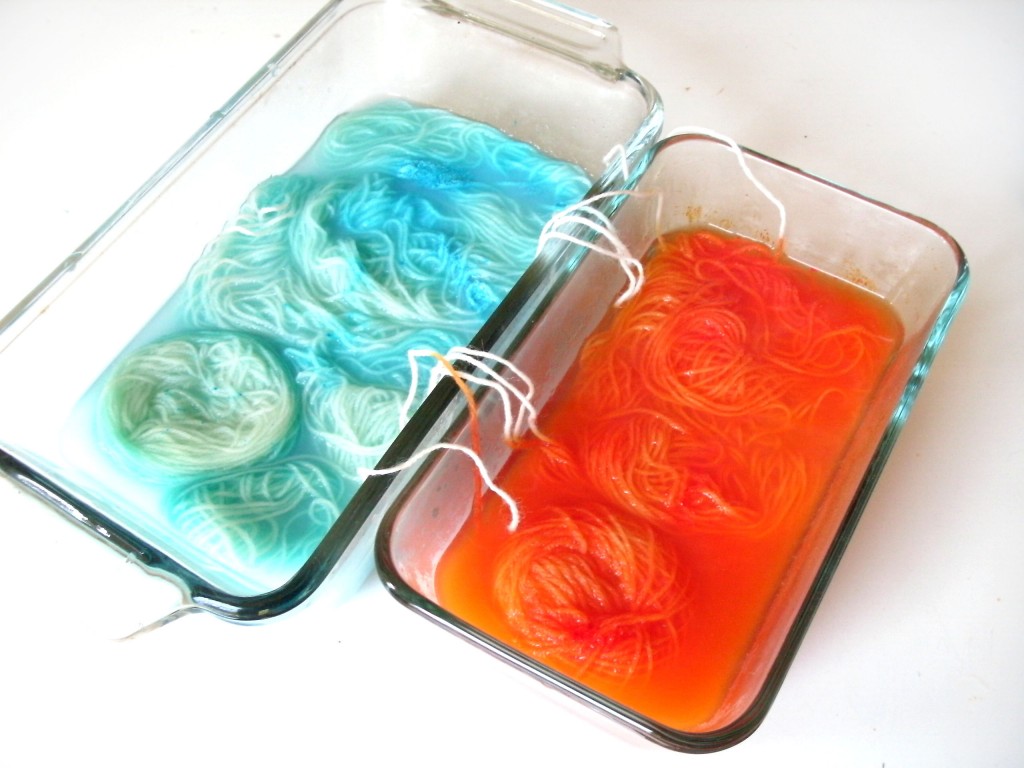
Here’s where we are:

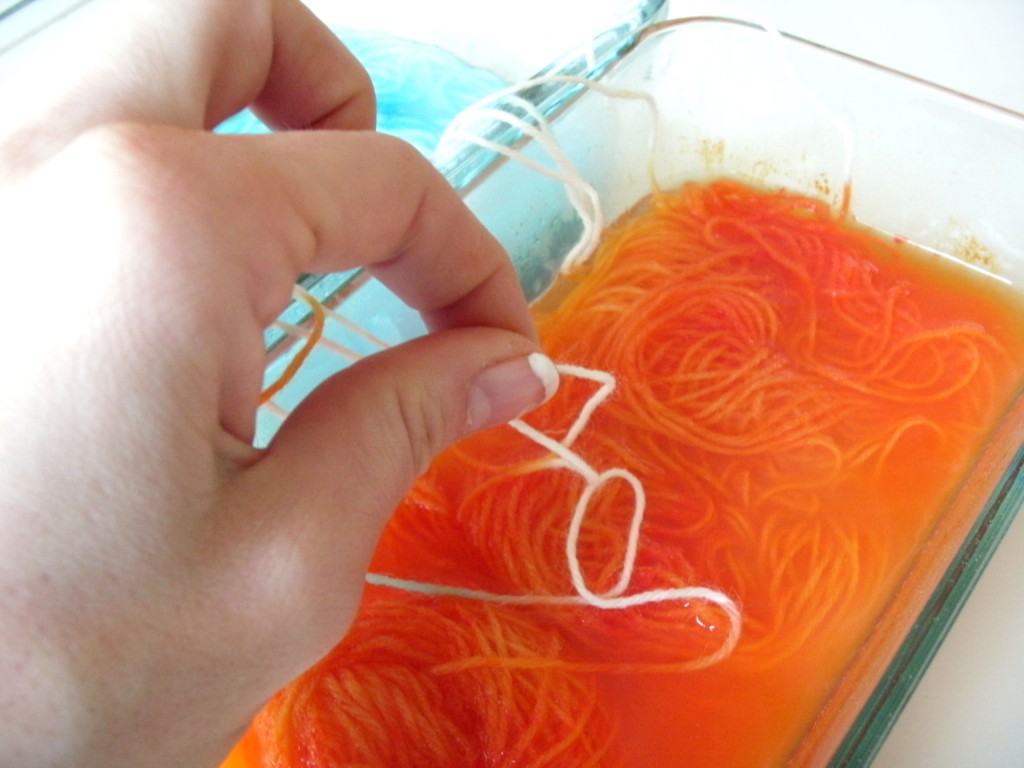
Notice that there are little bits of white yarn between the bowls? If you leave those, you’ll have white between each stripe. So, to get rid of those, gently dunk each bit into a color:

Step 6: Rinse

(from here on, the photos get a little crappy… since I had to re-locate to the bathroom. Sorry!)

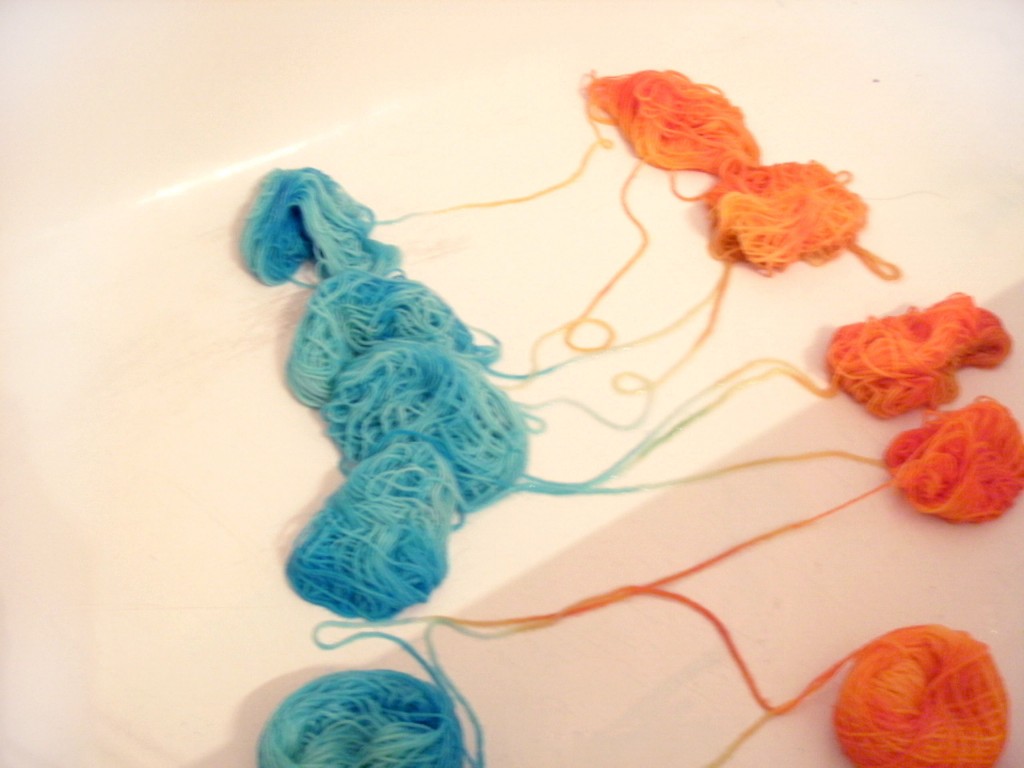
Now you need to rinse and squeeze water out of your yarn. This is harder than it looks… you can not just dump all your yarn out, or you’ll end up with a tangled mess!

You need to lift out each section gently (this is the time-consuming part I warned you about!) and place in the tub (since it’s still soaking wet):

Remember, the goal is to avoid tangles!

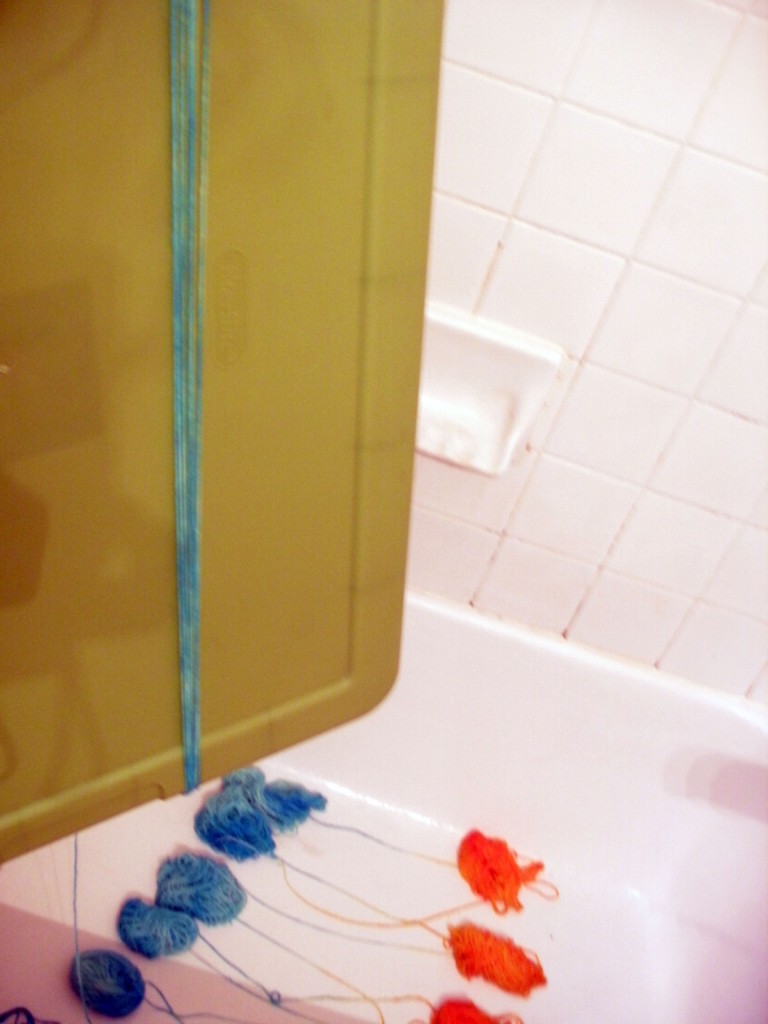
Now, begin at the start (the center of your first ball), and wind your yarn around something large (I’m using the lid of a storage container). As you wind, you can squeeze the extra water out with your fingers.

If you’ve been careful, one ball should go right to the center of the next ball… and tangles will be avoided.

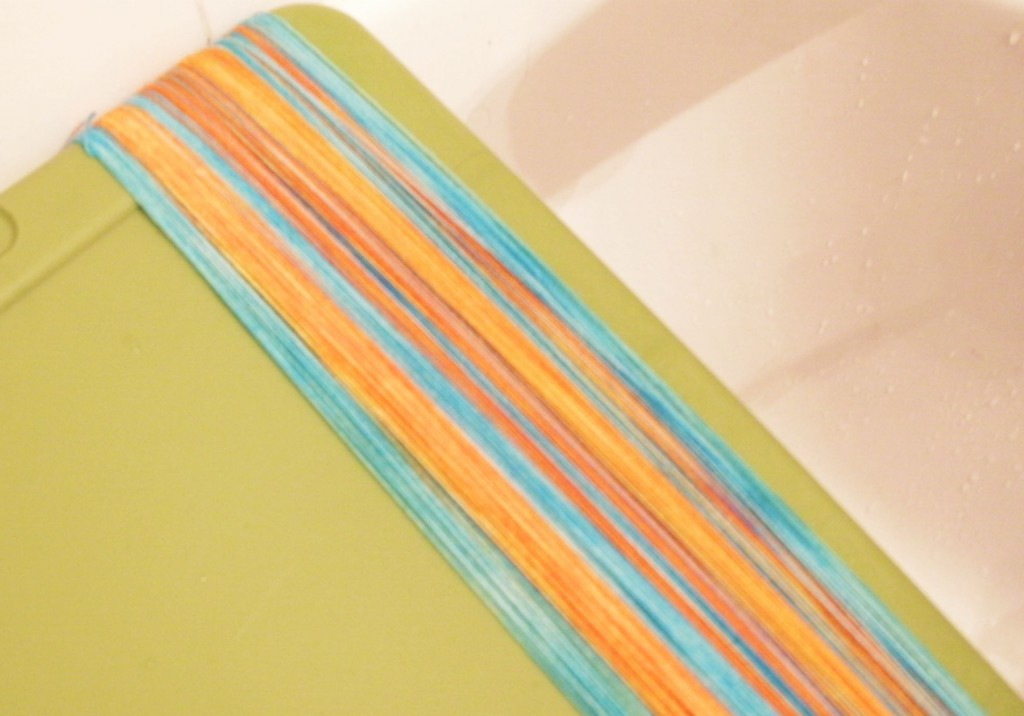
Avoid the temptation of using a ball-winder, here… the yarn needs to be in a skein to dry completely.

When dry, you can wind it up:

Are you going to give it a try?

Isn’t it fabulous? Don’t forget that we’re all going to be flashing our Kool-Aid projects on this Sunday’s blog post… so I want to see what you come up with!

Best,
Stacey

How to dye long colorways with Kool-Aid, part 1

Squee! Can you believe there are so many ways to dye yarn with Kool-Aid?

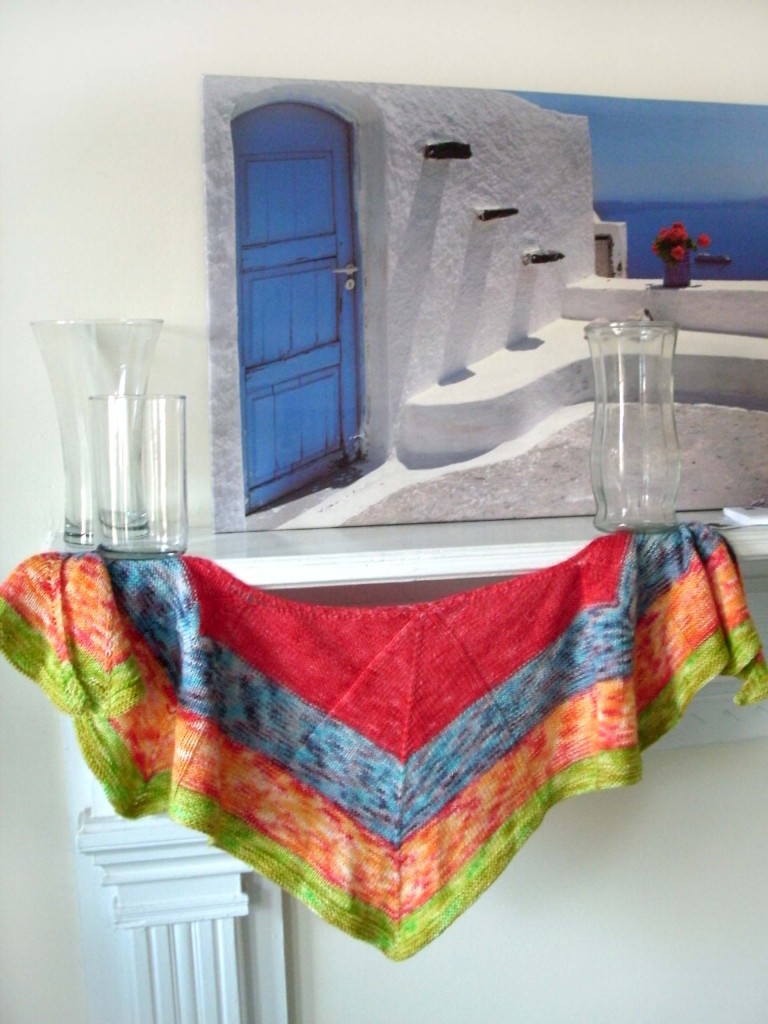
Today, I’m going to tell you how to dye yarn go get long colorways, or self-striping yarn. It’s the technique I used to get the colors for this shawl:

Don’t you love the stripes? It’s a time-consuming technique, but in my opinion, well-worth the result! I’ll be showing you the technique over two days, since it’s a lot of steps… but follow along, because I know you’re going to want to try it for yourself!

Materials

You’ll need:

  • yarn made from natural animal-fibers (undyed is best), wound into a center-pull ball
  • a few packets of Kool-Aid (see yesterday’s post about testing colors)
  • a glass bowl or dish for each different color
  • boiling water

The Process

Like I said, this process takes quite a few steps… but none of them are very difficult. Besides, you already know all the basics!

Step 1: Add packets to your bowls

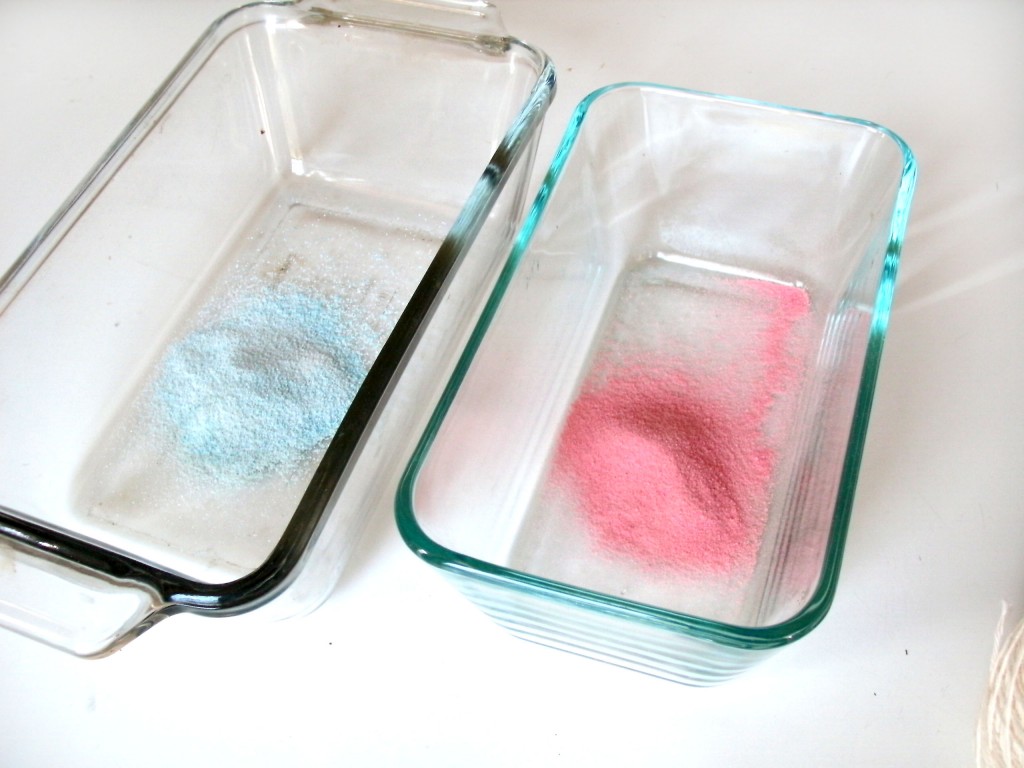
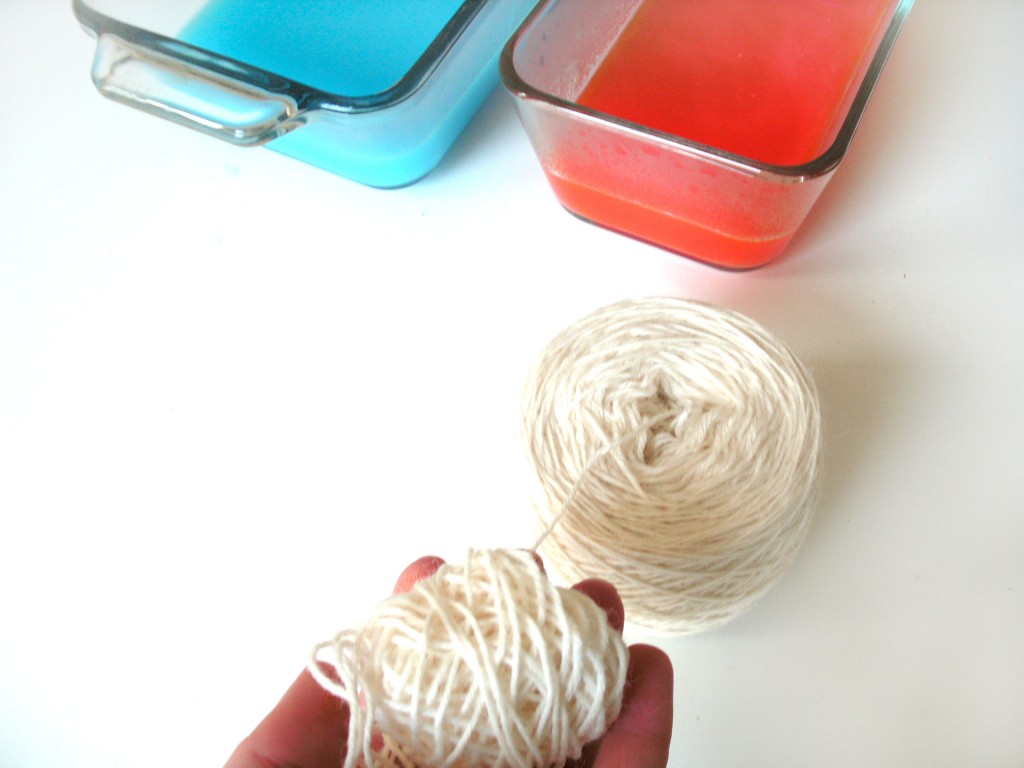
You’ve seen this step before! Add your color to your bowls… in this case, I’m doing orange and blue stripes, so I have a bowl for each:

Add boiling water to your bowls.

Step 2: Divide up your yarn

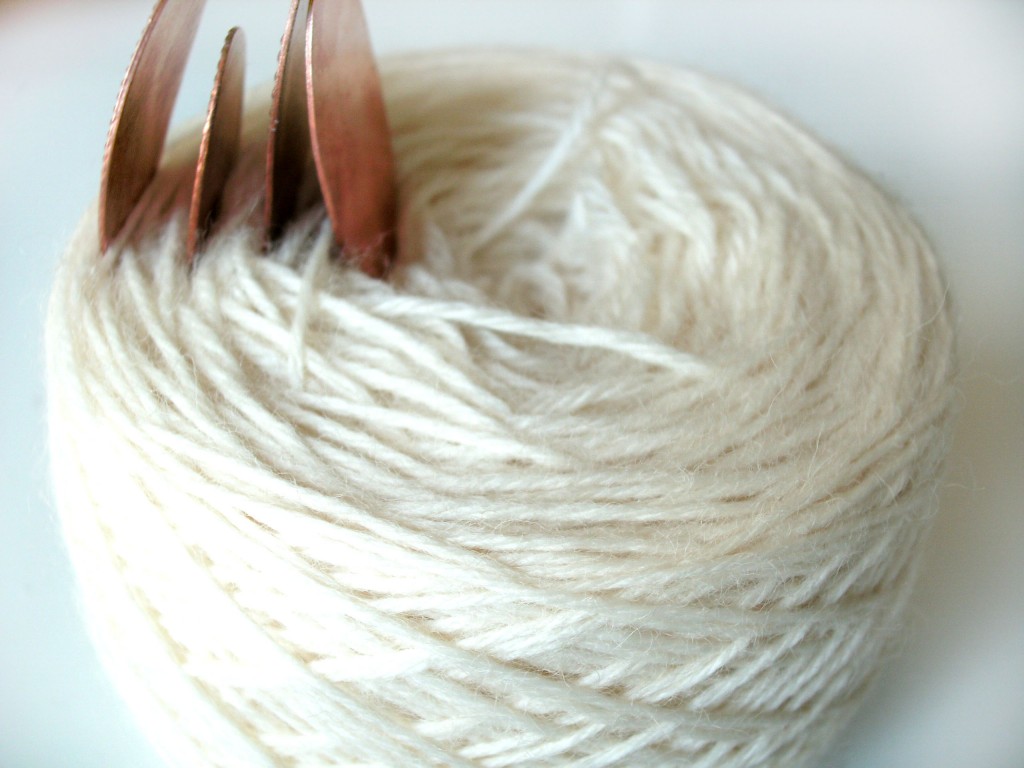
Remember I said to wind your yarn into a center-pull ball? (You may want to have a ball winder.)

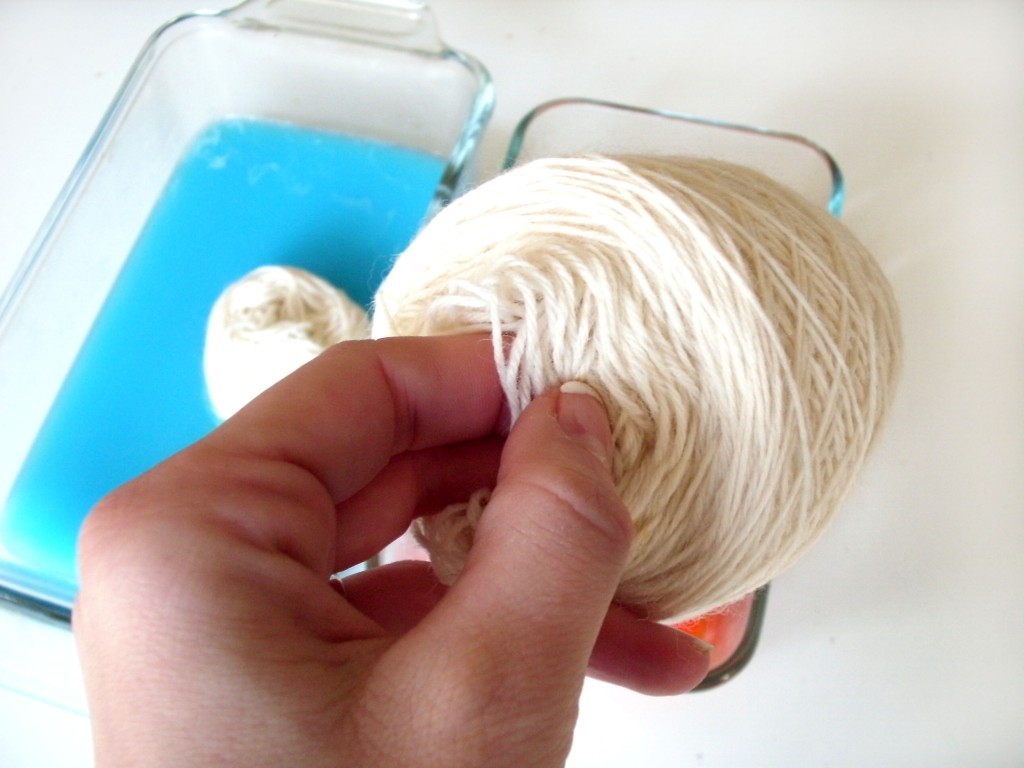
That’s because a center-pull ball will make it super-easy to divide up your yarn into small sections. I’ve used dividers to mark off where I want each color to be, but you can eyeball it, if you’d like.

Step 3: Dye the first section of yarn

So, here’s what do to… pull out your first little section of yarn, and put it in your first color:

Keep in mind that the size of this section will determine your color repeat! So, if you pull out 20 yards, your stripe will be 20 yards long. If it’s bigger, your stripe will be longer.

Step 4: Continue dyeing each section

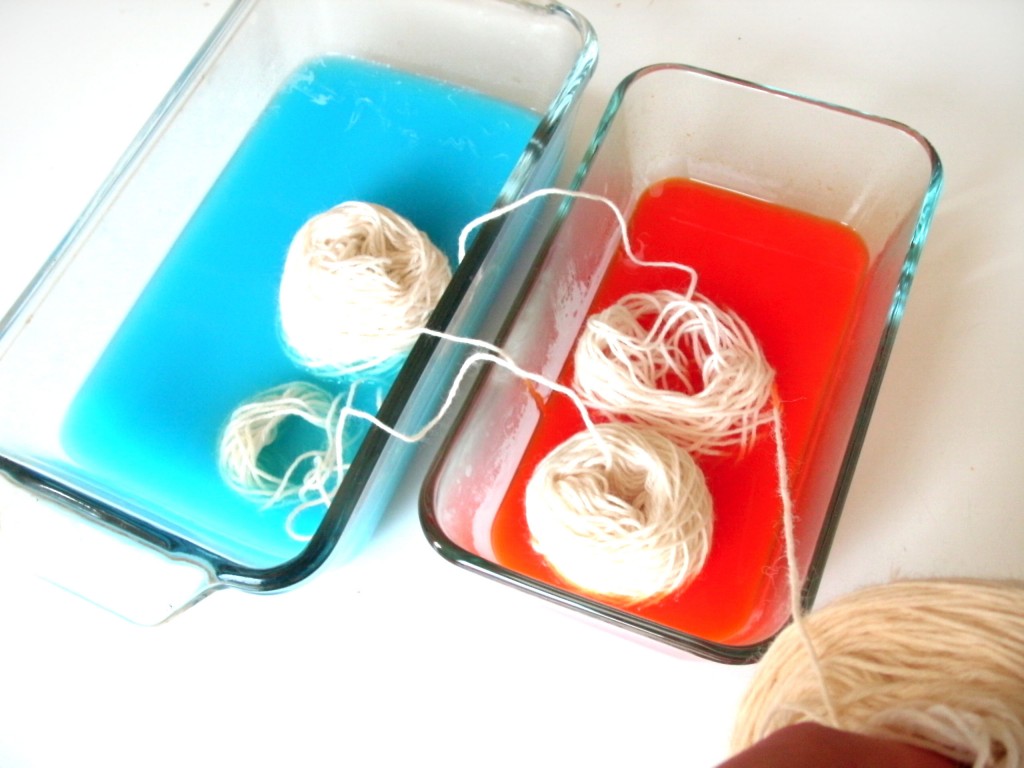
Now, pull out the next little bit and put in your 2nd color of yarn:

Continue doing this with each subsequent section of yarn.

And keep going…

Things to keep in mind:

  • It sounds obvious, but the order that you put your yarn in colors is the order they’ll be in the yarn! I’m using 2 colors and want alternating stripes, so I’m putting a ball in blue, then orange, then blue…
  • If you want do use more colors (like the shawl I showed at the start), then plop one ball of yarn in your first color, the next in your second color, then your third…
  • The length of the stripes you want depends on what you’re knitting. If you’re making socks, then the color repeat doesn’t need to be as long as it does to get stripes on a shawl.
  • It’s very important to not get your yarn tangled. Be careful, be neat… and just don’t get it in a knot!

Okay folks… we’re only halfway through. I’ll give you a sneak peak of the end result:

Come back tomorrow, and I’ll show you how to finish up! Update – here’s the link to Part 2. 🙂

Best,
Stacey

How to dye multi-color skeins with Kool-Aid

I’m loving all the fun techniques you can do with Kool-Aid… are you having a blast?

Today, I’m going to tell you about how to dye those multi-color skeins you so often see from Indie Dyers! It’s a great chance to play around with color!

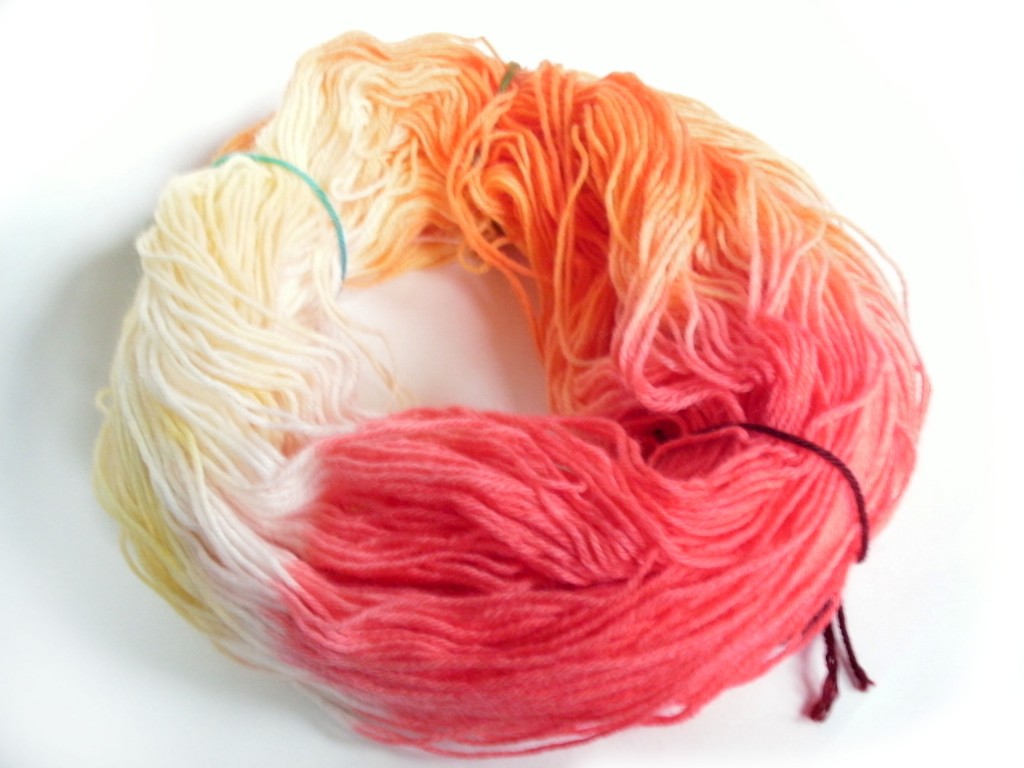
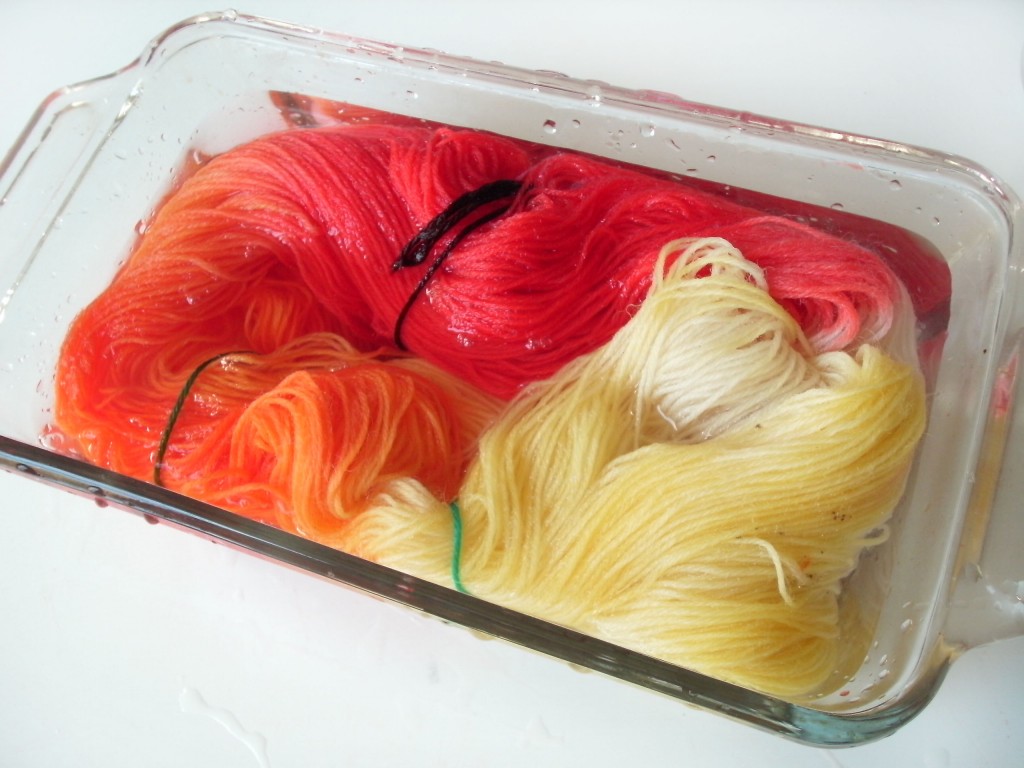
I’ve dyed my skein red, orange and yellow (and left a little bit white!). I’ll show you how to do it, plus show you how to calculate the length of the color repeats that you’ll get in your final yarn.

Materials

You’ll need:

  • yarn made from natural animal-fibers (undyed is best), in a skein
  • a few packets of Kool-Aid in any colors you want! (see this post about testing colors)
  • a glass bowl or dish for each different color you’re using
  • boiling water

The Process

Step 1: Prepare your color

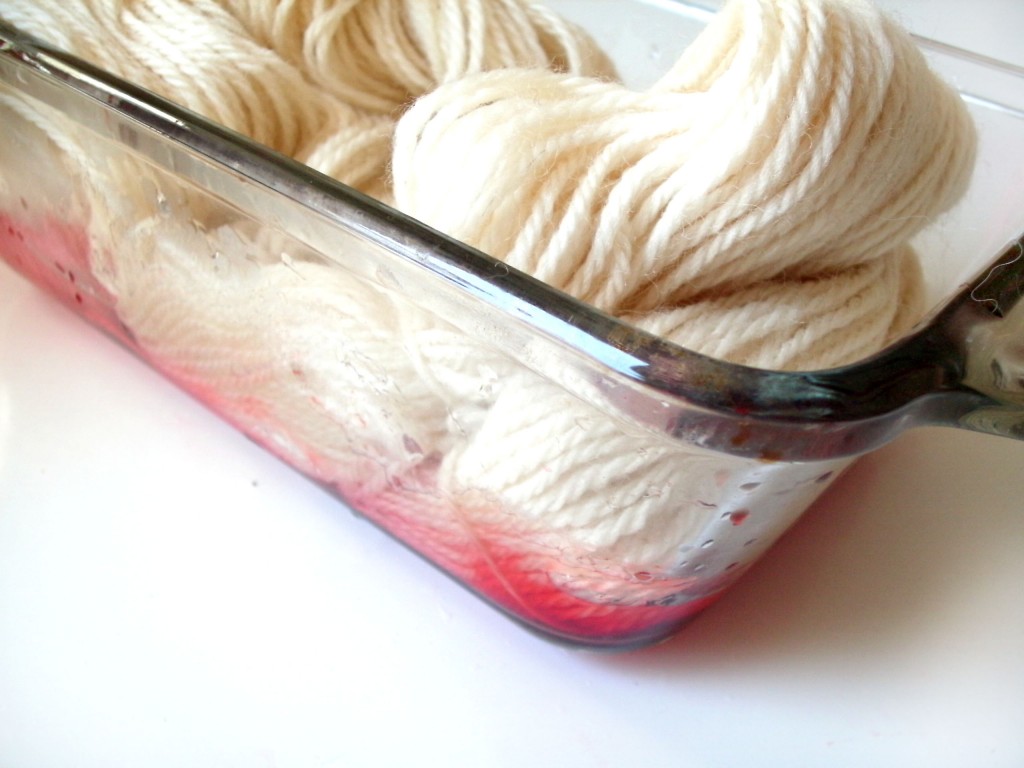
Remember how I told you last time that you had two choices for setting your color? You could either use boiling water, or regular water and then microwave the yarn. Since this technique requires dunking sections of yarn in different posts of color, I’m going to recommend the boiling water technique. It makes life easier… and we all want that, right?

To prepare, mix your Kool-Aid packets in boiling water… one color in each dish.

Step 2: Dye your first section

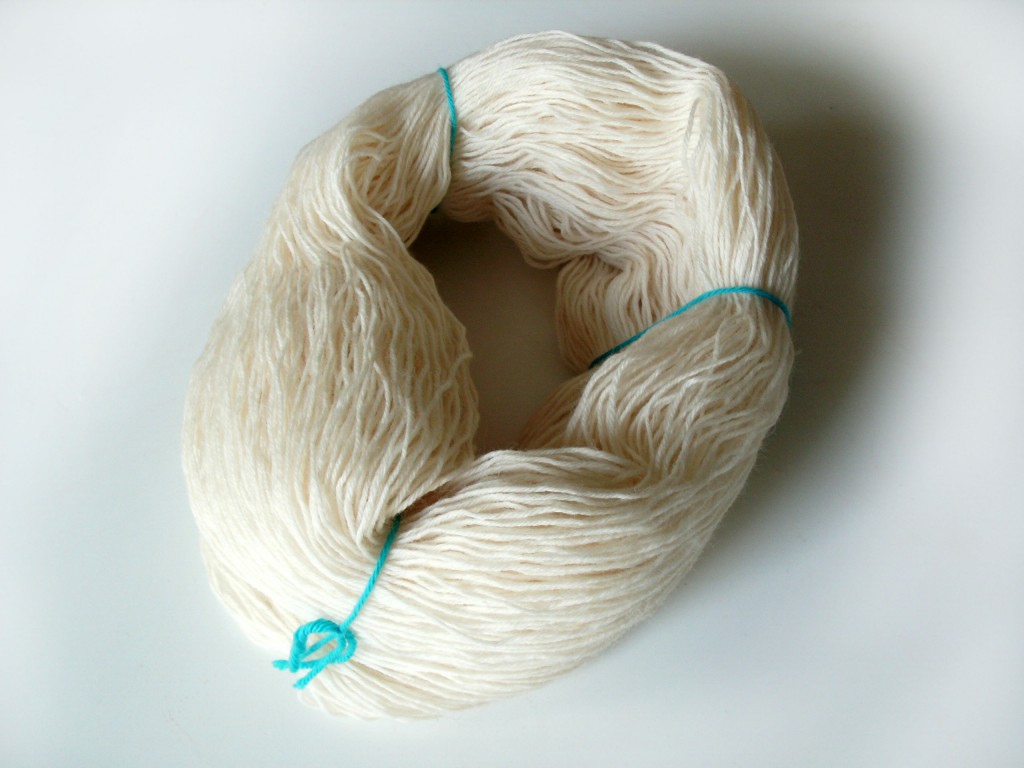
In this technique, you’re starting with a skein of yarn (you know, that big yarn loop?):

Chances are, if you’re purchasing undyed yarn, it’ll come this way. If not, it’s no big deal. Just wind it around a box and make your own!

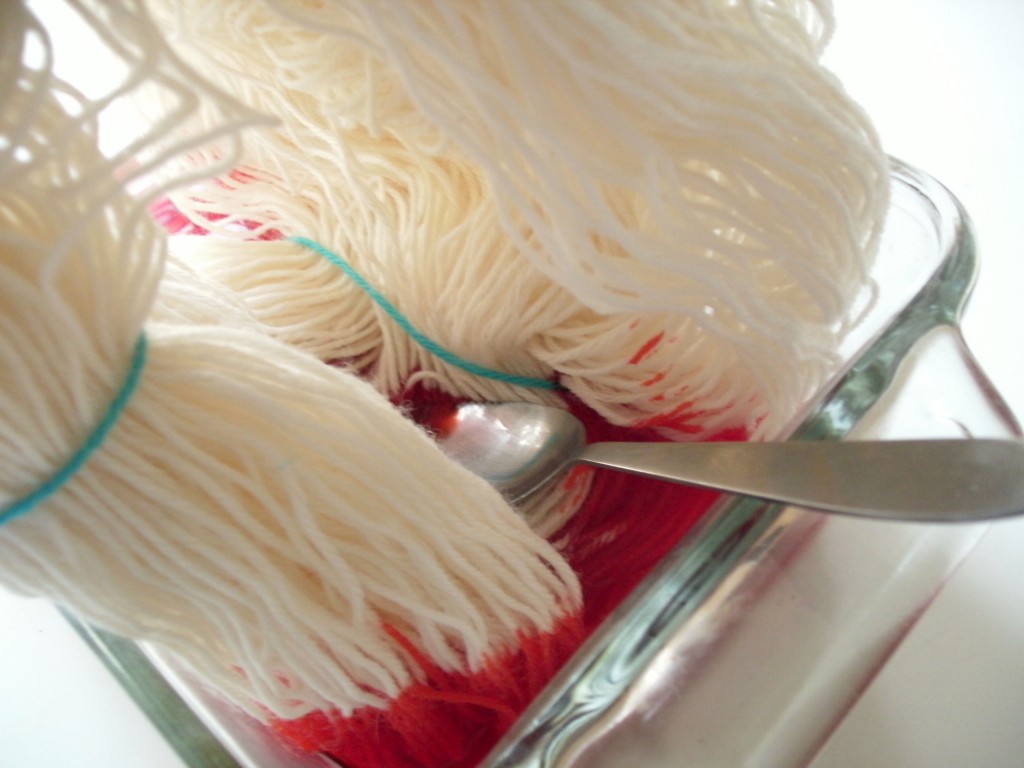
To dye your first section, dunk a part of the skein in your first color:

You can dye as much or as little of a section of the skein as you want, but keep in mind that the more colors you want to use, the smaller each section will have to be.

Step 3: Keep going!

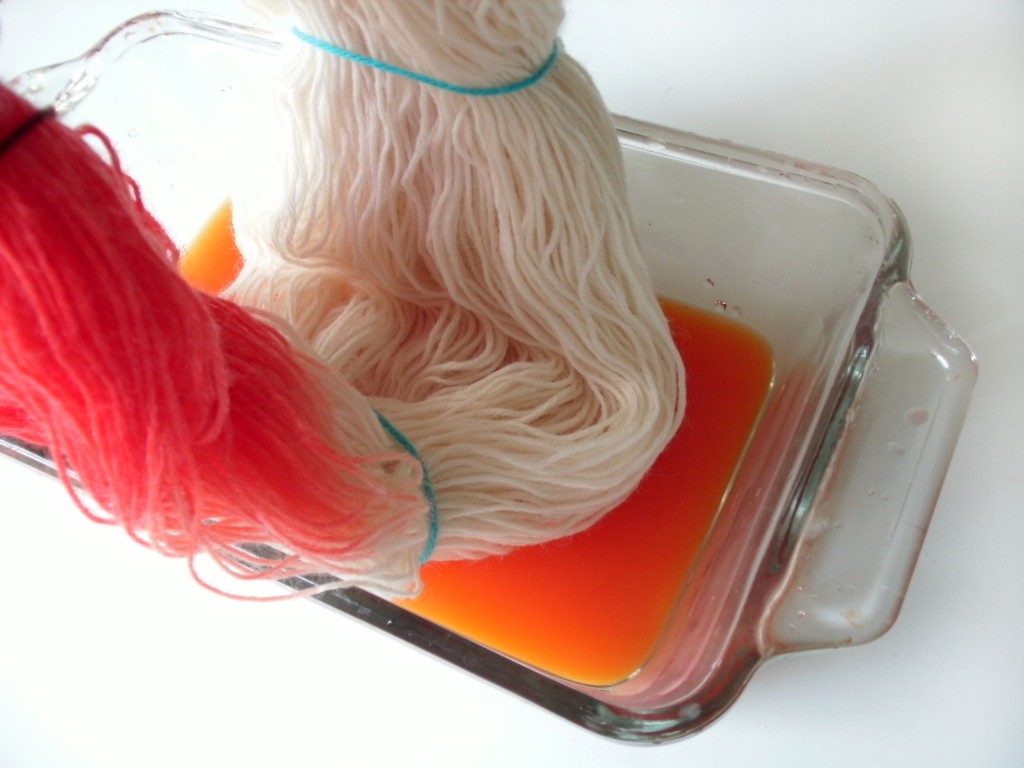
Now, dip an undyed section of your skein in your next color:

In my yarn, I try to keep the dyed sections from overlapping- which will result in a nice, crisp color changes!

Keep doing this for as many colors as you want to use!

Step 4: Rinse and let dry

Hooray, you’re done!


Determining Color-repeat Lengths

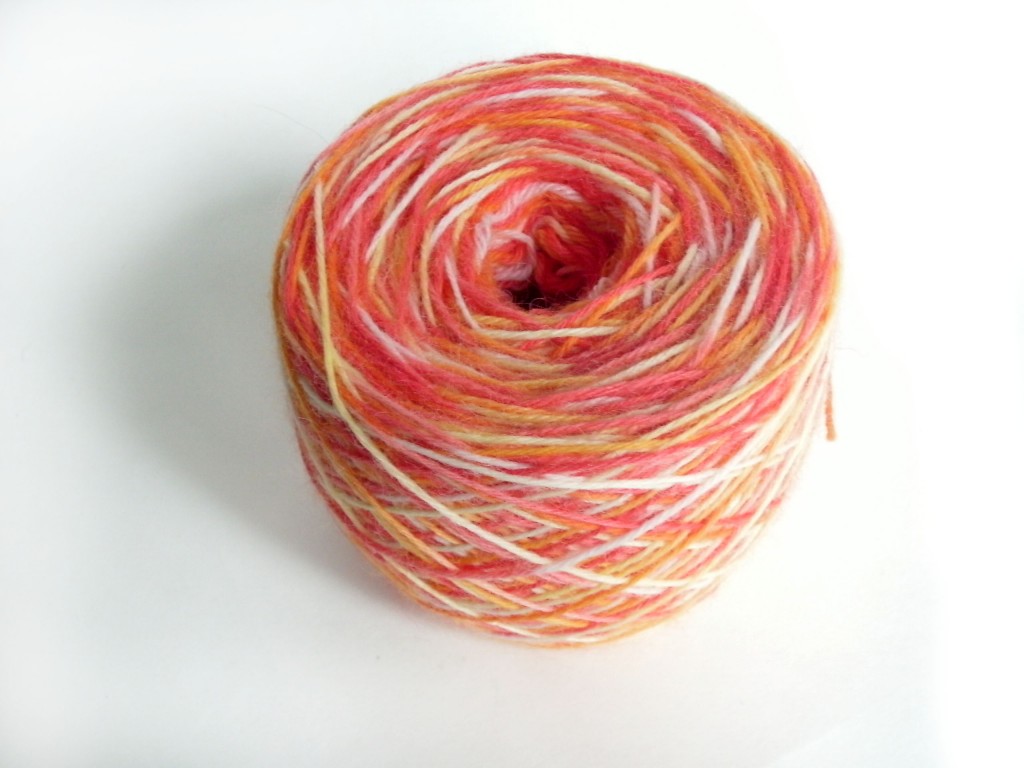
This technique is great for getting lots of colors, but it doesn’t result in very long lengths of color. You can tell this when I wind my yarn into a ball:

So, how do you tell how long each color repeat is going to be? By measuring your skein!

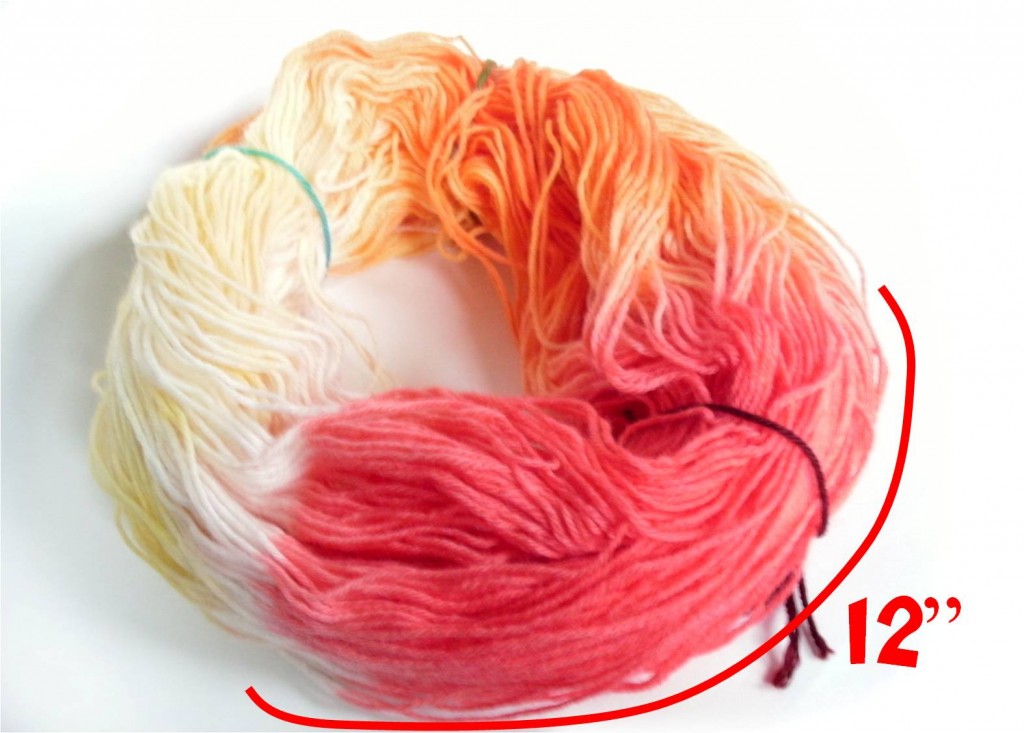
Here, I’ve laid out my (dyed) skein, and set a ruler to the length of red:

My length of red is 12″ long.

I know from experience that when I single crochet, I use 1.8″ per stitch. This means that using this yarn, I’ll crochet about 6 stitches before the yarn turns to a new color.

This is helpful info to know when planning a project! It means that using this technique, you won’t get stripes, but small puddles of color. (Tune in tomorrow, where I’ll show you how to get stripes!)

You can alter the length of your color repeats either by dyeing larger/smaller sections of your skein, or by winding your skein into a larger/smaller loop. The possibilities are endless, so give them a try!

Best,
Stacey

How to Kettle-Dye Yarn with Kool-Aid

Are you inspired to get dyeing with Kool-Aid? I hope so!

Today, I’m going to tell you about the basics of Kool-Aid Dyeing, and show you how to achieve a kettle-dyed look.

Kool-Aid Dyeing Basics

You’ll need:

  • yarn made from natural animal-fibers (undyed is best)
  • a few packets of Kool-Aid (see yesterday’s post about testing colors)
  • a glass bowl or dish
  • boiling water or water + a microwave

The Process

Dyeing with Kool-Aid is super-easy: just add your Kool-Aid packets to some boiling water and dunk your yarn in! Easy!

I’ll show you, step-by-step, how I use the basic technique to get a lovely kettle-dyed yarn. ‘Kettle-dyed’ is the name for a yarn that’s mostly one color, but has a range of tones gently changing throughout the yarn. It’s beautiful and easy, so give it a try!

Step 1: Add packets to your bowl

I’m going to dye my yarn red, so I’ve added a couple of red packets to my glass bowl. You can either use packets that are the same color, or use a couple that are close in color:

Step 2: Add water and yarn

Your yarn is going to suck up color like there’s no tomorrow… so don’t worry about messing up. I added a small amount of boiling water, and then plunked my yarn in:

The yarn that’s touching the Kool-Aid-dyed-water is going to start drinking up the color. Notice how I’ve left some of the yarn out? That’s because I want the yarn to absorb the color unevenly. That’s what gives you the kettle-dyed look!

Step 3: Add more color/water until you’re happy!

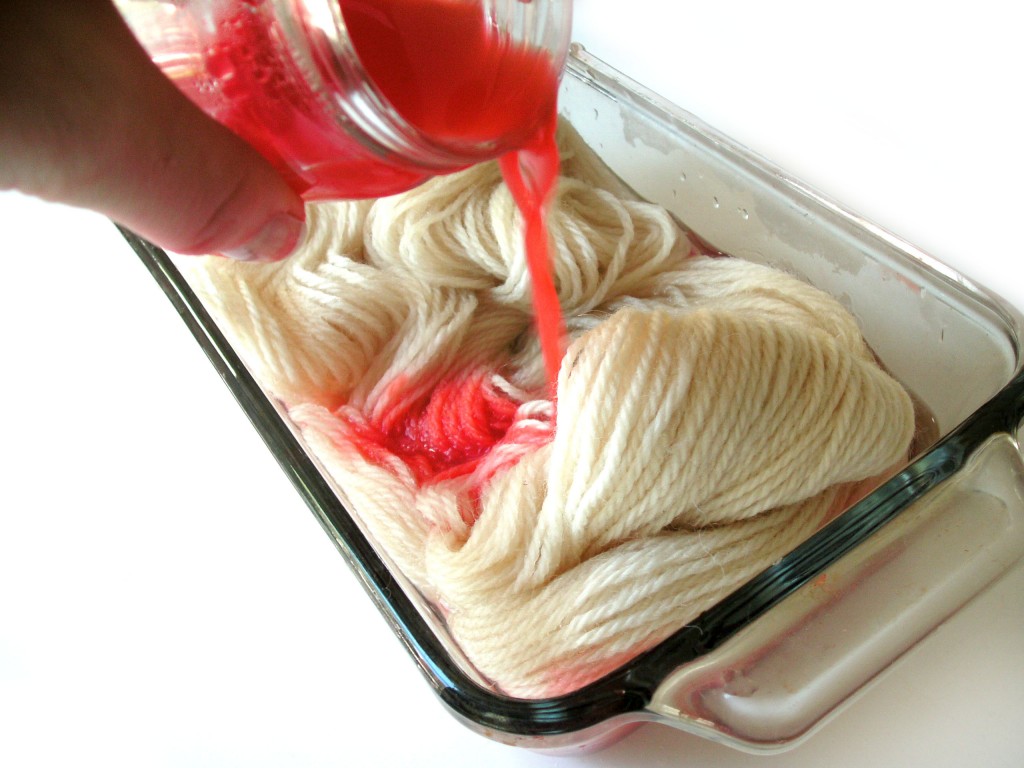
You can continue to add packets of color and water until the yarn is the color you’d like. Here, I decided to pour some (hot) Kool-Aid water on top of the yarn:

If you don’t want to use boiling water, you can also use regular water, and then microwave the water + yarn so that the color will set.

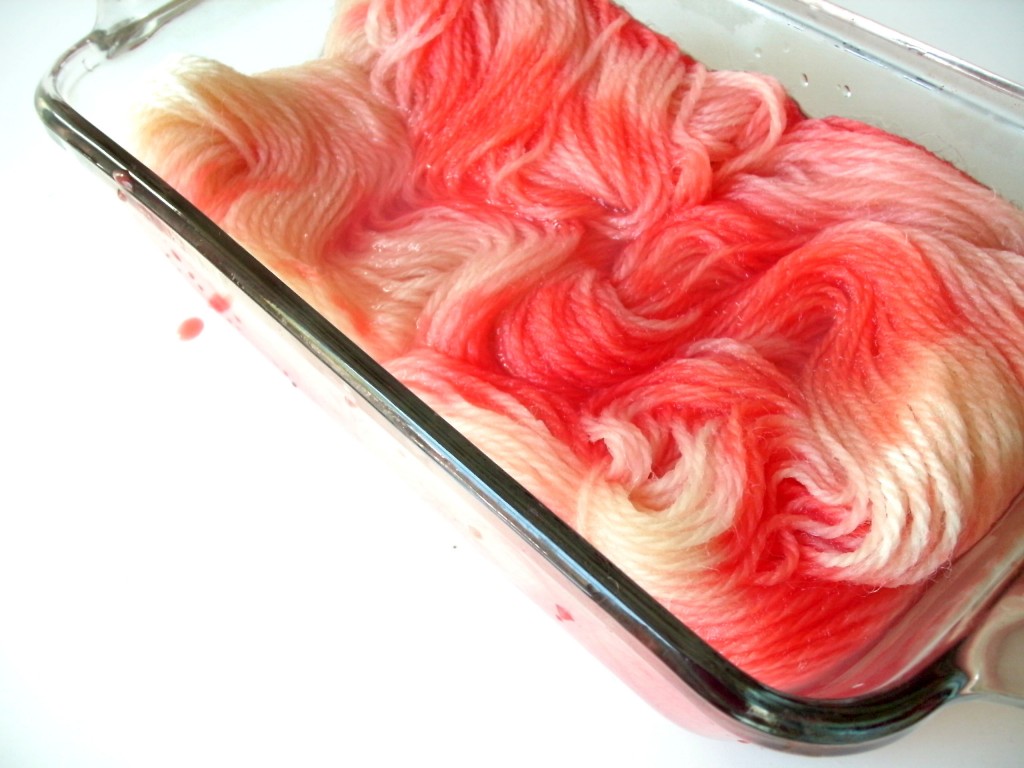
See how mine looks?

Some parts are darker, some parts are lighter. Perfect!

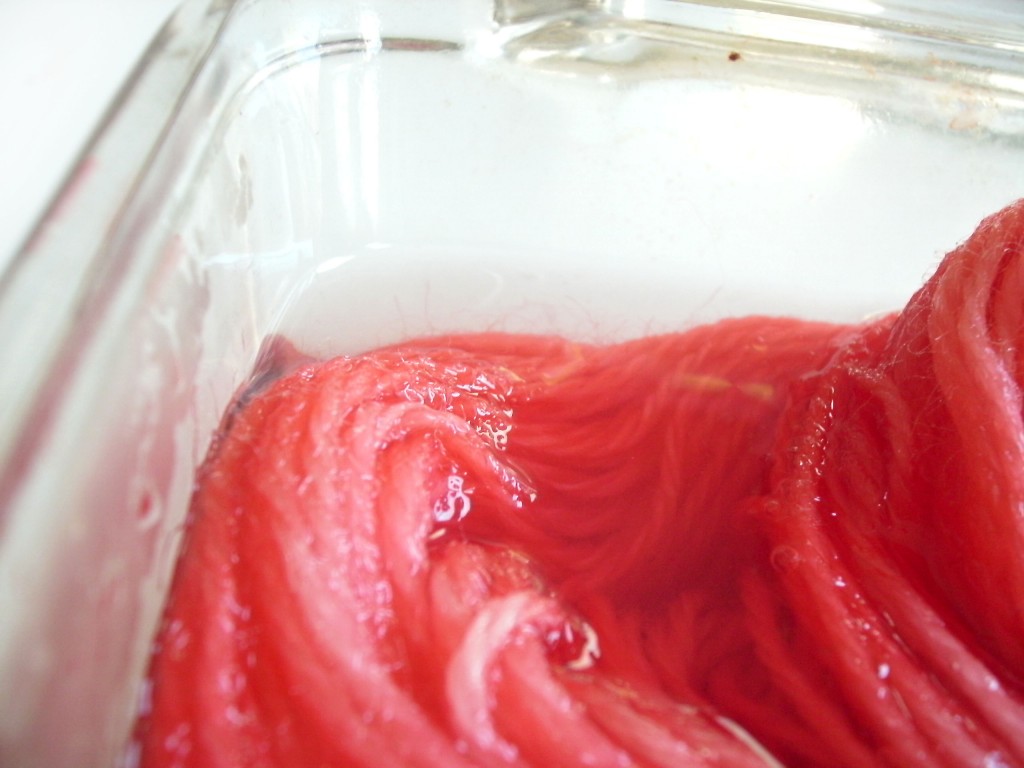
You’ll notice that the dye is sucked up into the yarn, and the remaining water will be clear:

Step 4: Rinse and dry!

That’s it! You don’t have to wait any length of time… once the color is in the yarn, it’s in.

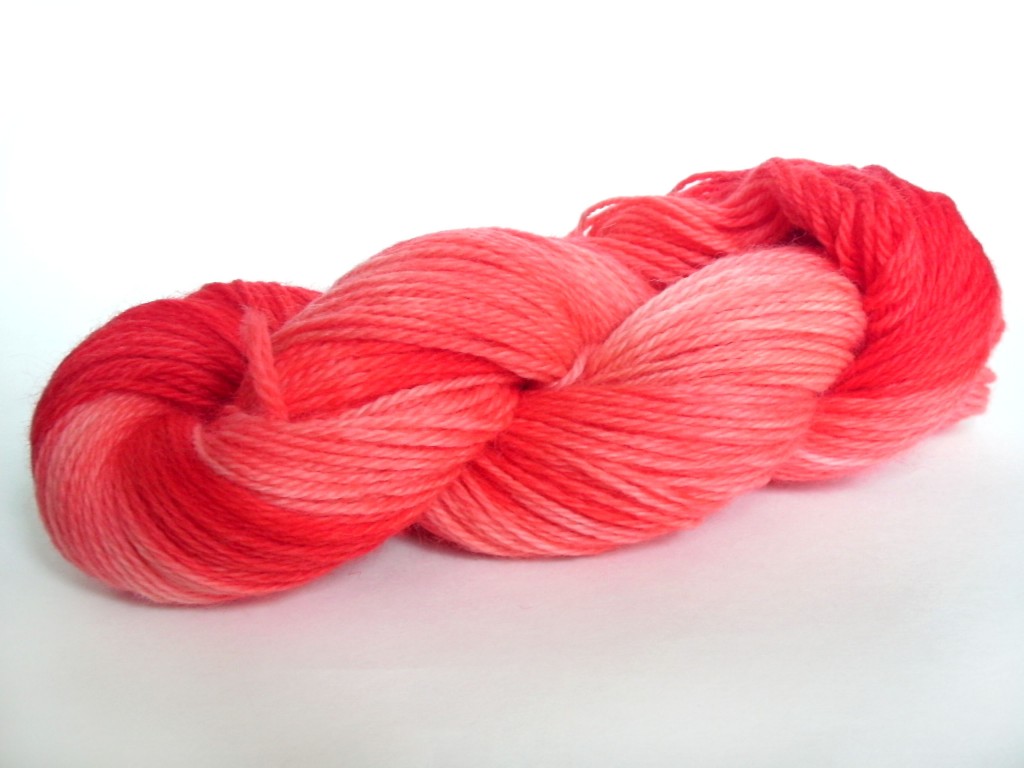
Squeeze the water out of your yarn and allow to dry. You’ll end up with a beautiful skein!

Swatches

Isn’t it yummy? It’s a very subtle effect, and works up beautifully. I’ve made swatches in both knitting and crochet:


So lovely!

I hope you’ll give it a try and let me know how yours turns out!

Best,
Stacey

How to Dye Yarn with Kool-Aid: Getting Started

I’m so excited to kick off Kool-Aid Dye Week! Each day, I’ll be posting about a new technique for using Kool-Aid to dye yarn… all you’ll need is some natural-colored yarn, a few shades of Kool-Aid and some hot water. Easy!

Today, I’ll talk about the basics you need to know to get started.

Select your Yarn

Kool-Aid is primarily a drink (I’m just as surprised as you are!), so it’s not the most powerful dye on the market. I like Kool-Aid because it’s cheap, non-toxic and comes in lots of bright colors.

That said, it has some limitations. Your best bet is to stick with an animal fiber (like wool or alpaca), which will happily slurp up any dye you give it. Plant fibers aren’t as easy to dye, so I wouldn’t recommend using them.

Need a refresher on fiber types? I highly recommend The Knitter’s Book of Yarn, which has a great introduction to fiber types, including their happiness with taking dyes.
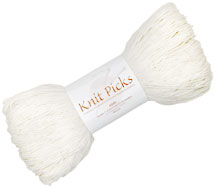
I recommend using an undyed (or natural) yarn to start out with. Knit Picks has a whole line of undyed yarn bases to choose from, and you’ll occasionally find other brands with a couple of blank bases at your LYS. An undyed yarn is preferable to a plain white yarn, which has probably been bleached, and may not soak up color as well.

However, my overwhelming recommendation is to try a test swatch first! I’ve had success with white yarns, as well as overdying (i.e. dyeing a yarn that’s already colored with even more dye) yarns with Kool-Aid, so feel free to experiment!

Selecting Colors

There are a lot of Kool-Aid colors available, and non-name-brands will also work (I’ve heard rumor that there’s a tamarind flavor of drink available in Hispanic markets that is coveted by dyers!).

So, head on over to your supermarket and start choosing! Take note: the color that the drink will be isn’t necessarily the color of the packet, but you can look at the color of the drink that Kool-Aid Man is holding as a clue. (I learned this lesson the hard way: I bought a stock of Tropical Punch flavored Kool-Aid thinking it would be blue… but it’s actually red. So, check out the color of Kool-Aid man’s drink!)

There’s an awesome review of Kool-Aid colors in this article on Knitty, so be sure to have a peek! If you’re unsure, a Kool-Aid Variety Pack may be the way to go!

Dye a test-sample

Every fiber reacts to the dye slightly differently, so the best thing to do is a little swatch to see what color your yarn will turn out to be. If you’re the experimental type, feel free to skip this step… as long as you don’t mind being surprised!

Step 1: Mix your Kool-Aid
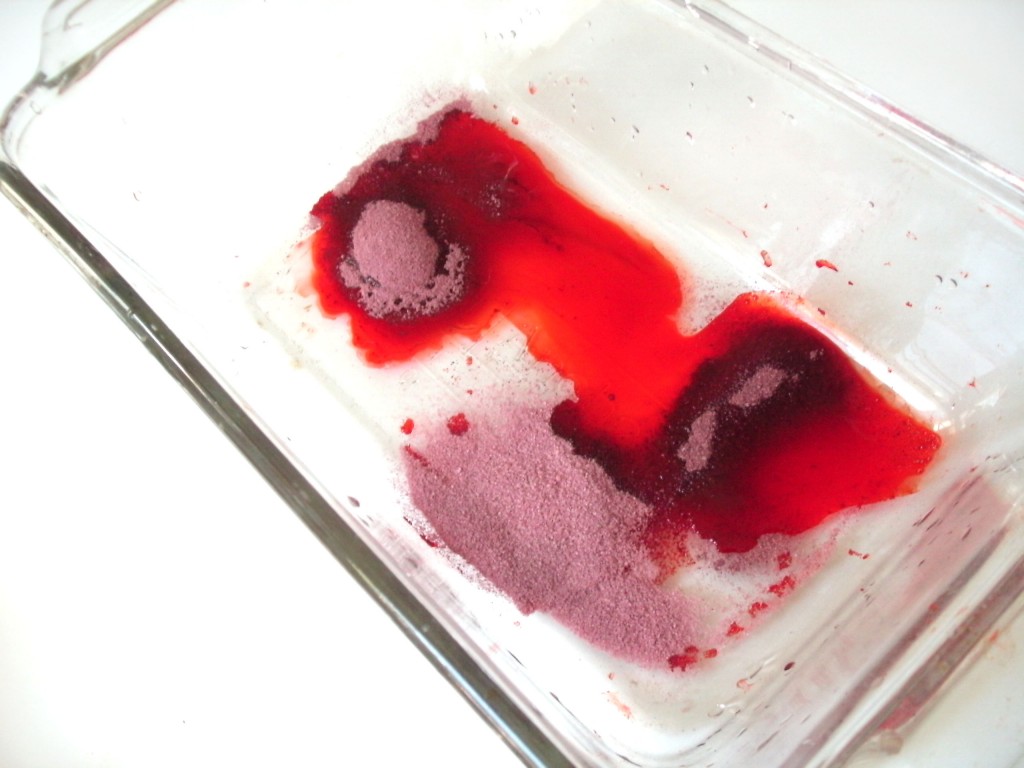
There are two basic ways to dye with Kool-Aid: 1) Mix the powder with boiling water and dip your yarn in, or 2) mix the powder with the water to dissolve, then dip yarn in and heat (either by microwave or stovetop) to set the color. Most things I read online suggest the second, but in my experience, the heat present when you add boiling water is enough to set the color.

Whichever way you pick, I suggest doing your test swatches the same way you plan to do your final dyeing… just so there will be no surprises. In my photos, I’m using the boiling water technique:

Step 2: Add the yarn!
You can see here, I’ve just stuck in a tiny strip of yarn:

I felt like my tiny piece was enough to give me an idea of the color… but feel free to add in more yarn if you’d like.

Step 3: Check out your color!
Now take out your little piece of yarn and see how it looks!

You may want to make a little notebook to keep track of your yarn swatches and which color Kool-Aid you used.

You don’t have to stick with one color! Feel free to mix colors together and do swatches for these experimental colors, too.

Put your yarn to the test

Before you begin a big project, you might want to see how your yarn and color holds up. Are you using a machine-washable yarn, and are hoping the color holds up in the washing machine? Go ahead and wash your test yarn! It’s the only way to see how the color will perform, and will prevent any future disappointments.
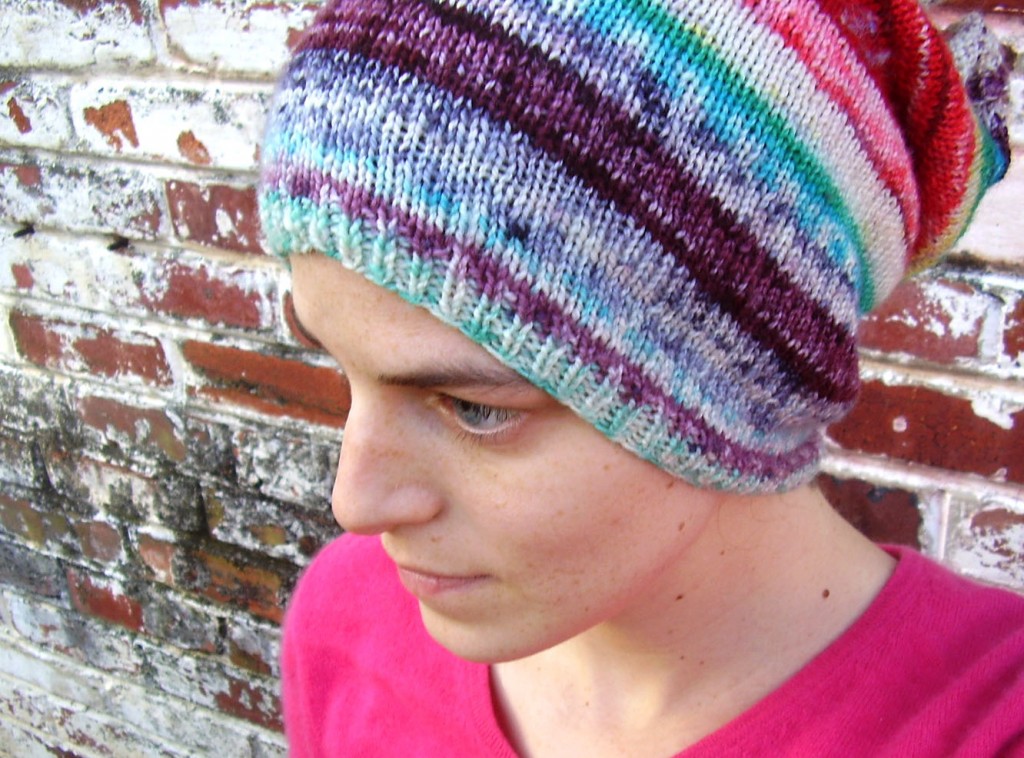
In my experience, the color holds pretty well… although I’m the sort who hand-washes my woolens. I’ve had one kool-aid dyed cowl for over 2 years- and the color is still going strong!
Are you excited about the possibilities?

I am! I’m in love with Kool-Aid dyeing!

Tomorrow, we’re going to start dyeing skeins of yarn! I’m going to show you how to achieve the look of a kettle-dyed yarn (i.e. fancy-pants, Artisan-dyed yarn) with your Kool-Aid… you won’t want to miss it!

Best,
Stacey