Free Waves Stitch Pattern + Cowl Tutorial!

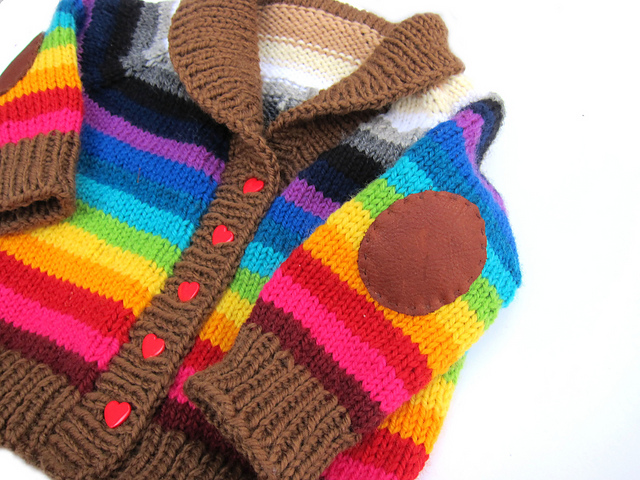
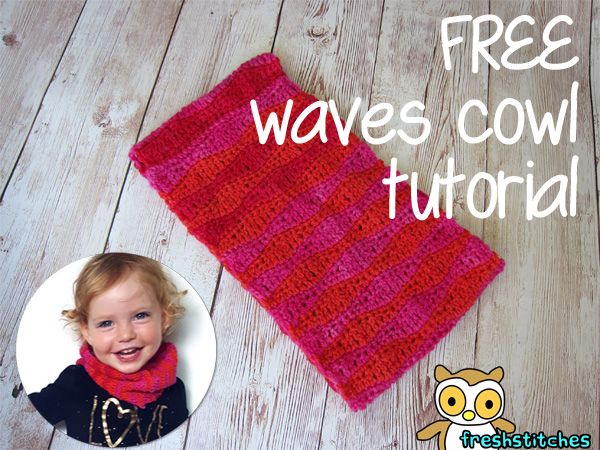
One of my favorite stitches is the wave stitch. So, when Maddie asked for a scarf for fall, I knew right where to turn!

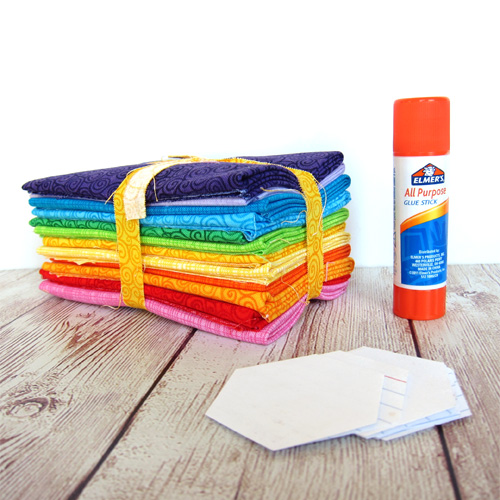
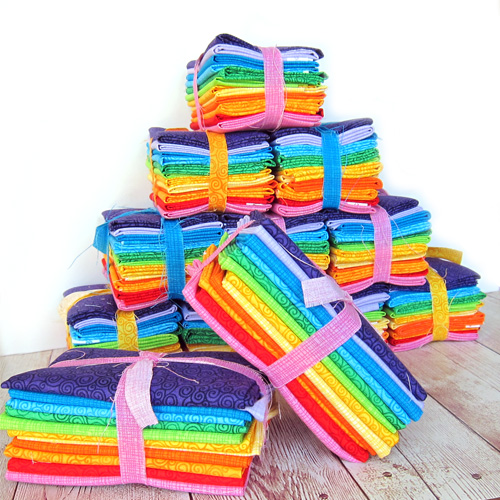
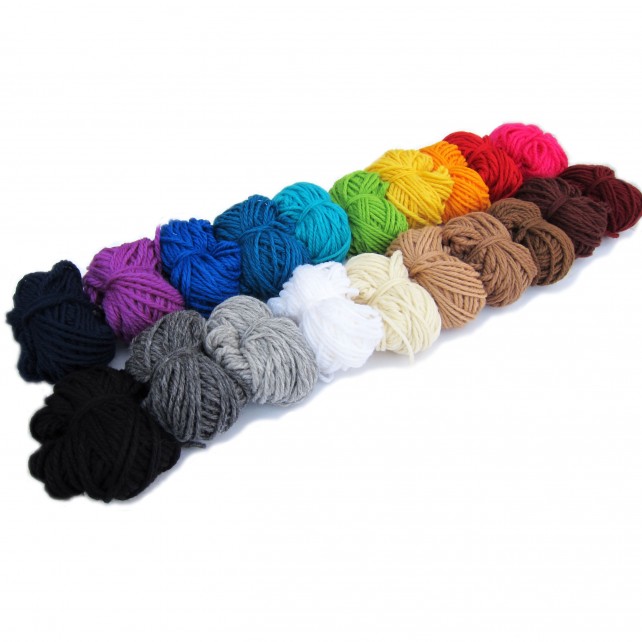
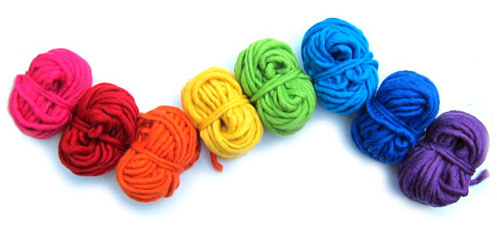
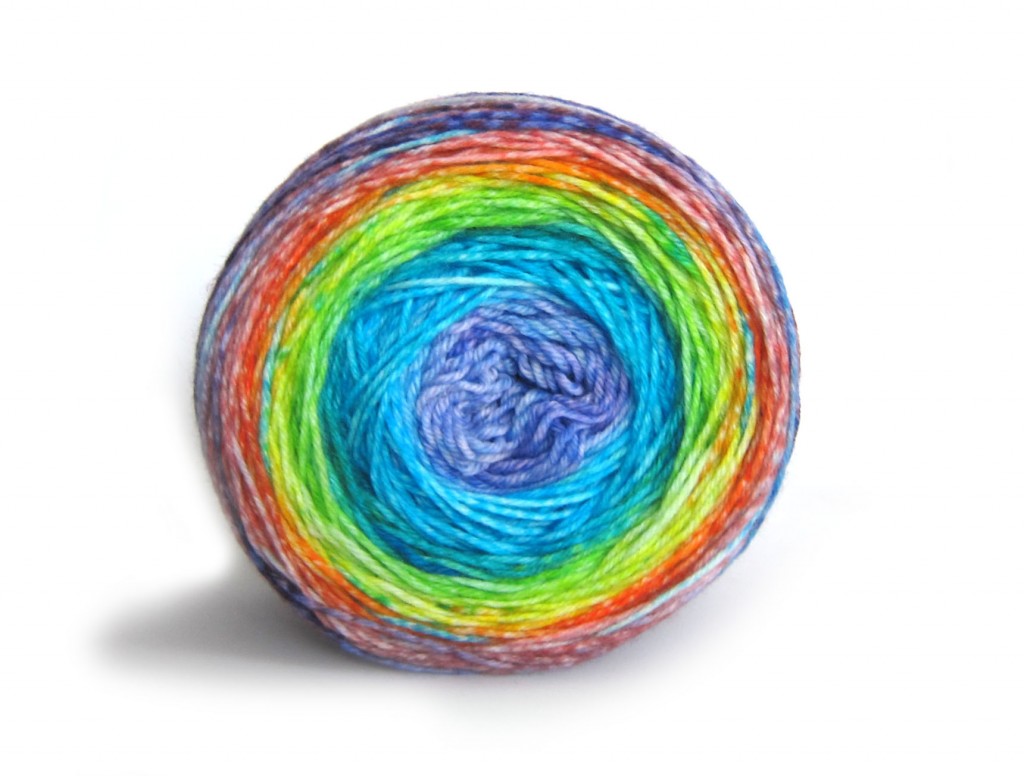
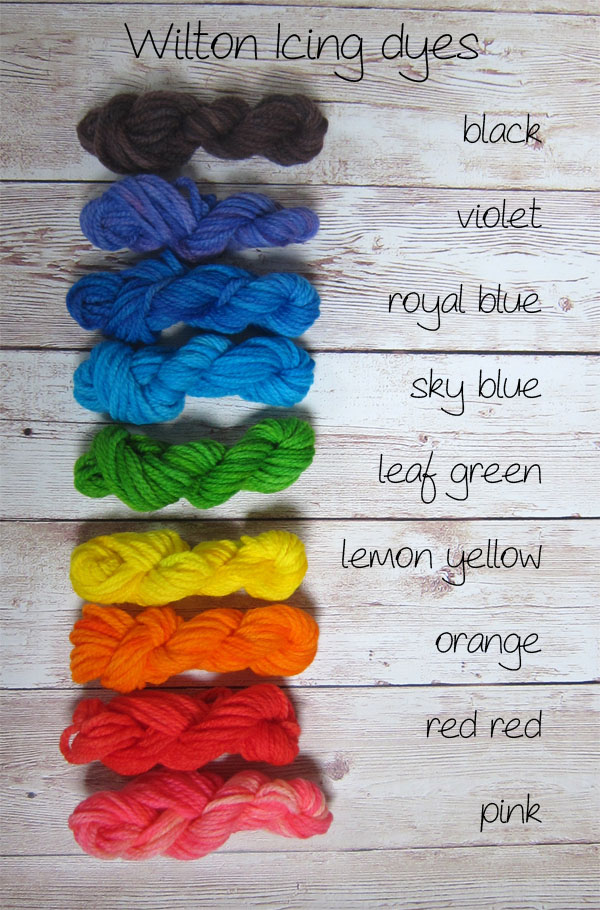
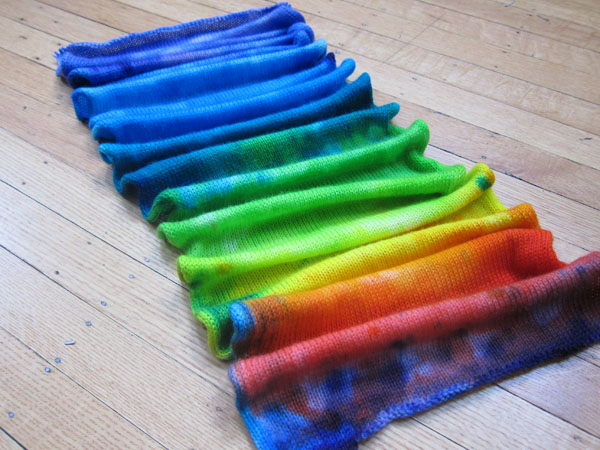
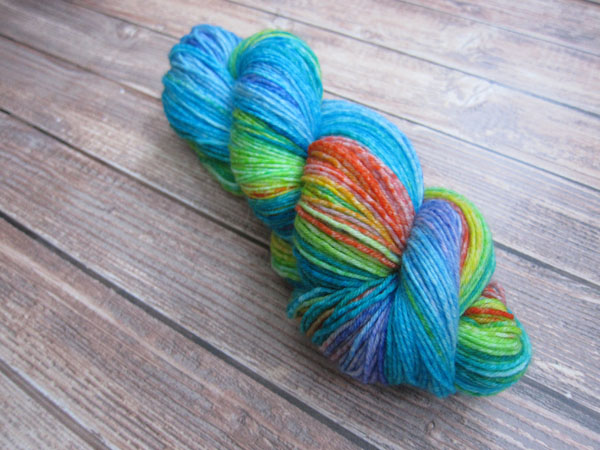
First, I pulled out a SpaceCadet Rainbow Mini-Skein Bundle and let Maddie choose the colors she wanted.

Rainbow Mini skeins for FreshStitches from SpaceCadet

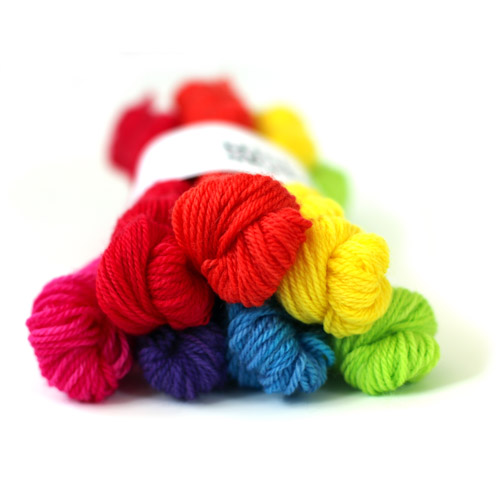
(Since each mini-skein is 70 yards, I needed less than 3 to make a baby cowl… but one set would more than make an adult one!) Maddie is really into red, so she selected the red, pink and orange.

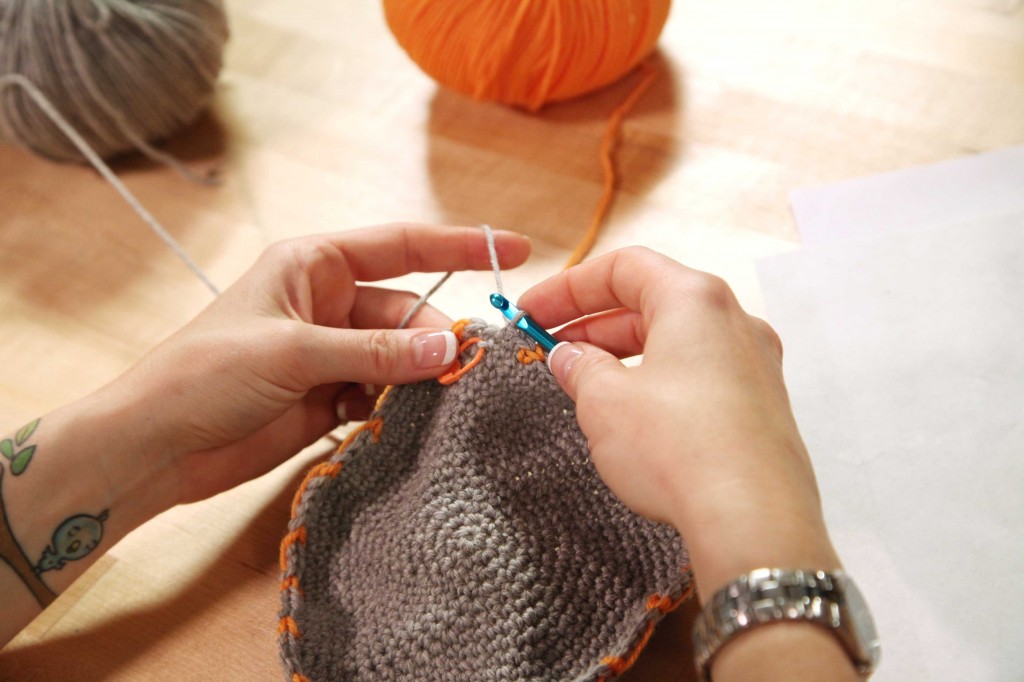
Then, I grabbed a hook and started crocheting! With this fingering weight yarn, I used a C hook.
free crochet cowl tutorial
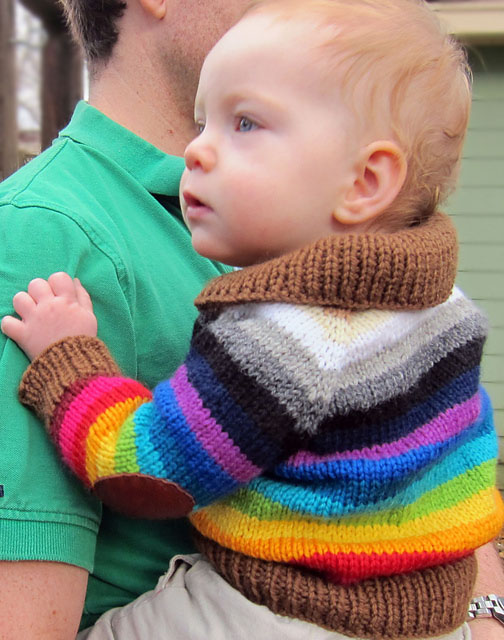
The result is lovely and drapey… and Maddie loves it!

Let me give you the pattern!

The Waves Pattern

In this pattern. . .

  • sl= slip stitch
  • sc= single crochet
  • dc= double crochet
  • hdc= half double crochet
  • tr= treble crochet
    Free Crochet cowl tutorial
    With A, ch 30.
    Row 1: Sc in 2nd ch from hook and each ch across. (29)
    Row 2: With A, ch 1, turn, sc in next sc, * sc in next sc, hdc in next 2 sts, dc in next 2 sts, tr in next 3 sts, dc in next 2 sts, hdc in next 2 sts, sc in next 2 sts. Repeat from * once. (29)
    Row 3: Ch 1, turn. Sc in each st. (29)
    Row 4: With B, Ch 4 (counts as tr), turn. * Tr in next st, dc in next 2 sts, hdc in next 2 sts, sc in next 3 sts, hdc in next 2 sts, dc in next 2 sts, tr in next 2 sts. Repeat from * once.
    Row 5: Ch 1, turn. Sc in each st. (29)
    Repeat rows 2-5 until piece measures desired length (circumference of the cowl) and fasten off and sew ends together!

Free Waves cowl pattern

I used this pattern to make a cowl, but you can also use this pattern (repeating rows 2-5 until piece measures 5.5″ long) and add with other blocks to make a sampler cowl!
freshstitches sampler cowl

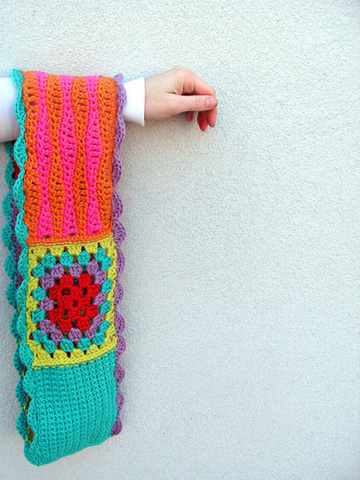
Visit this blog post for a granny square pattern!

What are you going to make?

So… you have the pattern for the waves stitch. . . what are you waiting for to get started? I can’t wait to see what you make!

It’s Raining Rainbows – a free embroidery pattern

smiling raincloud with rainbow raindrops - a free rainbow embroidery pattern

This adorable rainbow embroidery pattern is perfect for beginners. It uses just one (ONE!) easy stitch. And it’s free!

Download the rainbow embroidery pattern here.

My favorite way to transfer embroidery patterns is to use Sulky Sticky Fabri-solvy. You can see some other embroidery transfer methods here.

I used running stitch for the whole thing – learn how to stitch a running stitch here. It’s the easiest embroidery stitch there is – the first one I teach to beginners.

You don’t have to use just one stitch. It would be adorable to use the lazy daisy stitch for the raindrops. Or maybe rows of French knots. Have fun with it! (Those links go to how-to videos.)

You can use any thread colors you like.

You don’t have to stitch it on white fabric. I love the “Lite-Brite” effect I got when I stitched it on a black T-shirt for my daughter.

Rainbow T-shirt - stitched with the free Raining Rainbows embroidery pattern from Shiny Happy World

Find tips for embroidering T-shirts here. Again – Sulky Sticky Fabri-solvy is my favorite product for that. It transfers the pattern and stabilizes the stretchy fabric in one step – and washes away completely. That stuff is magic!

The image is 6 inches wide, but you’ll find instructions for how to enlarge or reduce a digital pattern here. Stitch it anywhere you like!

Have fun with the rainbow embroidery pattern. I’d love to see what you make with it! You can share photos in the Shiny Happy People group. 🙂 And you can sign up for the newsletter here. Never miss a free pattern!

Happy stitching!

Video Tutorial: English Paper Piecing

How to Do English Paper Piecing - a video tutorial from Shiny Happy World and FreshStitches

I’m obsessed with English Paper Piecing (EPP). And because I want to you to share in the love of this awesome craft, I’ve put together two video tutorials so you can learn to do it too!

English Paper Piecing with freshstitches

english paper piecing hexies

Watch them and then start stitching! You’ll probably end up addicted to these little hexagon-shaped fabric pieces of candy… but that’s okay!

Video one: how to prepare your fabric and baste the hexagons

Video two: how to sew hexagons together and remove template

FreshStitches rainbow bundles fabric

I also love rainbows. So… I teamed up with Shiny Happy World to put together a kit that’s great for beginners or old hats!

Sorry – the kits are no longer available – but they used a lots of the fabrics from the Rainbow Brights fat quarter bundles.

FreshStitches rainbow bundles fabric

I also highly recommend the book All Points Patchwork: English Paper Piecing beyond the Hexagon for Quilts & Small Projects by Diane Gilleland. It’s amazing and inspiring! (That’s an affiliate link, which means I earn a tiny commission of you buy it.) You can read Wendi’s review of the book here.

Best,
Stacey

How to knit anything with STRIPES!

I am completely in love with rainbow yarn!

FreshStitches Rainbow Yarn Sampler pack

I love rainbows. I want to knit everything in rainbows.

But I’ve been asked… what pattern do you use? I’m not seeing a lot of patterns with stripes!

Well, let me tell you: you can knit almost any pattern in stripes! I’m going to share my tips with you, and show off a darling little sweater as an example!

FreshStitches rainbow stripes sweater

Tips for knitting almost any pattern in stripes!

This adorable little sweater is Gramps by Tin Can Knits, and the sample is in two colors, not stripes. But no worries!

rainbow sweater with heart buttons from FreshStitches

Here are some tips!

  • Calculate your yarn usage (total amount of yarn divided by the number of colors you have) to make sure you have enough yarn of each color. You can supplement with one ‘main’ color (as I’ve done for the collar)
  • Select a pattern that’s fairly simple, like stockinette. For example, a lace pattern would get lost in the stripes.
  • Change colors at the end of a row (and not the middle) for the cleanest stripes.
  • Keep in mind that changing colors on a purl row will create a bump of color, so aim for a changing on a knit row.
  • A ‘make 1 increase’ draws up yarn from the previous round, so avoid changing colors on this type of increase. For the sweater below, I started a new color on rows that were just plain knit.
  • Read the pattern in advance to plan out the number of rows each color should be to avoid the increases/purls/etc mentioned above.

Rainbow sweater from FreshStitches

Have fun! There’s no right or wrong way to do it!

I like to organize my stripes in color order (all rainbow-like), but it would be equally awesome for you to plan your colors randomly. Or have different stripe widths. There are no rules!

Free Bulky Hat Pattern + Bulky Rainbow Samplers!


bulky yarn sampler freshstitches

Stitch up a quick and easy rainbow hat using bulky yarn!

Free Download: Easy Bulky Hat Pattern

I wrote up a quickie pattern for you that shows off the wonderful texture and colors in this yarn!

Freshstitches bulky hat

It’s a free pattern, and you can download the pdf, here.

You can knit the entire hat with one 16″ circular… no need to switch to double points!

Easy Bulky Hat Freshstitches

The hat is sized to fit a woman’s medium (21″ head circumference), but is pretty stretchy, so you can probably fit it on a slightly larger one!

zig zag banner

Ready for some rainbow fun?

bulky yarn sampler freshstitches

Download your Easy Bulky Hat pattern. I can’t wait to see yours!

How to Dye a Rainbow Gradient Yarn (using a sock blank!)

Today I’m going to show you how I dyed this beautiful skein of yarn:

Gradient Rainbow yarn dyed with Wilton Icing Dyes by FreshStitches

I’ve talked about how to dye a gradient before, but today’s technique is a bit easier (but costs a little more). For this project, I used a sock blank.

What is a sock blank?

A sock blank is basically length of undyed yarn knitted up using the stockinette stitch. I purchased mine from Knit Picks. It’s more expensive than buying yarn in a skein, but having the yarn already knitted up makes it easier to dye a gradient.

How to dye

You can dye yarn lots of different ways (check this post for how to use Kool-Aid), but for this project, I used Wilton Icing Dye. (check this post for a tutorial on how to dye with Wilton Icing Dye).

color card for wilton icing dye on yarn, freshstitches

Once you’ve set up your dye, you’ll want to apply a little bit to the sock blank… basically making rainbow stripes. You want the stripes to be horizontal (along with the direction of the stitches) in order to get a gradient.

gradient rainbow yarn by freshstitches 2

I used a silicone pastry brush to apply the dye and put the blank on a big cookie sheet (you don’t want that dye getting on anything else!

gradient rainbow sock blank freshstitches

To get the best gradient effect, overlap the colors a little bit (that is, you want a little green over top of the edge of the blue stripe… otherwise, you’ll get very definite stripes)

How to finish the yarn

You just let the yarn dry, and it’s dyed! But, you’ll want to wash and unravel the yarn before knitting with it, or else it will be all kinky (just like when you frog a project).

I washed the yarn (I guess it’s not a blank anymore!), and then unraveled it and wound it onto a niddy noddy. This makes a nice skein (and has the benefit of allowing the yarn to dry well).

niddy noddy freshstitches

Pop it off, and you have a skein!

gradient rainbow yarn by freshstitches 1

You can see the true beauty of the yarn when it’s wound into a cake:

Gradient Rainbow yarn dyed with Wilton Icing Dyes by FreshStitches

Amazing, right?

Tips and Tricks

  • If you’re not sure how a particular color will come out, do a test swatch! You don’t want to mess up an entire skein because one color comes out different than you wanted!
  • The disadvantage to a sock blank is that the bits of yarn that are tucked inside the stitches are a little harder to soak with dye, so a light application of dye may result in splotchy yarn. (although… it’s a cool look, so experiment. You may want that on purpose!)
  • Be careful what you put your blank on. Keep in mind that excess dye will be carried along with the liquid… and if it touches other parts of your yarn, it’ll dye that, too!
  • You can make your own blank, particularly if you have a knitting machine!
  • This same technique works with any kind of dye!

Happy stitching!

Best,
Stacey

Finished Rainbow Bead Crochet Necklace

I’ve been working on this project for a while: I started it in December, but got derailed until I found this nifty bead spinner to help me get that long strand done… and here it is!

rainbow bead crochet necklace

You can see how long that black strand is around the back. That’s a lot of beads!

I just love it! It’s a project from Bead Crochet Jewelry (a book I highly recommend!

rainbow bead crochet

I used size 6 beads for the rainbow links, and size 8 beads (slightly smaller) for the black chain around the back. That difference accentuates the rainbow, I think!

It’s a real statement piece, and I’m planning on wearing it while teaching at Stitches South. Am I going to see you there?

Best,
Stacey

Rainbow Star Afghan!

I have something very exciting to show you… I finished my Rainbow Star Afghan!

Rainbow Star Afghan FreshStitches

I just love how it turned out! You know I’m a sucker for rainbows!

Star afghan rainbow freshstitches

I’m planning on writing a little tutorial on the color changes sometime in the future… but you know, time is a little sparse right now!

Rainbow star afghan freshstitches

I couldn’t be more pleased with the results!

Dye yarn with Wilton Icing Dye!

Did you know that you can dye your yarn using Wilton Icing Dyes?

Dyeing yarn with Wilton Icing dye from FreshStitches

You already know I’m a huge fan of dyeing with Kool Aid… but the colors can be a little limiting. So I had to try my hand with the Icing Dyes!

Advantages of Icing Dye

Icing dye, as the name suggests, is actually meant for dyeing. Granted, it’s usually food and not yarn… but it means that there are a wide range of colors that are really quite nice.

The dyes also have the property that you can mix them together with fairly predictable results, which isn’t necessarily true of Kool Aid.

The main disadvantage is that you’ll need to add vinegar to your dye bath to get the color to set. That’s not too big of a downside!

Wilton Icing Dye Color Card

For each color, my recipe was:

  • 8 yards of white worsted weight yarn
  • 1/8 tsp of Wilton Icing Dye
  • 2 T vinegar
  • 1/4 cup boiling water

And here’s how the colors look!

Wilton icing dyes and yarn freshstitches color chart

I’m so excited about the possibilities! These are the colors straight out of the jar… you can mix the colors to get even closer to what you want.

Notes on Dyeing

  • These colors were all produced with the same strength of dye. Experiment with adding less dye for more subtle colors.
  • Purple is notoriously difficult. It’s hard to tell from the photo, but the blue & red tones separated out quite a bit. I love the look, but you’ll want to always test swatches if you want a certain look.
  • A true black is very hard to achieve. I’ll play around with adding a higher intensity of dye.
  • Always do a test swatch! These 8 yard skeins were just perfect, you can wind them yourself for playing!

Have fun!

Here are handy links to all the posts about yarn. . .

Return to the main table of contents for Let’s Learn to Crochet Amigurumi.

Move on to the lessons for the basic crochet stitches.

Happy stitching!

Tutorial: Crochet Rainbow Hat

I love rainbows! So, today, I’m going to show you how to add a fun rainbow detail to any hat pattern!

rainbow hat tutorial from FreshStitches

First, gather up some rainbow colored yarns, along with a neutral color:

rainbow yarns

This is a great opportunity to use scraps, as you won’t need a lot of each color!

It’s easy to add a rainbow!

I’m using the basic hat pattern from my Crochet Hats class on Craftsy, but you can follow these steps for almost any hat pattern! I find that hats made with simpler stitches (single or double crochet) are the ones that end up looking best with this type of colorwork.

Step 1: Find your multiple

The first thing you want to do is find a number that evenly divides the number of stitches in the main body of your hat. For example, if the body of your hat has 60 stitches, then both 4 and 6 are numbers that divide the stitches evenly!

Step 2: Crochet vertical stripes!

It’s easiest to crochet the increase section with your neutral color, and begin the rainbow when you have completed the increases.

Crocheting in the round, hat tutorial

For my hat, I used a 6 stitch repeat for my color changes. I crocheted 4 stitches of red, then 2 stitches of the neutral. Do this for a couple of rounds, then do 4 stitches of orange and 2 stitches of the neutral. Continue, making your rainbow!

rainbow hat tutorial from FreshStitches

If this is your first time crocheting vertical stripes, then this tutorial on stranding with two colors is for you!

Try it!

I hope this technique has given you some ideas… there are lots of possibilities!