


Are you crocheting along with us for the doll-a-long?
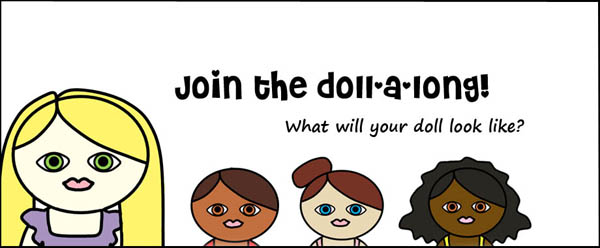
If so, hooray! What part are you up to? Today I’m going to show you some tips for aligning and crocheting together your doll’s legs!
Not crocheting along? It’s not too late to join in! Grab a copy of the pattern and start crocheting!
How to align the legs
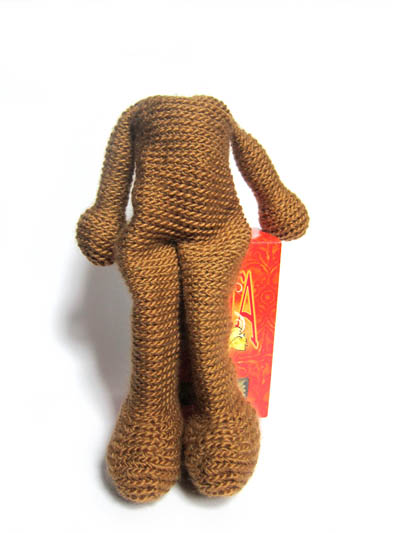
Once you’ve crocheted your legs, you’re going to crochet them together to continue her body. This method of construction is great… since it lets you skip doing any sewing! But it may be new to some of you, so don’t worry if it feels a little confusing.
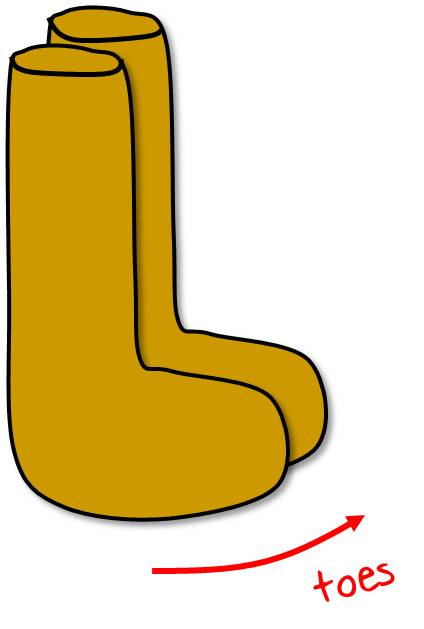
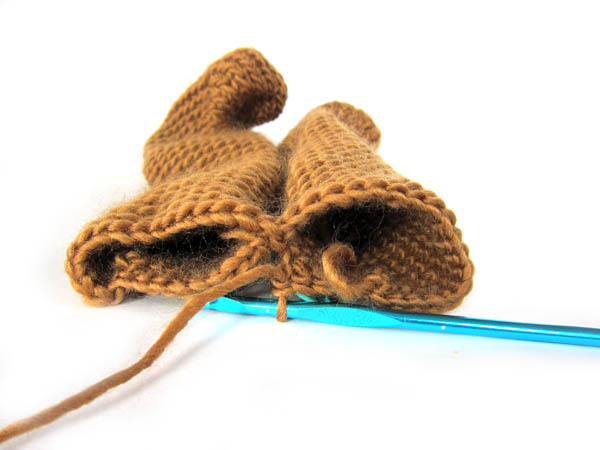
You want your doll’s toes to be straight and facing forward, right?
So, once you’ve crocheted your two legs, hold them together so that the toes face in the same direction:
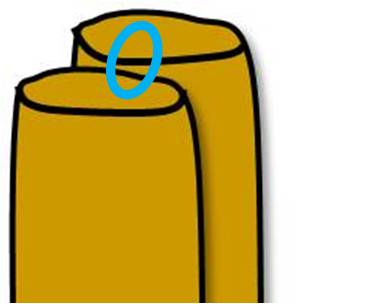
Now, here’s the trick! Use a locking stitch marker to pin the legs together in the position you want them:
How to crochet the legs together
For details on the crocheting, you’ll want to check out this video.
Keep going!
Hooray! In my opinion, you’ve just finished the trickiest part of the whole pattern! (Well, besides picking the clothing colors… that’s a real pickle!)
Keep going, and don’t forget to share your progress in our Ravelry Group or on Facebook!
Best,
Stacey