


Attaching facial features can be one of the trickiest parts of making stuffed animals… but it’s also what brings your cutie to life! With just a few tricks, you’ll be positioning and attaching features with ease… and love your finished result!
Using Locking Stitch Markers for Positioning
I’ve already talked about how to use locking stitch markers to help you identify the rounds to attach your pieces to, and you’ll want to keep using this trick for placing your facial features.
At this point, I’m about to attach the snout. The pattern says to attach it to rounds 13-18 of the head, so I’ve marked these rounds with my locking stitch markers:

This makes it super-easy to see where my snout should go!
Once the snout is in place, it’s time to attach the mouth. Want to hear another great use for locking stitch markers? I use them to hold a piece in place… so I can see exactly what it will look like when attached! This saves me from attaching them, not liking how it looks, then re-doing it!

Keep using markers to position/attach the ears… and your cutie is on its way!
Other helpful tips
- Use the running stitch for attaching the nostrils onto the snout… it’ll make them lie nice and flat!
- Attaching a folded ear can be tricky… read this post to see it in action.
- Looking for an even easier way to handle the folded ear? Whipstitch the flattened ear closed first… then you’re only dealing with 2 edges, not 4!
- Stick your eyes in first… and check out how they look before you put the washers on. This lets you check out how the eyes will look before you affix them permanently!
- When positioning spots, use those stitch markers! I like to put on a couple to hold my spot in place while attaching
How’s your cutie coming along?
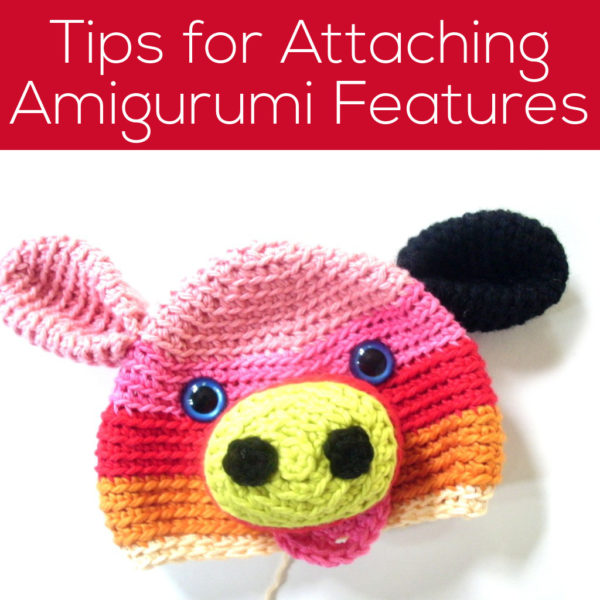
We’re in the final week of the crochet-a-long! Here’s how mine looks:

So colorful!

Here are handy links to all the posts about attaching parts. . .
- How to Attach Limbs to Amigurumi
- How to Attach Amigurumi Arms and Legs with Single Crochet
- Tips for Attaching Amigurumi Features
- Which Loop Do You Use When Attaching Pieces?
- How to Attach Nicely Rounded Amigurumi Pieces
- How to Give Your Amigurumi a Shapely Neck
- How to Attach a Flattened Piece to Amigurumi
- How to Attach a Folded Ear to Amigurumi
- How to Attach a Folded Ear to Two Rounds
- How to Attach Flat Spots Using Running Stitch
- How to Attach with Single Crochet
- Tips for Attaching a Dress to Your Doll
Return to the main table of contents for Let’s Learn to Crochet Amigurumi.
Move on to the lessons about faces and details.
Happy stitching!

Don’t you mean july 13 XD?
oops, yes! Fixed it 🙂
Thank you!