


Okay, so you’ve gone through all of that work to knit or crochet a sweater… and now it’s time to attach the buttons. How do you make sure you sew on the buttons in exactly the right spot? I’ll show you how!
All you need is one locking stitch marker.
First, close your sweater so that the button band overlaps exactly how you’d want it closed when finished, with the holey side of the button band on top.
Starting at the bottom (or top), poke your locking stitch marker through the first hole, and attach to the solid side of the button band.
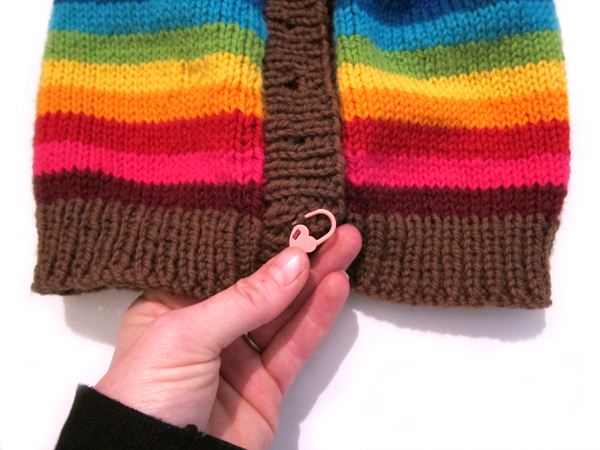
This stitch marker marks where your button will go! Lock the marker.
Notice that the holey side of the button band will pull off… the locking stitch marker goes right through the hole!
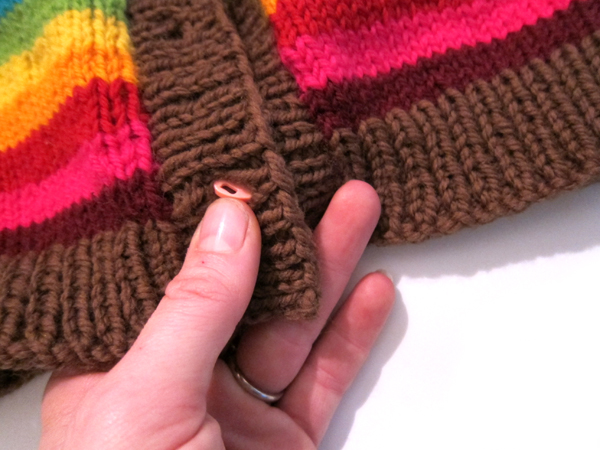
Here’s what it looks like:

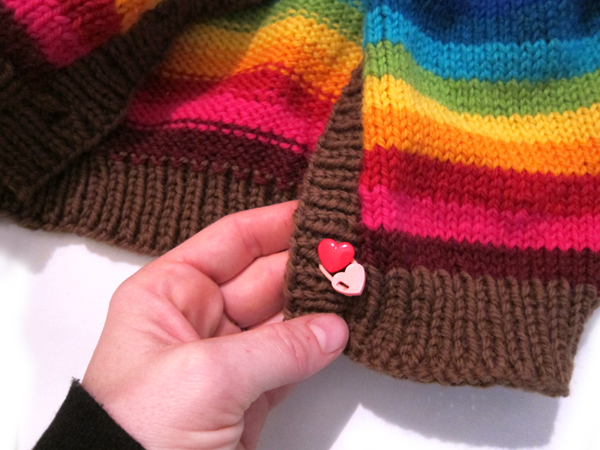
You want to sew your button directly on top of the locking stitch marker. Read this blog post about sewing on buttons for help.
When you’re finished sewing (or at least have finished the first few, securing stitches), remove the stitch marker. It should just slip out once you unlock it.
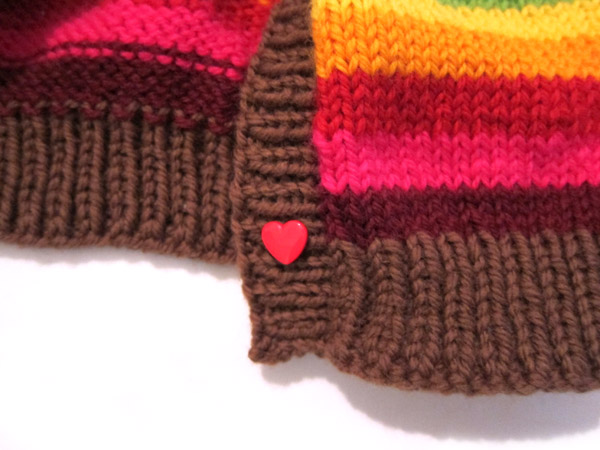
Now it’s time for the other buttons! Repeat this trick for each button.
Each time, button up the buttons you’ve already completed so you can ensure they line up properly.

No more wonky button problems!
Sample sweater is Gramps knit using the Rainbow Yarn Sampler Pack.