


This post has some great general info about stuffing amigurumi. Read on for some extra tips for getting arms and legs stuffed evenly!
You probably wouldn’t be too surprised if I told you that how you stuff your amigurumi is important. After all, you spend lots of time crocheting… you want to end up with an animal that looks great! And stuffing is crucial to obtaining a great final look.
You may be surprised, though, that stuffing large amigurumi (most FreshStitches patterns are about 8″ tall) requires slightly different techniques than stuffing tiny amigurumi. It’s true that you need to stuff your animal firmly, but there are a couple more tricks I’d like to share.
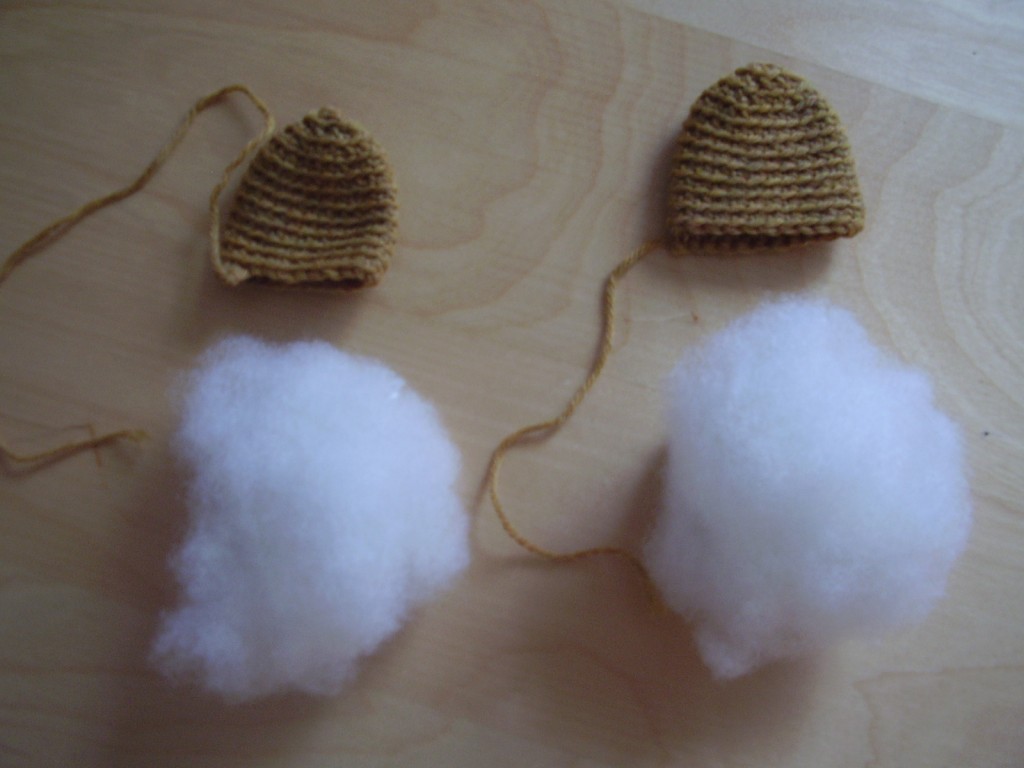
The first thing to note is you need a fair bit of stuffing for large animals! And because crochet stretches, the amount of stuffing used determines the size of the finished product. So, if you’re stuffing body parts like legs, you want them to be the same size, meaning you need to stuff them with the same amount of stuffing! Before I stuff, I set out equal amounts of stuffing for each leg (or arm, or whatever you want to be of equal size).
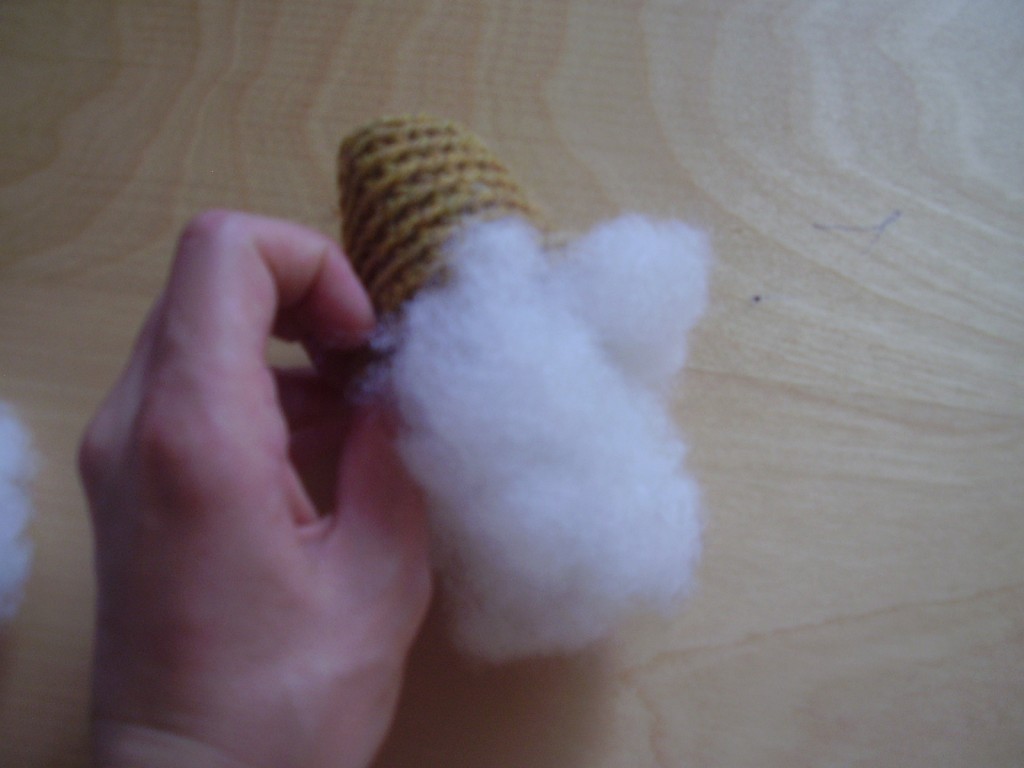
You want to stuff your amigurumi part with one big ball of stuffing, instead of continually putting in little bits of stuffing. If you fill the part with little balls, the finished product will look lumpy. So, try stuffing your amigurumi using one big ball of stuffing.

If, at this point, you realize that you haven’t added enough stuffing, you can add more to the center. The stuffing you added earlier will press out to the sides, keeping a smooth look, and you can add more to the center. If you have too much, just rip off what’s hanging off the top!
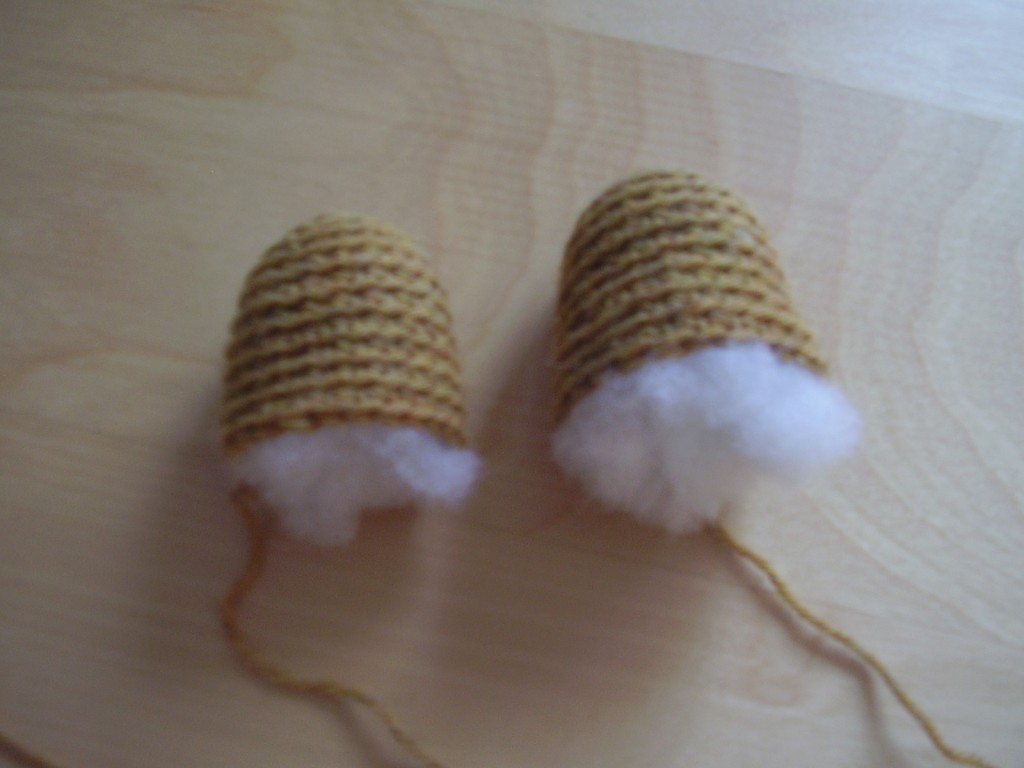
Now, you have two stuffed parts of equal size! Of course, these stuffing tips apply to all amigurumi parts- even if you don’t need to have pieces match in size. For large amigurumi, the key is firm, even, non-lumpy stuffing!

Here are handy links to all the posts about stuffing amigurumi. . .
- Tips for Stuffing Amigurumi
- Tips for Stuffing Large Amigurumi
- What a Difference Stuffing Makes
- How to Keep Stuffing from Showing through Amigurumi
Return to the main table of contents for Let’s Learn to Crochet Amigurumi.
Move on to the lessons for closing up the opening.
Happy stitching!

Hi! I was surfing and found your blog post… nice! I love your blog. 🙂 Cheers! Sandra. R.
Wow! Lookit you! That seems like such a little thing, doesn’t it? And yet…it’s a big deal!
Thanks for posting- I think I’m gonna stick around awhile and read
read read!
Thank you for sharing your tips with us! I’ll be sure to measure each leg/arm separately with the same amount- I never though of doing that!
Thanks again! ;D
Where are the tips for large amigurumi as the title suggests? Arms and legs are so much easier than if you have something like a large pumpkin.
There’s info there for large amigurumi too. For me the best tip was to add stuffing in one big handful, and then if you need to add more keep adding stuffing to the middle of that handful. That way it pushes the mass out smoothly so it’s not lumpy.